
One advantage of using JSCAPE MFT Server as your file transfer server is that it’s so easy to extend the storage capacity of your user accounts to one or more remote services and storage solutions. And in this post, we’re going to show you how to use a remote WebDAV service as a network storage for your JSCAPE MFT Server instance.
I’m going to assume you already have a WebDAV service running and that it’s accessible from your JSCAPE MFT Server instance.
Watch the video
Would you prefer to watch a video version of this tutorial instead? You can play the video below. Otherwise, just skip it if you wish to continue reading.
Want to try this for yourself? Request a free trial here.
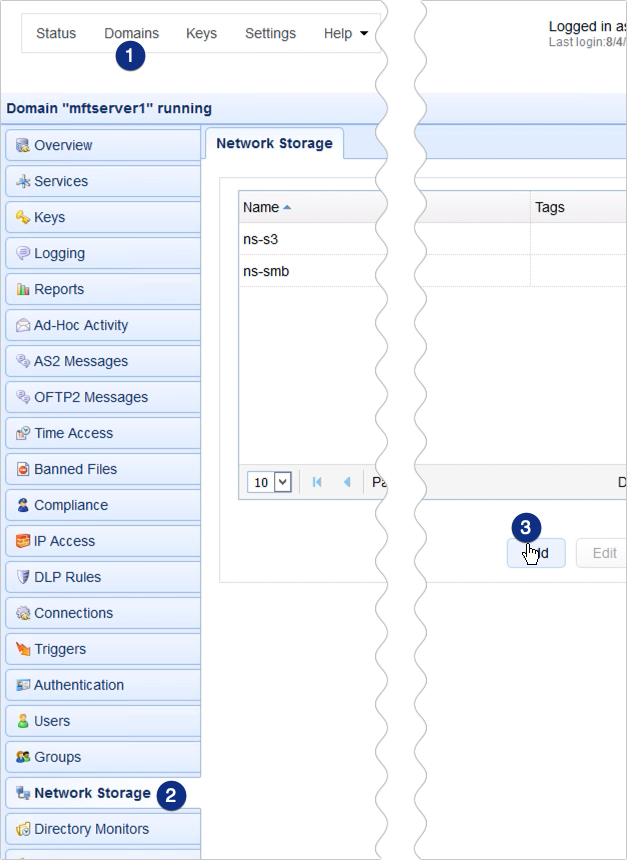
If you qualify, you can loginto your JSCAPE MFT Server environment and go to the Domains section. Select a domain and click Edit to view the settings for that domain.
Navigate to the Network Storage module and click the Add button to add a new network storage object.
Next, expand the Protocol drop-down list and select WebDAV.
[Recommended reading: How to install a WebDAV client]
Notice that there are several other services and storage solutions to choose from. We’ve provided some relevant links at the end of this article in case you want to try out other network storage options.
Click OK to proceed.

In the network storage parameters dialog, start by assigning a name to this network storage object. This will be used to identify this particular network storage in this JSCAPE MFT Server instance. Here, I’m just going to use ‘ns-webdav’.
Next, specify the hostname or IP address (e.g. 172.31.4.180) of the WebDAV service you want to connect to.
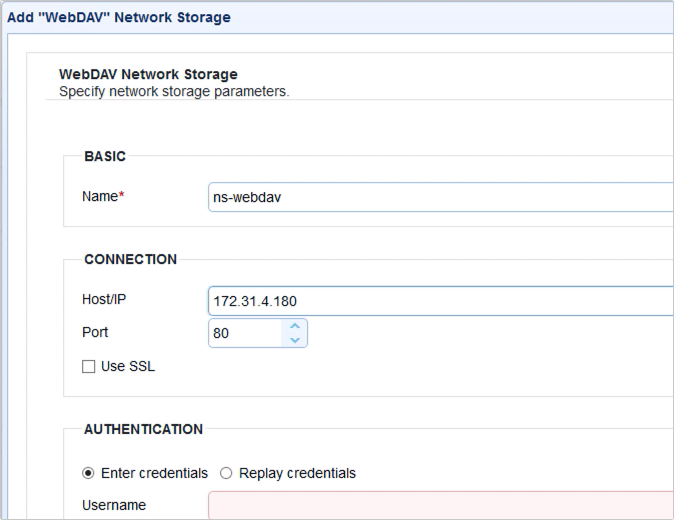
After that, scroll down to Authentication panel and enter the username of an account on your WebDAV server. I’m connecting to a WebDAV service on another JSCAPE MFT Server instance, so I’m going to use the recommended notation, which is [username]@[domain on that JSCAPE MFT Server instance].
Of course, I also need to specify that user account’s corresponding password. Notice that I just left the Domain field blank. That’s because I already specified the domain in the Username field.
Lastly, if you’re using a JSCAPE MFT Server instance as your WebDAV server, enter ‘/webdav’ into the Path field. Other WebDAV servers may not require this bit of information.
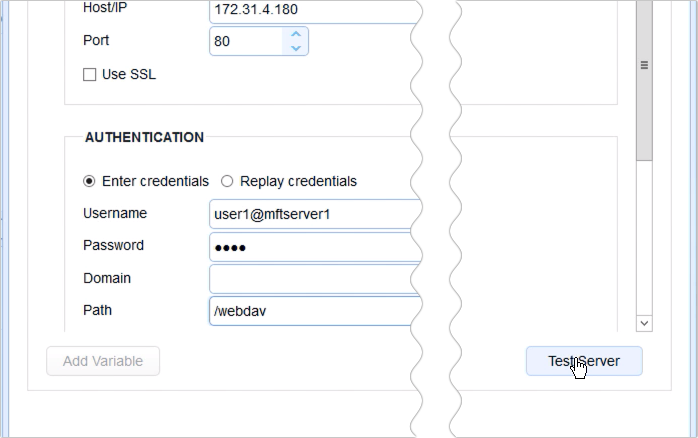
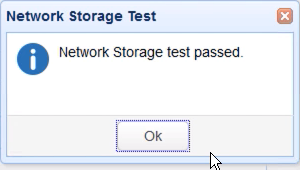
Should you wish to test this WebDAV connection, just click the Test Server button to run a test. If the test succeeds, you should see a message that says ‘Network storage test passed’. Click OK to proceed.
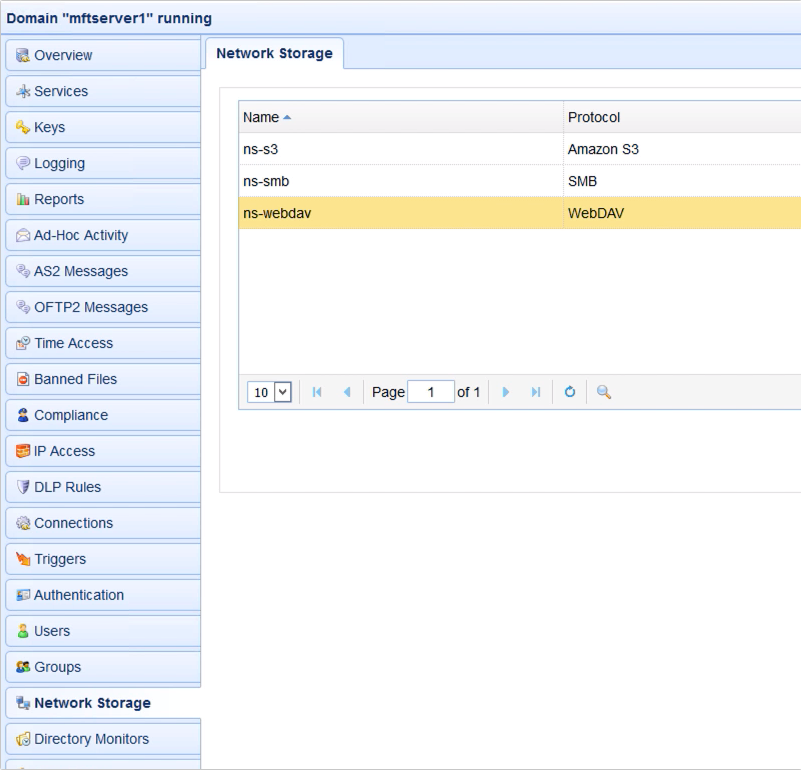
When you’re back at the main screen, you should see your newly created WebDAV network storage object.
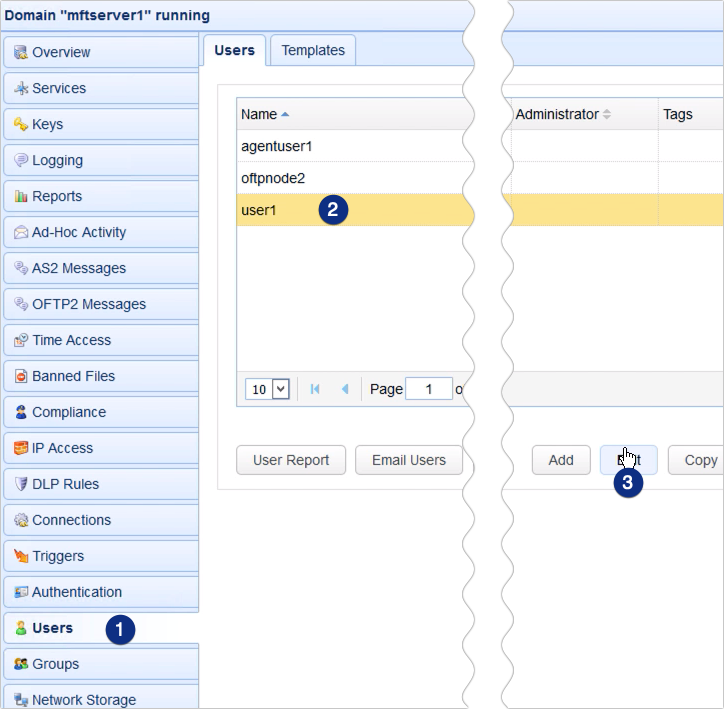
Now that you have that WebDAV network storage object ready, the next step is to map this network storage to a user or group’s virtual path. For this example, let’s just map it to a user’s virtual path.
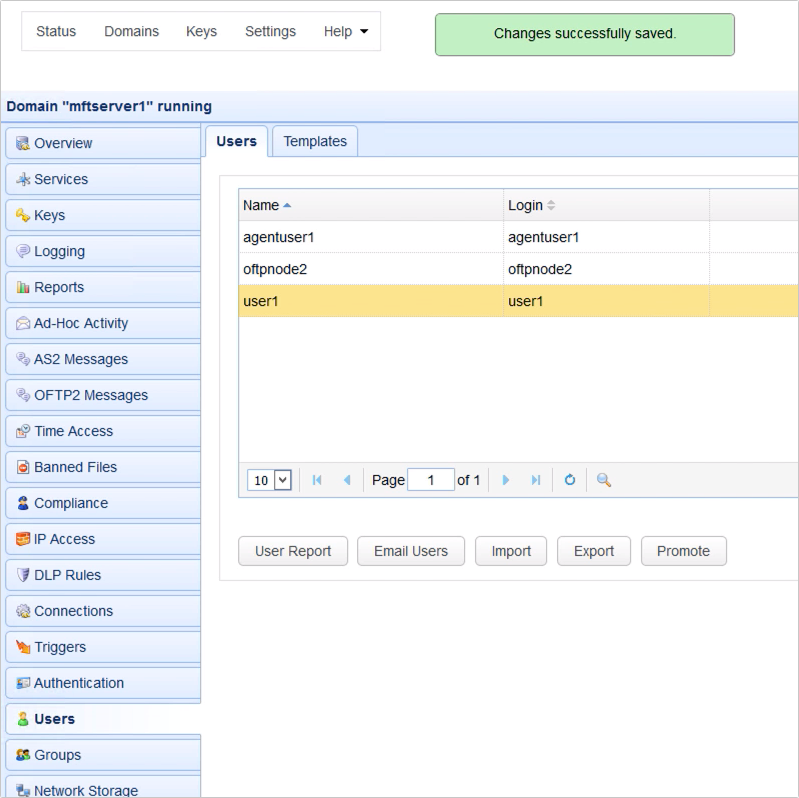
Go to the Users module and select the user account whose virtual path you wish to map that WebDAV network storage object with. Click Edit to edit that user account.
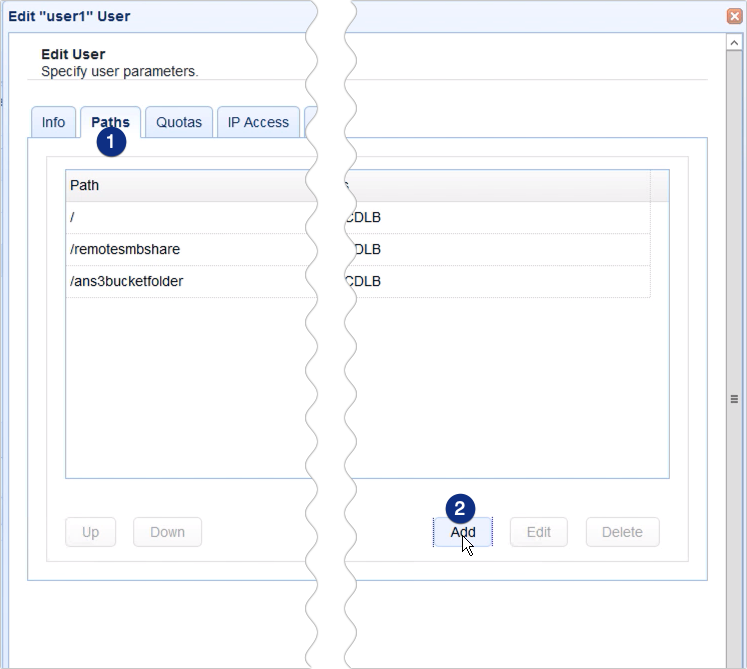
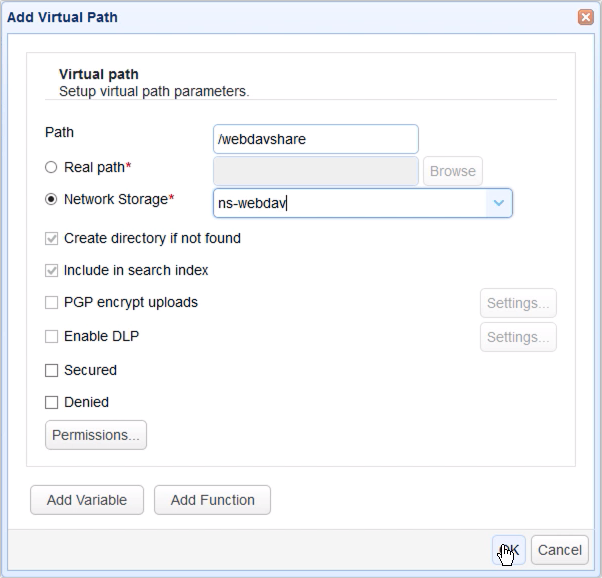
Go to the Paths tab and click Add to add a new virtual path.
Give this virtual path a name (e.g. webdavshare). Don’t forget to prefix it with a forward slash ‘/’.
Next, click the Network Storage option button and select the name of the WebDAV storage object you created earlier.
Click OK to proceed.
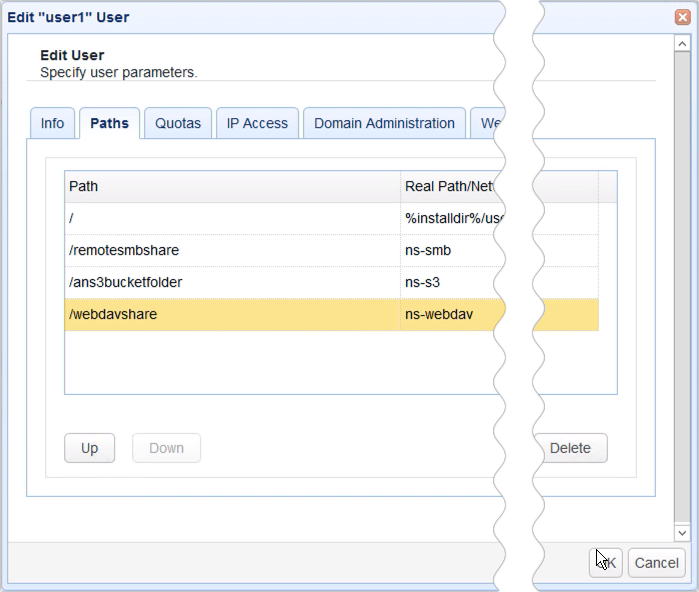
You should then see your newly created virtual path among your list of virtual paths.
So, basically, when this user logs in, one of the folders it will see listed in its root directory is the virtual path you created just now. And that folder is actually mapped to your WebDAV network storage object.
Click OK to proceed.
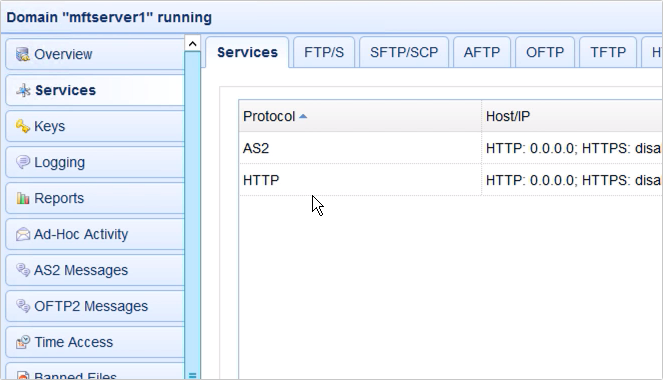
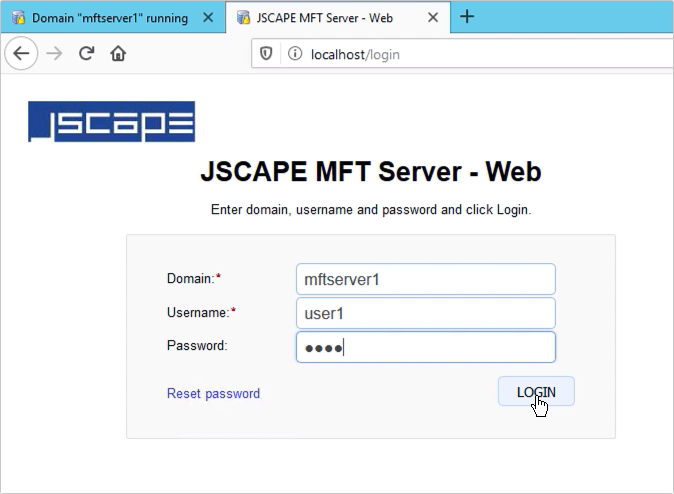
So, now, we’ve got everything set up. Let’s now see this in action. Let’s login to one of the file transfer services of this JSCAPE MFT Server instance. In my case, I see that I have a HTTP web service activated, so I’ll try this out.
I log in using the user account I edited earlier.
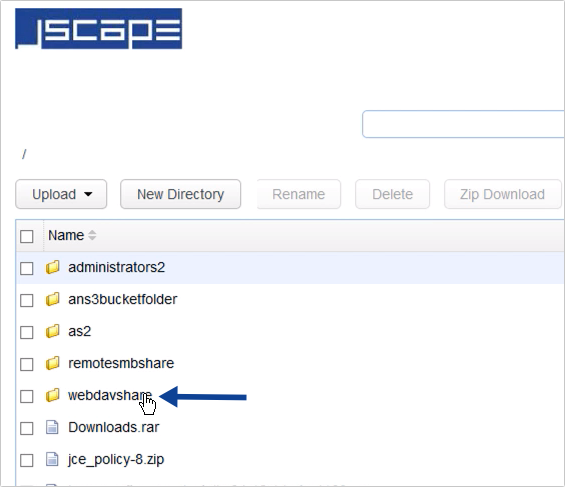
And true enough, I see a folder that matches the name of the virtual path I created earlier.
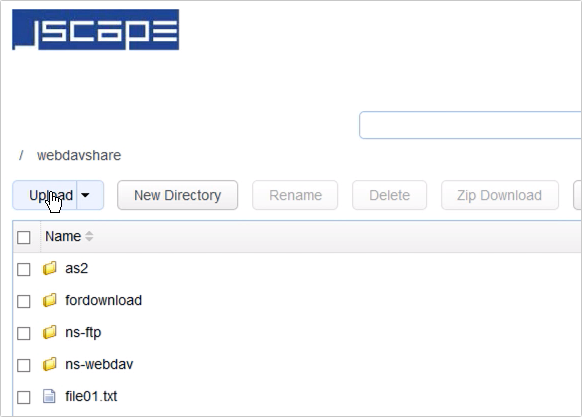
If I upload a file to this folder, I will actually be uploading that file or files to the remote WebDAV server.
That’s it. Now you know how to use a remote WebDAV service as a network storage for your JSCAPE MFT Server instance.
Try it out
You can try this out yourself by downloading the FREE, fully-functional Starter Edition of JSCAPE MFT Server.
Download JSCAPE MFT Server Trial
Relevant posts
How to Use Windows SMB Share As Network Storage
Using A Remote FTP/S Service As Network Storage For Your MFT Server
Using A Remote SFTP Service As Network Storage For Your MFT Server
How To Use Amazon S3 As The File Storage System of Your MFT Server
Use Azure Files As The File Storage System on JSCAPE MFT Server