JSCAPE MFT Server’s Network Storage module (formerly known as Reverse Proxy) allows you to utilize various remote services and storage solutions as additional storage for your managed file transfer server. This can come in handy when your MFT Server machine has limited storage capacity or if you simply want to store certain user files elsewhere. One of the supported services is SFTP. If you have an SFTP server with lots of free storage space and you want to use that as a network storage for your MFT Server, you should find this post useful.
One major benefit of a JSCAPE MFT Server network storage is that you can map it to a user or group virtual path. Once it’s mapped to a virtual path, any file uploaded to that path will be automatically stored to that network storage.

Before you can set up an SFTP network storage on JSCAPE MFT Server, make sure your remote SFTP service is reachable from your MFT Server instance. If you’re able to connect to it without any problems, you’re ready to proceed.
Watch the video
Would you prefer to watch a video version of this tutorial instead? You can play the video below. Otherwise, just skip it if you wish to continue reading.
Load up your JSCAPE MFT Server Manager and go to the Network Storage module. Click the Add button to add a new network storage.

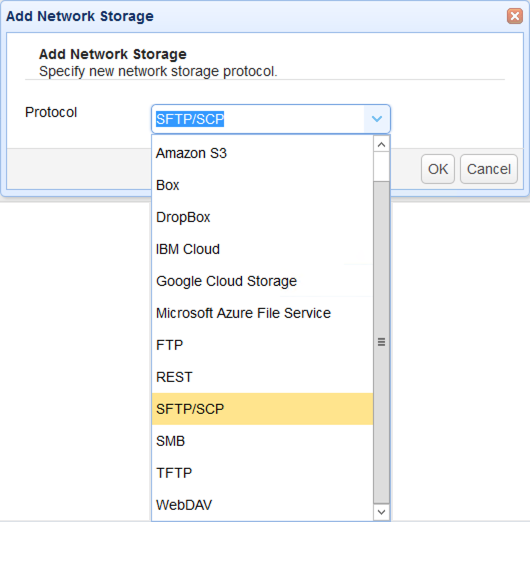
Next, select SFTP/SCP from the Protocol drop-down list and then click OK.
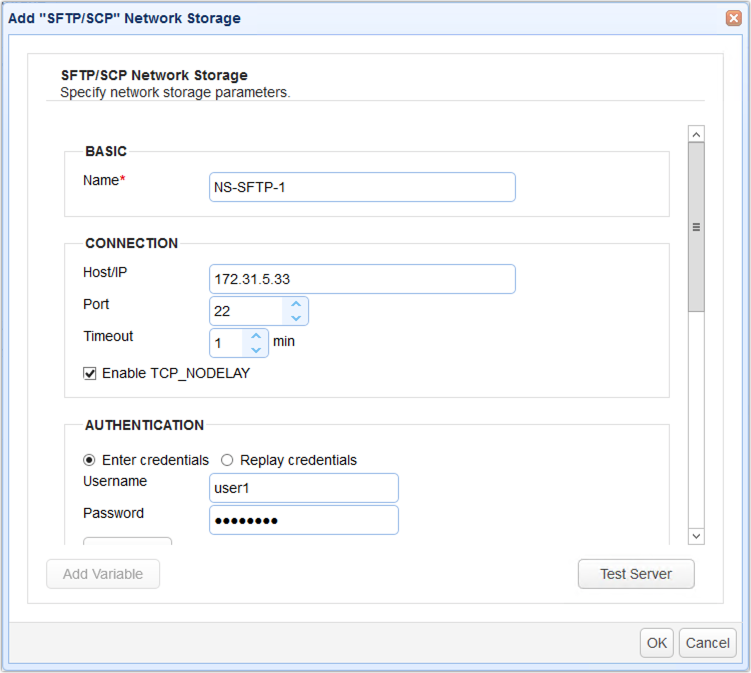
When the next dialog box appears, specify the network storage parameters. The basic parameters are the following:
- Name – This is just an arbitrary name you’ll use to refer to this network storage object on this MFT Server instance
- Host/IP – This is just the hostname or IP address of the remote SFTP server you’d like to use as an external network storage
- Port – This is just the port number of the remote SFTP server. You can leave this as is if you’re just using the default port number of 22 on your remote SFTP service
- Username – This is the username of an existing user account on that remote SFTP server
- Password – This is the corresponding password of that username
Should you wish to check your connection, you can click the Test Server button. If it says the test passed, you’re good to go. Click OK to proceed.
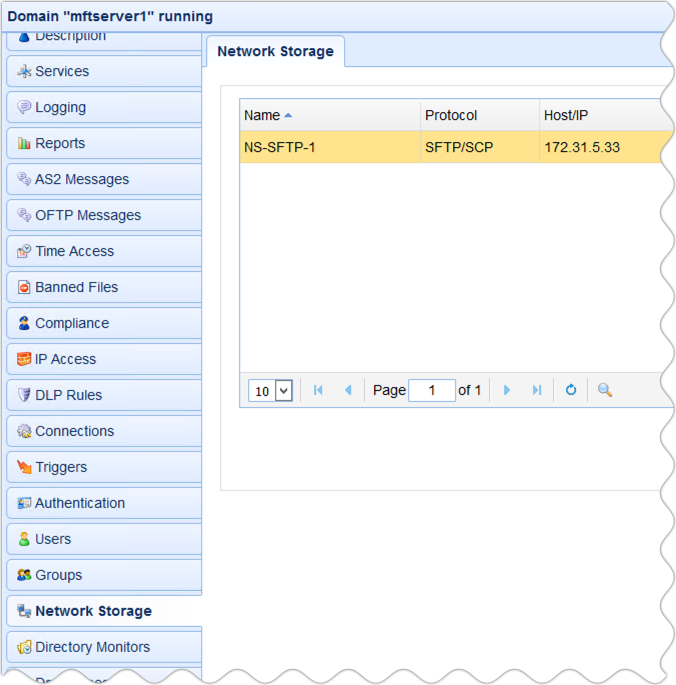
As soon as you’re back at the main screen, you should see your newly created SFTP network storage in the Network Storage tab.
Now that you have an SFTP network storage, you can then map it to a User, User Template, or Group virtual path. For this example, let’s just add it to a User virtual path.
Go to the Users module, select a user (e.g. John Smith), and click the Edit button.

When the user parameters dialog appears, go to the Paths tab and click the Add button.

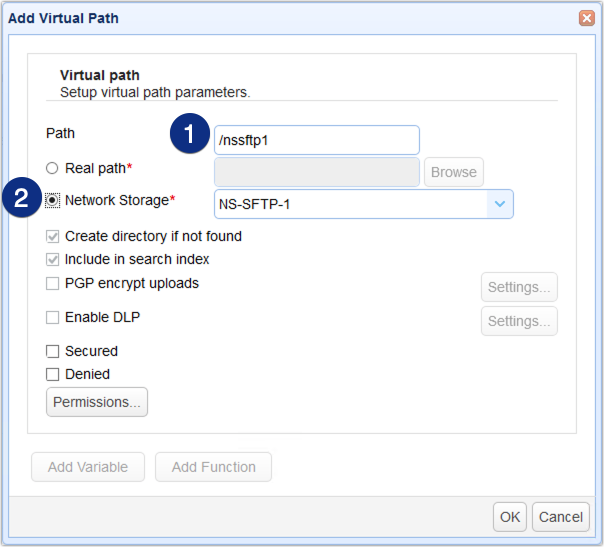
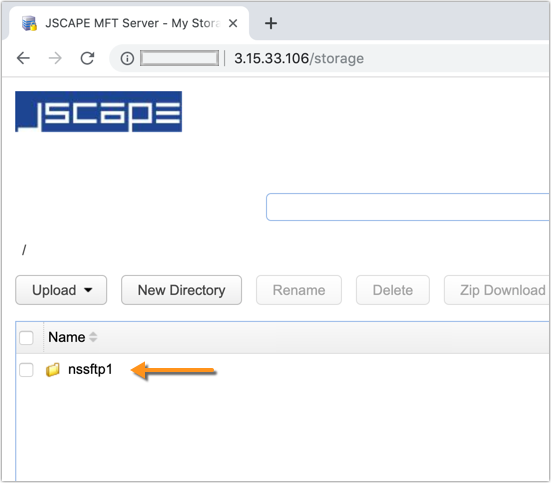
Specify a virtual path for this network storage object. So, for example, I’m going to use /nssftp1. So, when this particular user logs in to his account, he’ll see a folder named nssftp1 under his root directory (/).
Now that we’ve specified a virtual path, we can then map our network storage object to that virtual path. Click the Network Storage option and select the SFTP network storage we created earlier. Click OK until you’re back at the main screen.
To verify that this works, connect to your MFT Server from a file transfer client and login using the user account whose new virtual path maps to that SFTP network storage. As mentioned earlier, you should then see a folder named nssftp1 under that user’s root directory.
That’s it. Now you know how to use a remote SFTP server as network storage for JSCAPE MFT Server.
Try this out yourself
Would you like to try this out yourself? Download a FREE, Starter Edition of JSCAPE MFT Server now.
Download JSCAPE MFT Server Trial


