
Overview
A couple of weeks ago, we compared the advantages and disadvantages of using Amazon S3 and local storage as file storage system for JSCAPE MFT Server. For those who want to try storing their file transfer server end user files on Amazon S3, this post is for you.
Want to watch a video version of this blog post instead?
Before we begin, let me show you first what it is we’re setting up here. If you still need more information or want to know the motivations behind this particular set up, read the blog post we referred to earlier. If you want a live look, request a free trial.
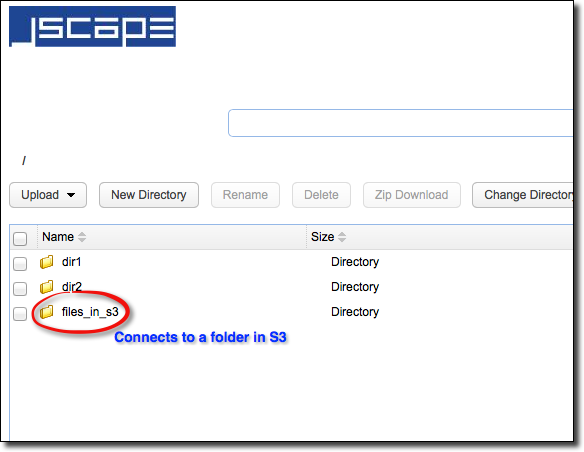
Alright. See that folder we’ve highlighted? While the other two folders simply map to local directories on storage devices directly attached to the server, that third folder actually maps to a folder in an Amazon S3 bucket.
So, if we upload files to this folder,
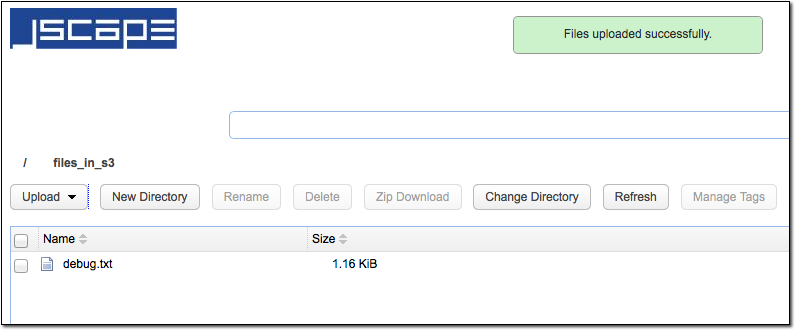
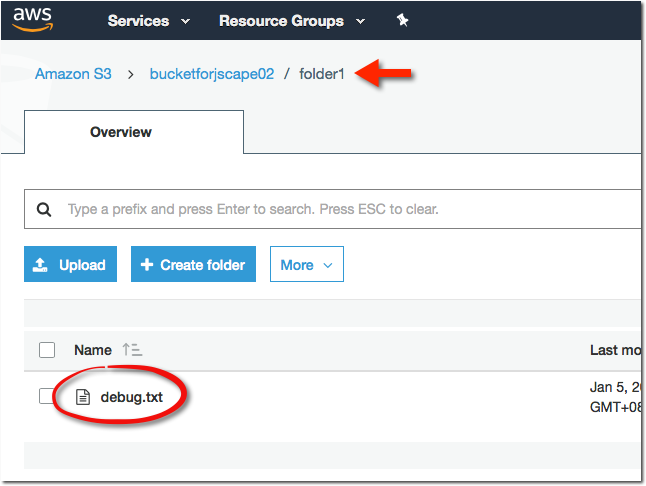
those files will be sent to the S3 folder instead of being stored in a storage device directly attached to the server.
Let’s now go through the steps to achieve this.
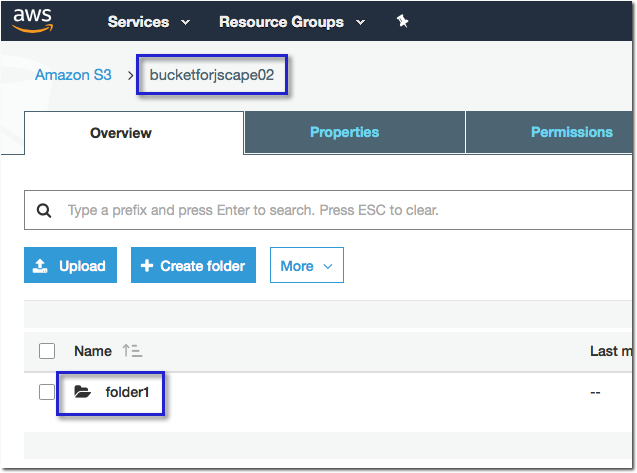
First, you’ll need to have an Amazon S3 bucket and a folder inside it. Take note of the names of the bucket and the folder, as you’ll need those later.
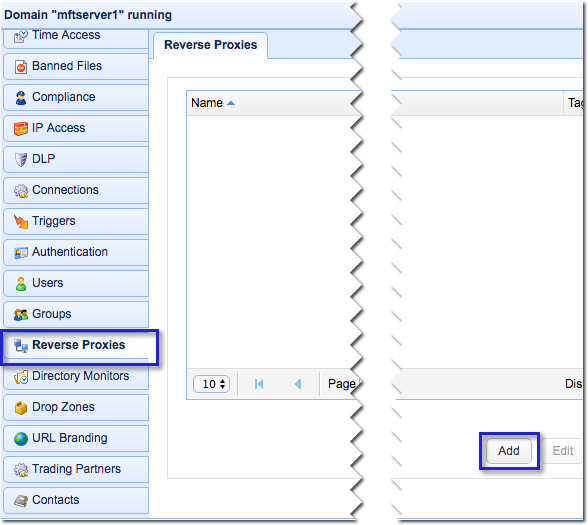
Next, launch your JSCAPE MFT Server manager and navigate to the Reverse Proxies page. Click the Add button.
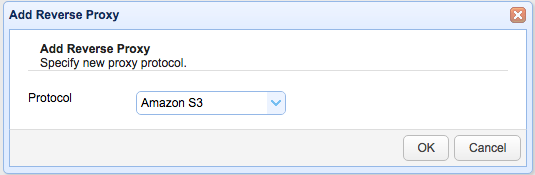
After that, select the Amazon S3 protocol and then click OK.
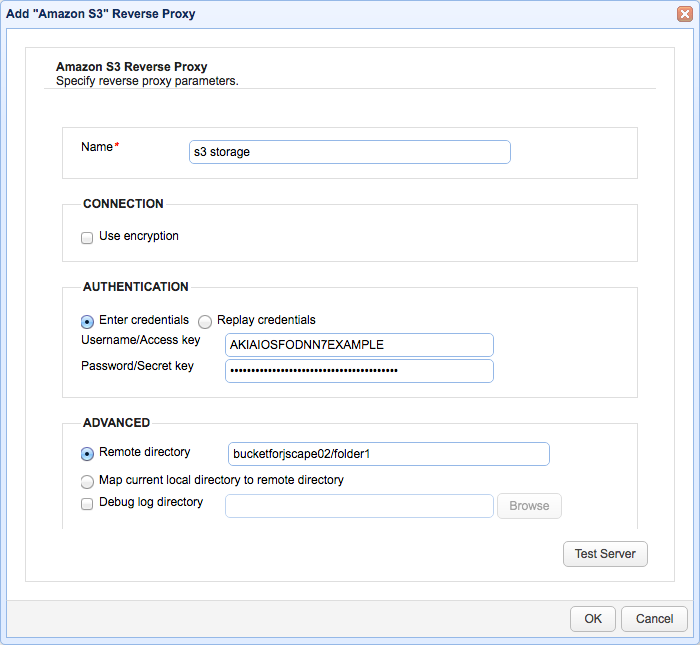
You’ll then need to give this reverse proxy a name (let’s say ‘s3 storage’).
Select enter credentials and then enter your Amazon S3 username or access key and its corresponding password or secret key.
You also need to specify the path of your remote directory. This is just the name of the bucket (which in our case is ‘bucketforjscape02’), followed by a forward slash, and then the name of the folder (which in this case is ‘folder1’).
You may click the Test Server button to test the connection to Amazon S3.
If everything goes well, click the OK button.
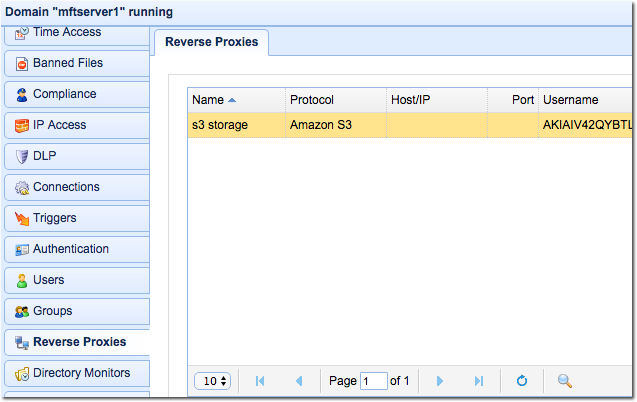
You should now see your newly created Amazon S3 reverse proxy.
Now that we have our reverse proxy, the next step would be to map this to a virtual path. So, in JSCAPE MFT Server, you can map that to a group’s virtual path, a user template’s virtual path, or a specific user’s virtual path. Let’s just do the latter.
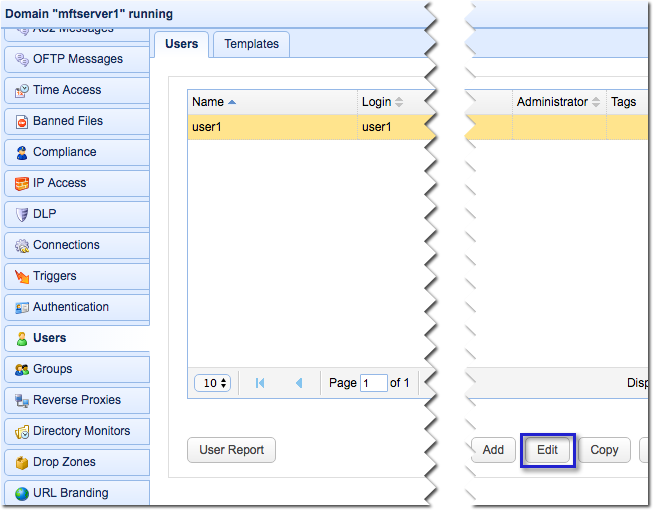
Go to the Users module and click the Edit button.
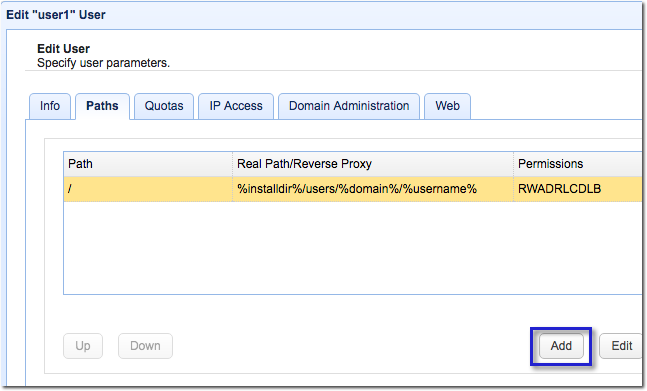
Let’s now create a new virtual path for this user by clicking the Add button.
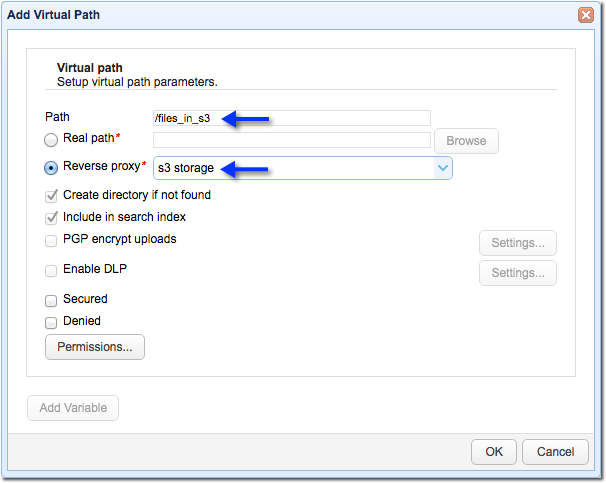
Let’s assign a name to this virtual path, say, ‘/files_in_s3’.
Select Reverse Proxy and then select the reverse proxy we created earlier.
Click OK to proceed.
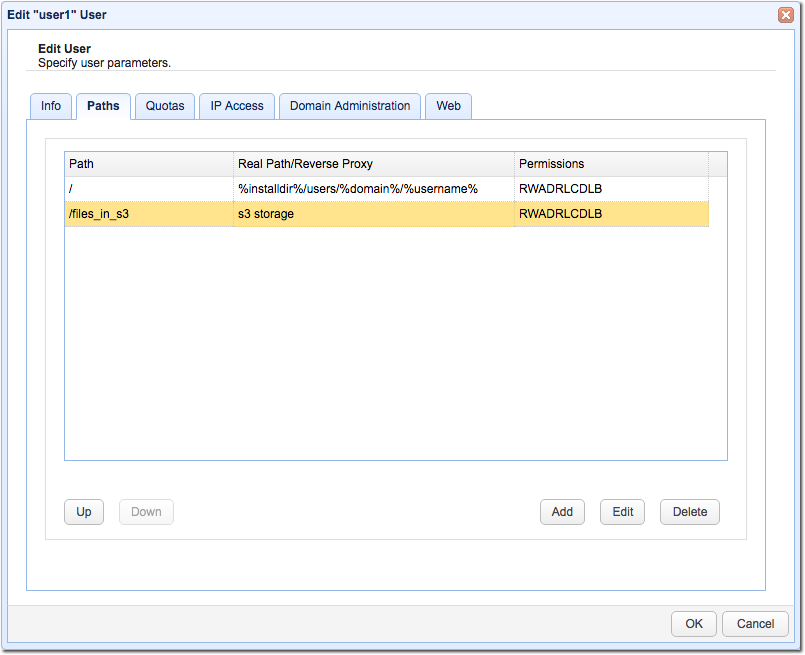
You should now see your newly created virtual path, which points to an Amazon S3 folder.
You can now click OK to finalize the process.
That’s it. Now you know how to use Amazon S3 as a file storage system for JSCAPE MFT Server.
Related content
How To Connect and Upload Files To an Amazon S3 Trading Partner
Updated Video: Using Directory Monitors
Setting Up a NAS Shared Storage for Your File Transfer Servers
How To Install A SFTP Server on Windows
Key points to remember when connecting and transferring files with an Amazon S3 trading partner
Get started
Want to try this out? Request the free, fully-functional evaluation edition of JSCAPE MFT Server.