
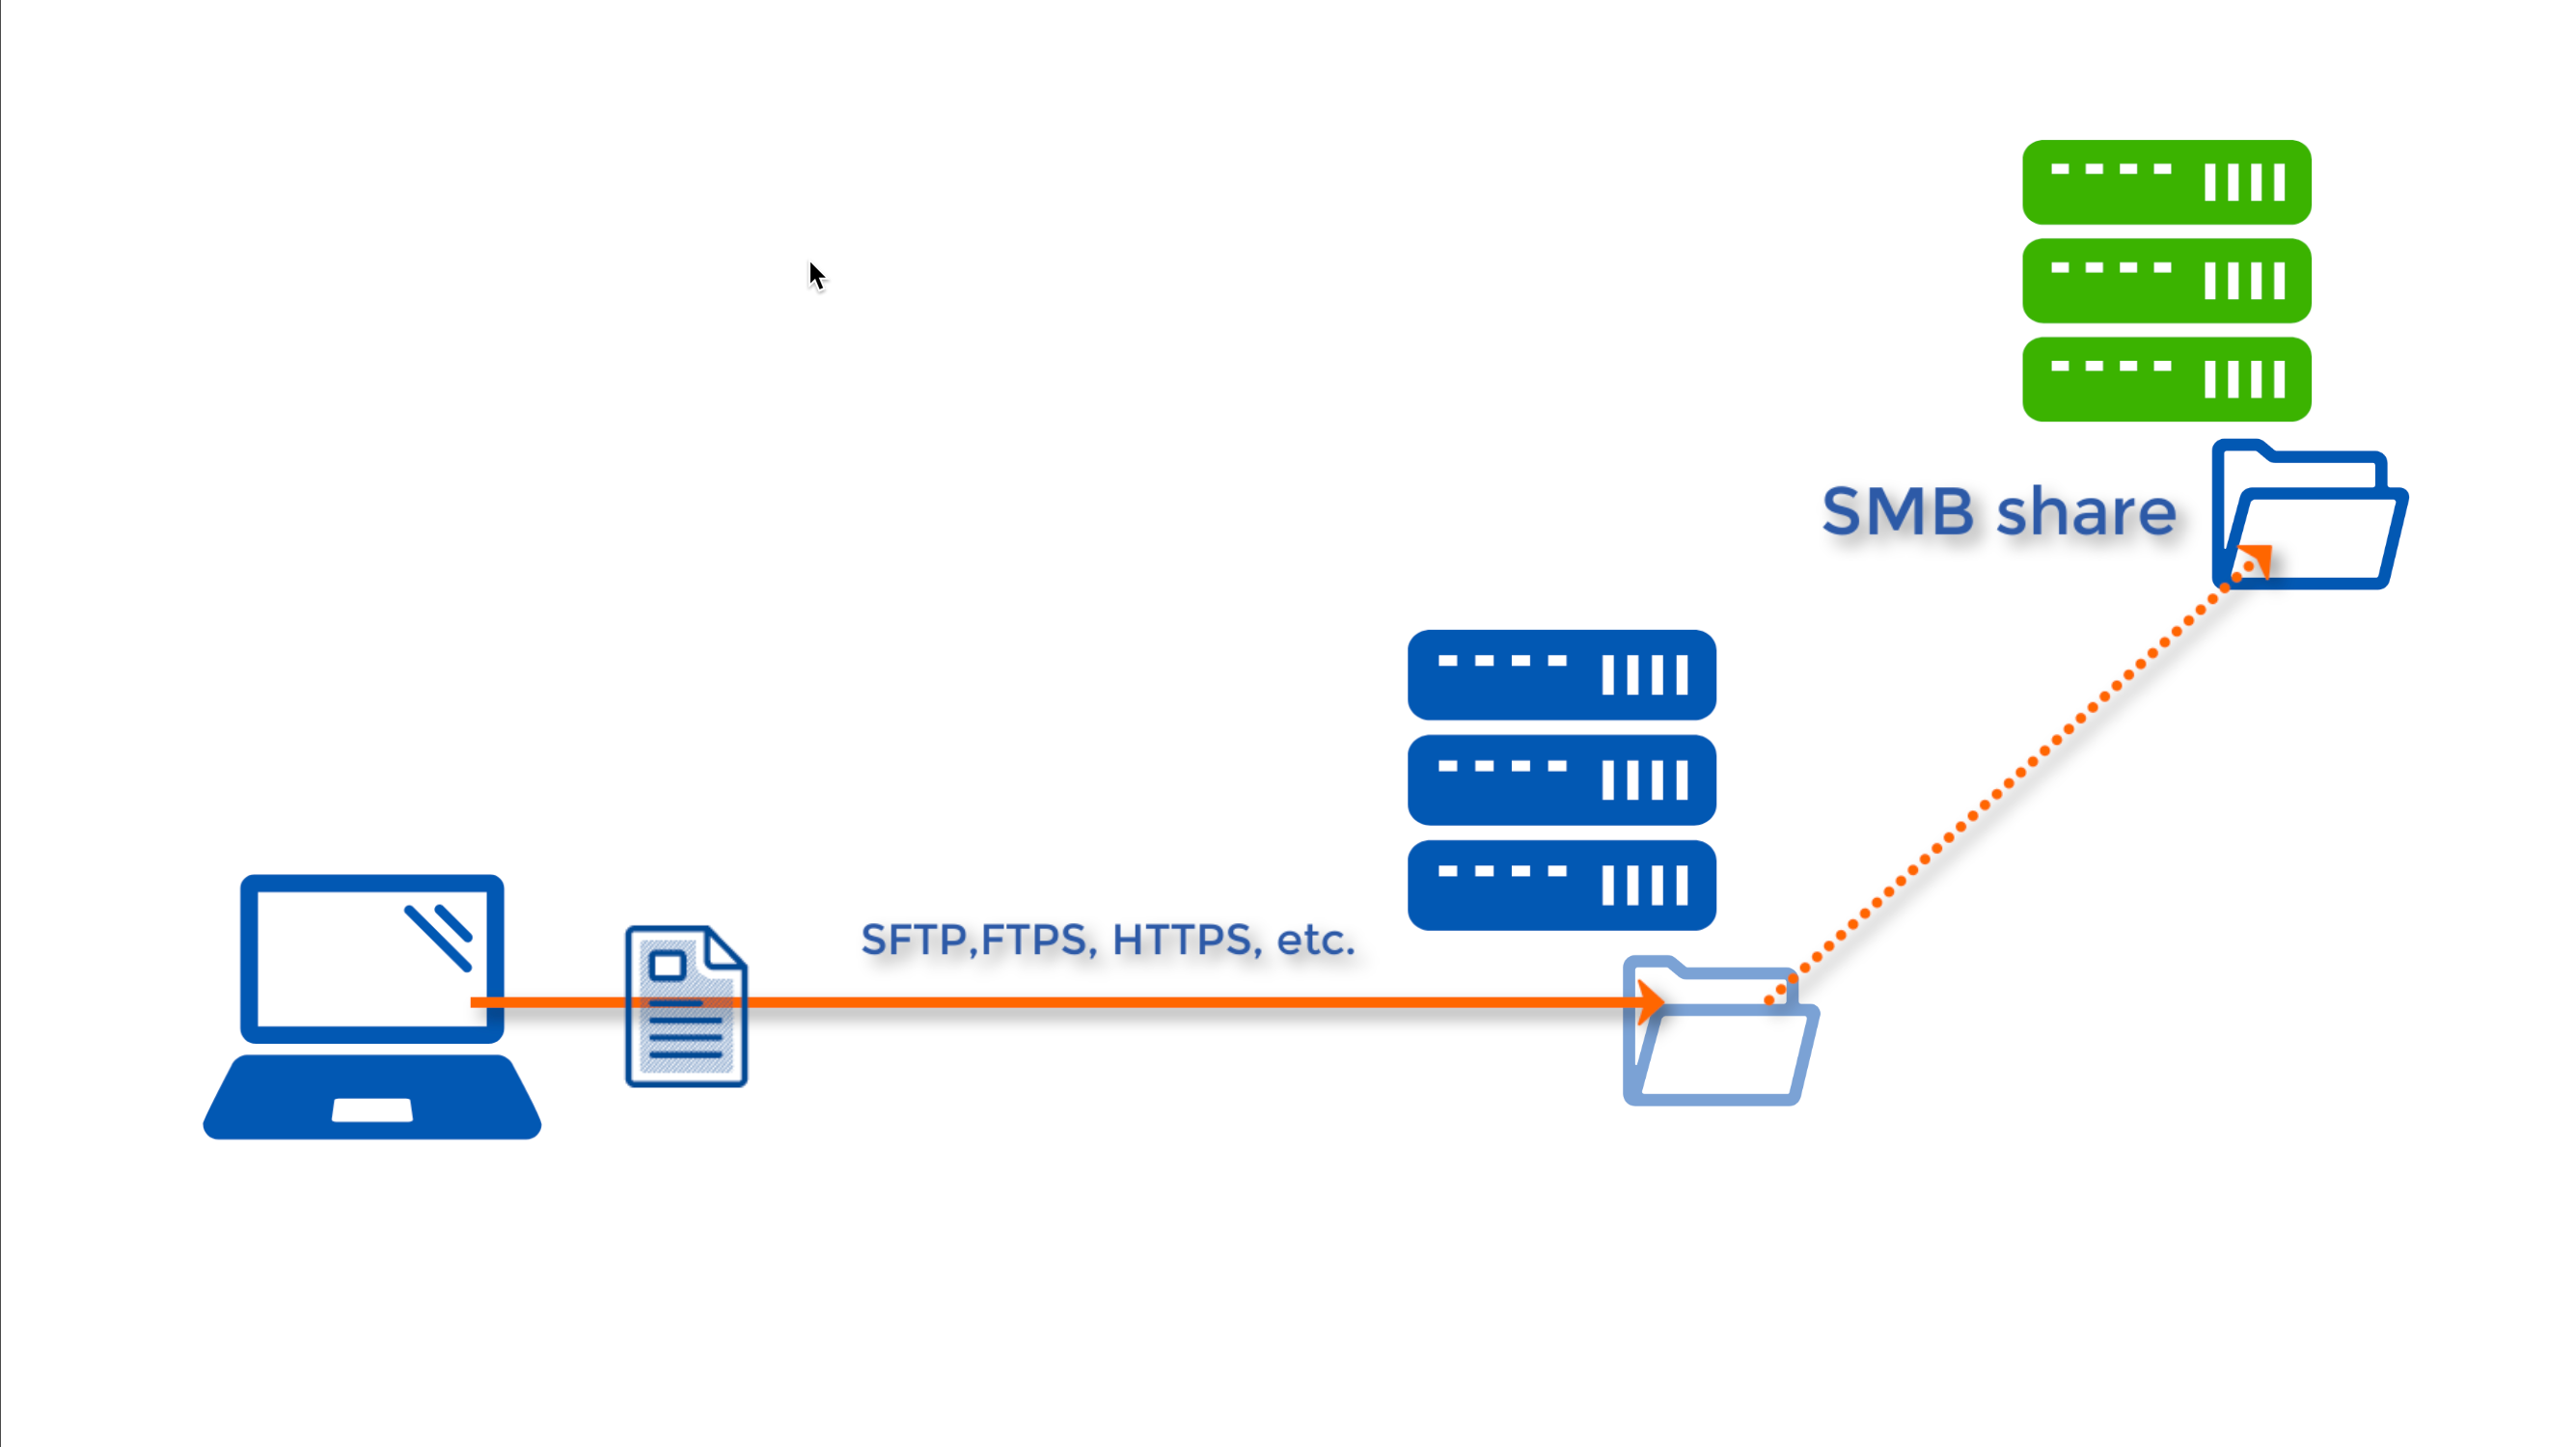
When a user uploads files via FTP/S, SFTP, HTTP/S, or any supported file transfer protocol to JSCAPE MFT Server, those files don’t have to be stored on the same machine as that server. Instead, you can have those files redirected to a variety of network storage options like a remote SFTP service, Amazon S3, Dropbox and several others. In this post we’re going to show you how to store uploaded files to a remote Windows SMB share.
What we want to do
Watch the video
Would you prefer to watch a video version of this tutorial instead? You can play the video below. Otherwise, just skip it if you wish to continue reading.
How to set it up
[This is on the remote Windows host]
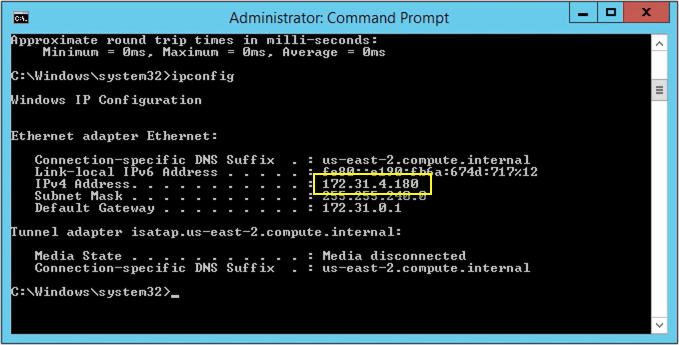
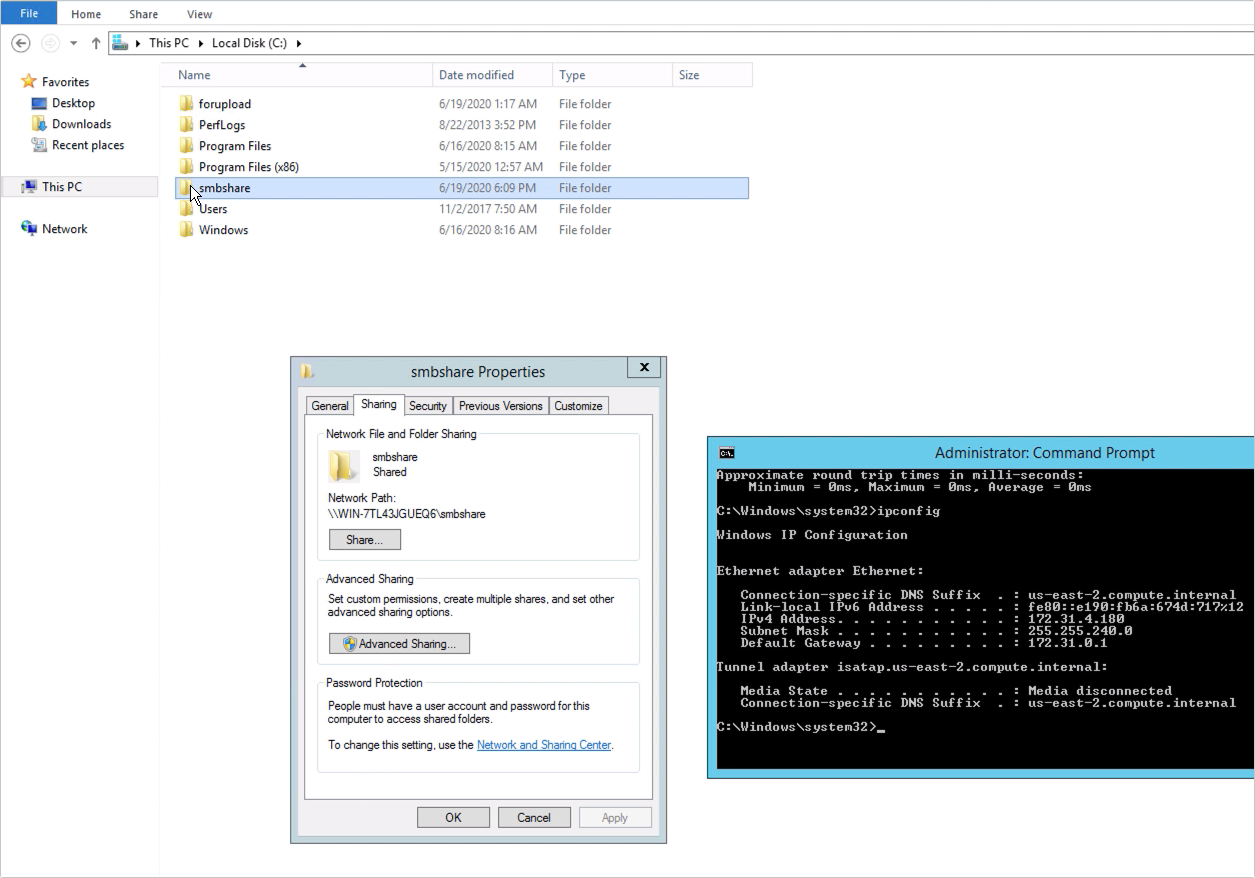
So, we’re now here on our remote Windows host. And before we begin setting things up on JSCAPE MFT Server, let’s grab the IP address of this host first, as we’re going to need it later once we start configuring our network storage object on our JSCAPE MFT Server instance.
In this example, the IP address of our remote Windows host is 172.31.4.180.
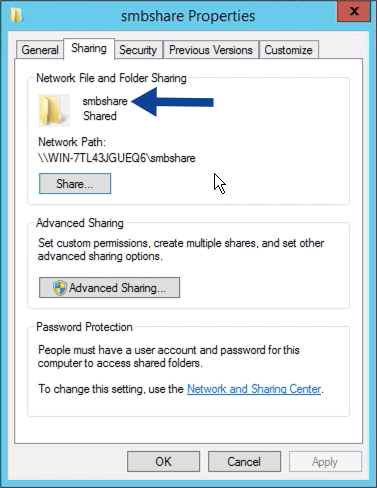
We also need to obtain the name of the SMB share, and we can do that by right-clicking the target folder, selecting Properties from the context menu, and going to the Sharing tab. Here, our SMB share name is simply ‘smbshare’. Yes, we couldn’t think of a better name :-).
[This is on the JSCAPE MFT Server instance]
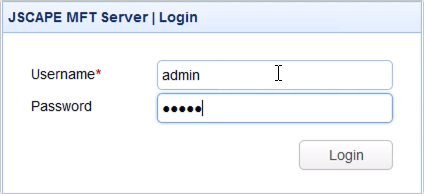
Now that we have all that information, we can now head to our JSCAPE MFT Server instance and log in to the administrative web user interface.
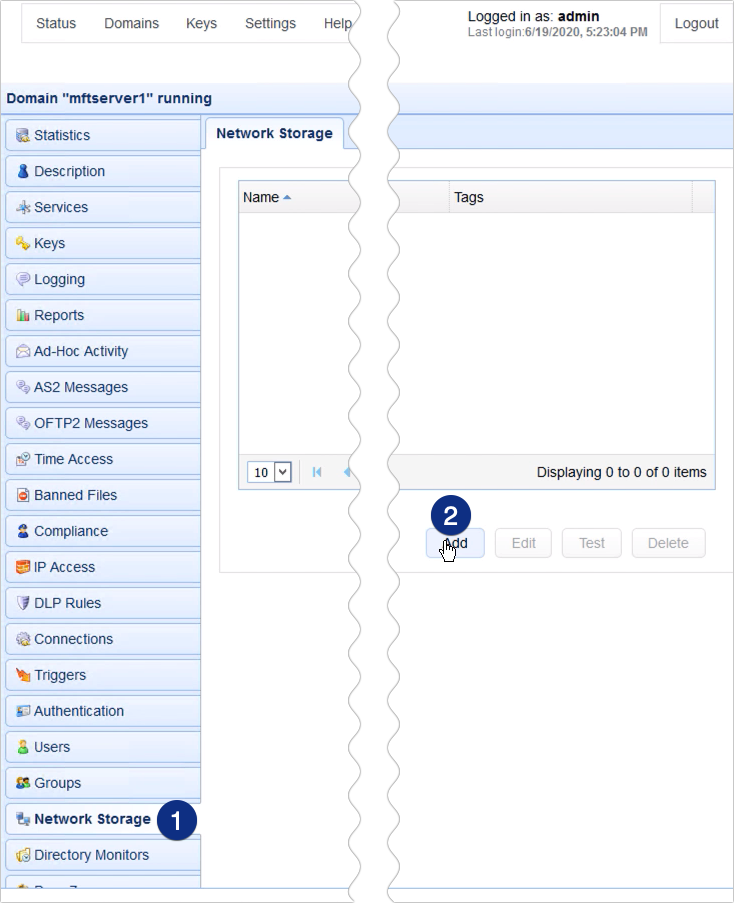
Let’s navigate to a domain and go to the Network Storage module. So, here, we’re going to add a new network storage object by clicking the add button.
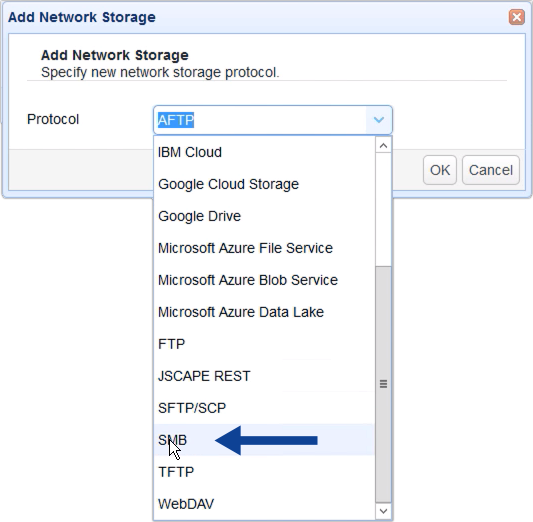
Because what we want to add is an SMB network storage object, we just select SMB from the protocol drop down list. Notice that you have several other options in there and if you’re interested in those, we’ve also shared tutorials for some of them at the end of this article. For now, just click OK to proceed.
You’ll then be brought to the SMB network storage parameters dialog box. Start by giving this network storage a name, say, ‘ns-smb’.
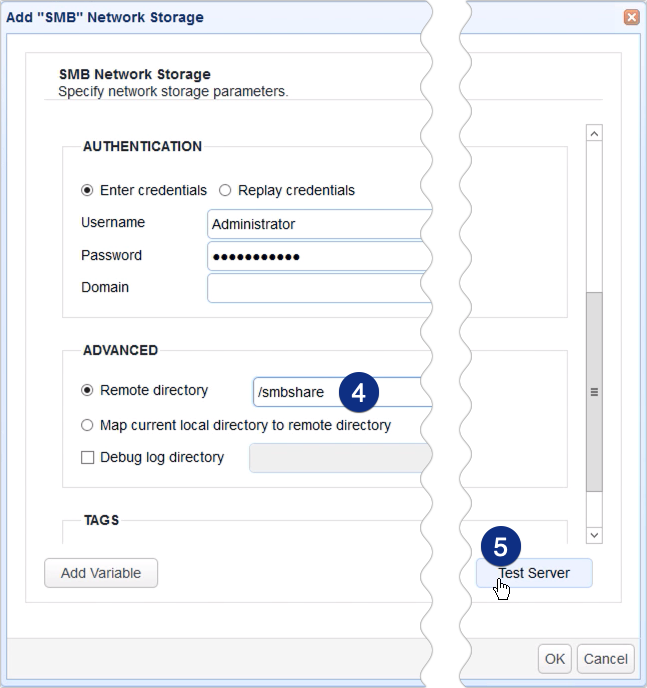
After that, go to the Host/IP field and enter the IP address of the remote Windows host that took note of earlier. You should also enter login credentials of a valid account on that remote host.

Scroll down a bit and, in the Advanced panel, select the Remote directory option and enter the name of the SMB share in the corresponding text box. Note that the name should be preceded by a forward slash (/).
If you want, you may test the connection by clicking the Test Server button…
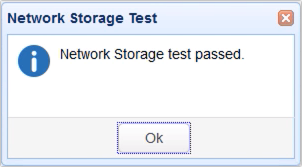
… and if the test succeeds, click OK until you’re back at the main screen.
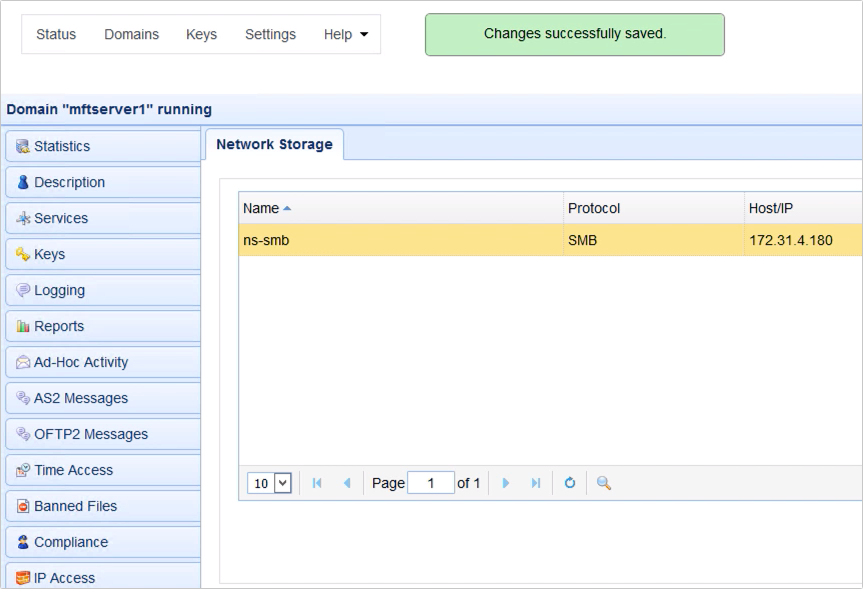
You should then see your newly created SMB network storage object in the Network Storage tab.
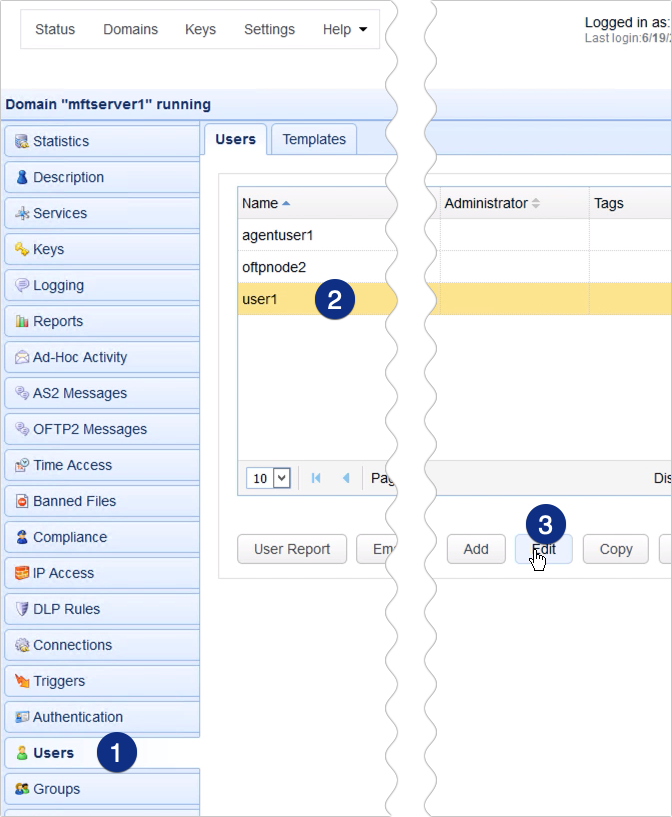
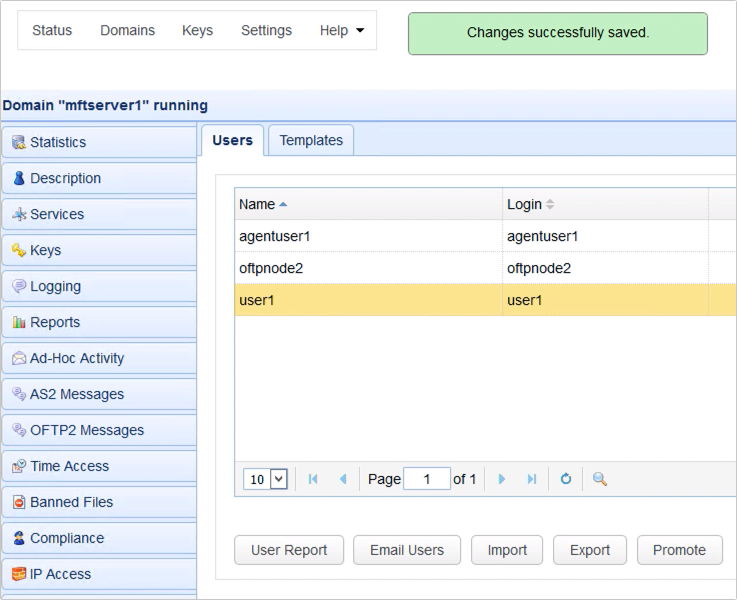
Now, that you’ve created your network storage object. The next step is to map it to either a user’s or group’s virtual path. For this example, let’s just map it to a user’s virtual path. To do that, go to the Users module, select a user whose virtual path you’d like to map this network storage to, and click the Edit button.
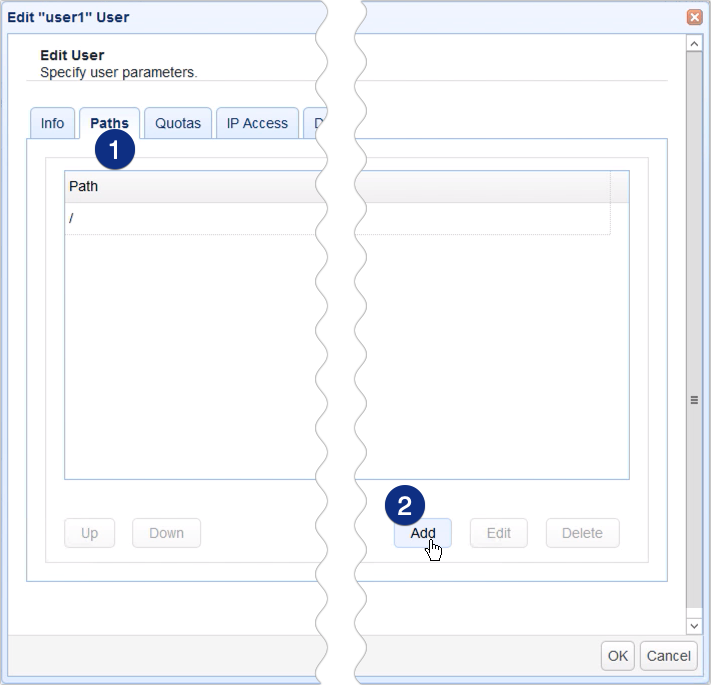
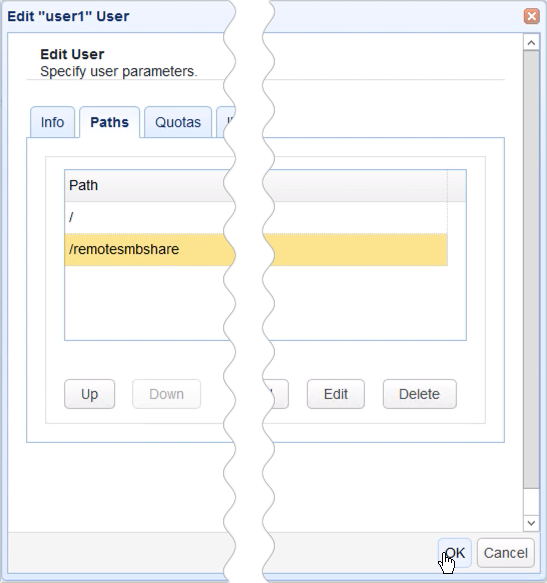
Go to the Paths tab and click Add to add a new virtual path.
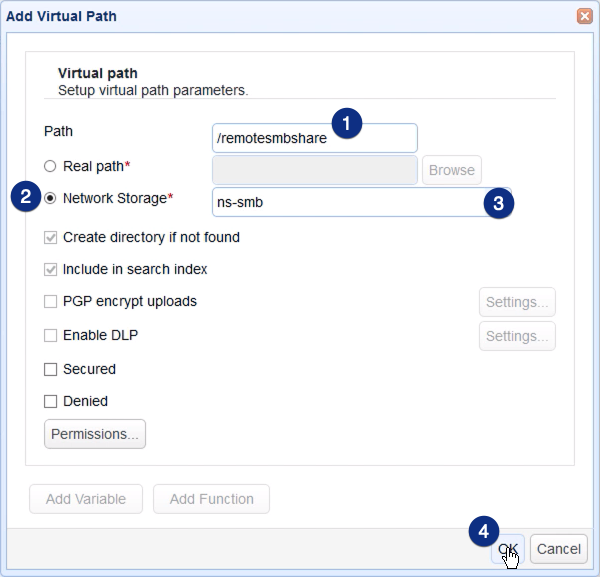
Give this virtual path a name, e.g., ‘remotesmbshare’.
After that, click the Network Storage option and select the SMB network storage object you created earlier.
Click OK to proceed.
And then OK again to get back to the main screen.
Ok. It’s time to try this out.
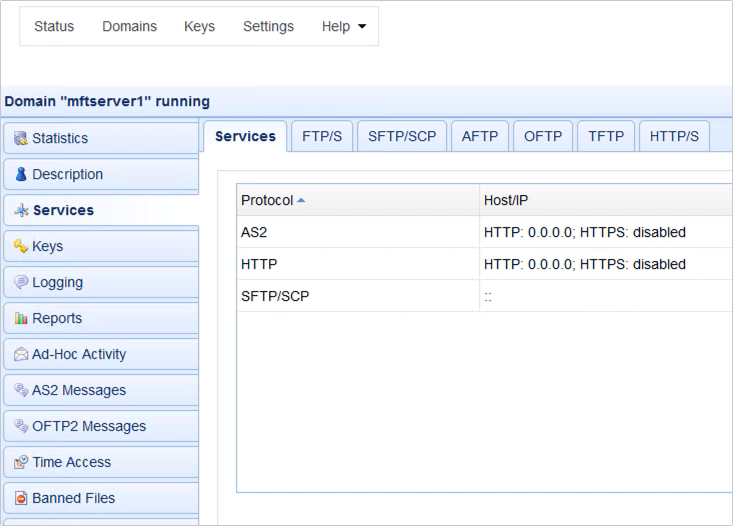
Here in my set up, I have an HTTP and SFTP service, so let’s try connecting with those.
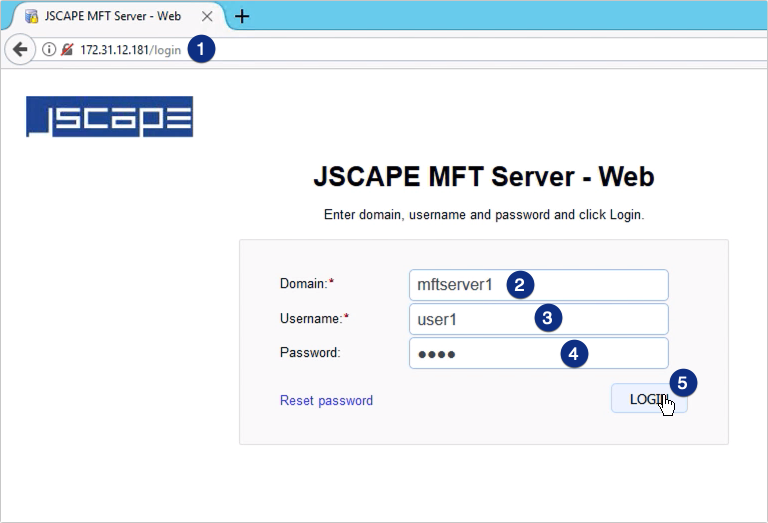
The host where my JSCAPE MFT Server instance is running has an IP address of 172.31.12.181…
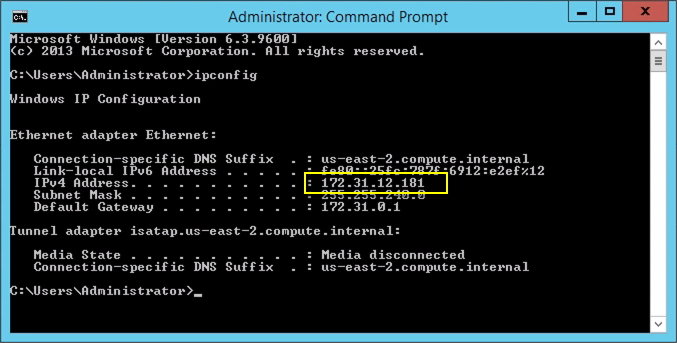
[This is on the client machine]
…so I enter that IP address into the browser of my client machine.
As soon as the login screen of the web user interface loads up, I enter the domain as well as the login credentials of the user account whose virtual path was mapped to the SMB network storage, and then click Login.
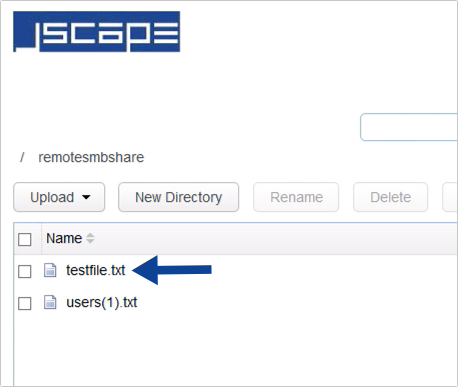
As expected, we see a folder named ‘remotesmbshare’. This is the virtual path that’s mapped to the SMB network storage.
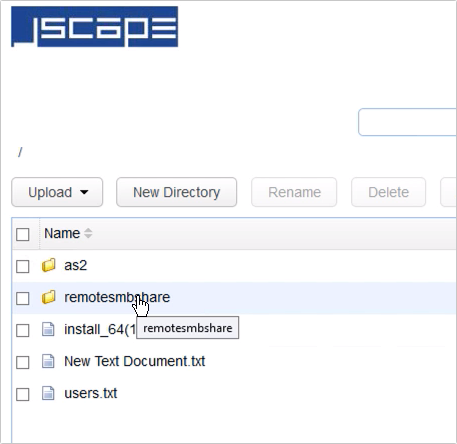
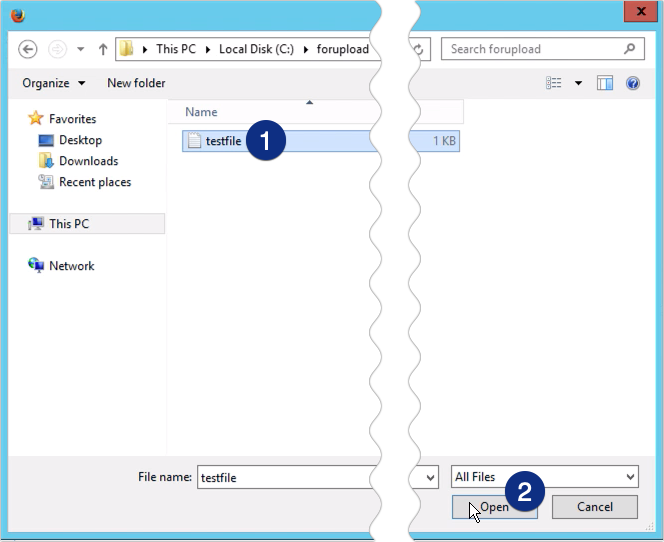
Let’s try uploading a file to this folder.
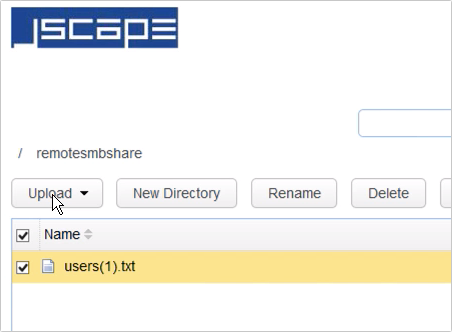
That file should actually be in the SMB share folder on the remote Windows host, so let’s try to confirm that.
[This is on the remote Windows host]
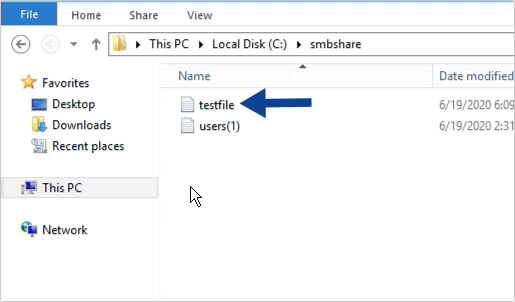
I’m now here in the remote Windows host, so let’s navigate into the shared folder…
… and here, as you can see, the uploaded file is in this shared folder.
[This is back on the client machine]
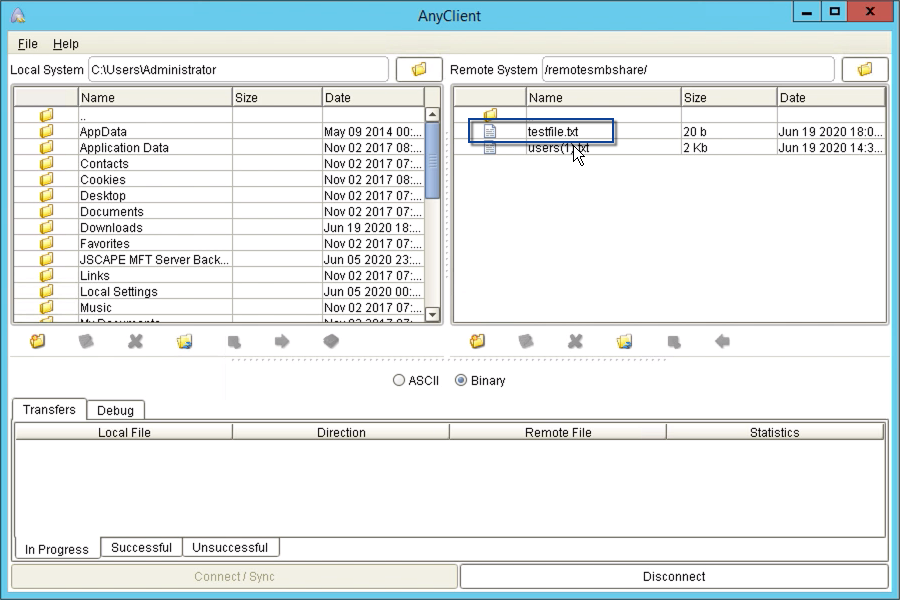
The shared folder should be accessible regardless which file transfer protocol you use. So if we go back to our client machine and connect to our JSCAPE MFT Server instance using SFTP, which, if you recall is also enabled on that server…
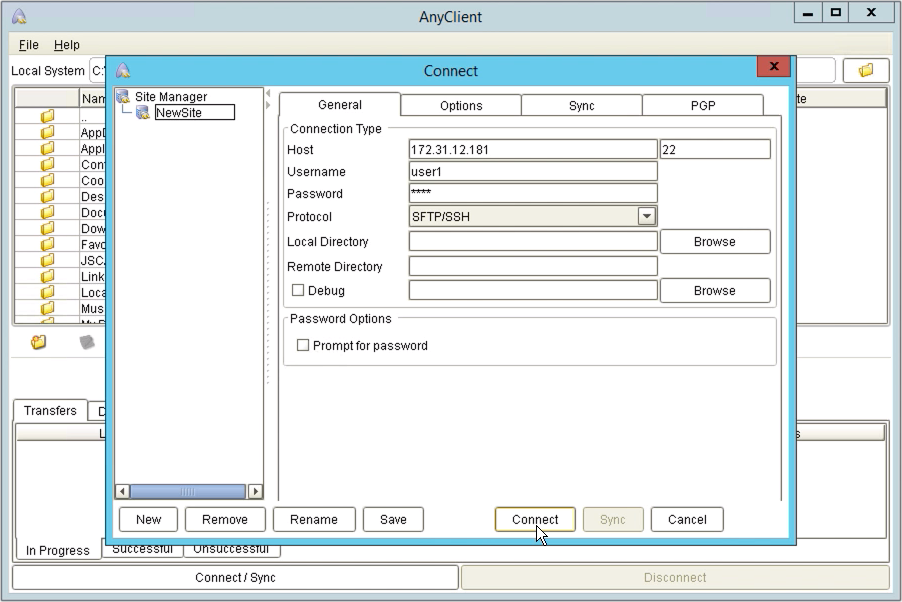
We can see the same file on the virtual path named ‘remotesmbshare’.
That’s it. Now you know how to use a Windows SMB share as network storage for your file transfer server.
Try this out
Would you like to try this out yourself? Download the FREE, Starter Edition of JSCAPE MFT Server now.
Related content
How To Use DropBox As Cloud Storage For Your MFT Server
How To Use Box As Cloud Storage For Your MFT Server
Using A Remote FTP/S Service As Network Storage For Your MFT Server
Using A Remote SFTP Service As Network Storage For Your MFT Server
How To Use Google Storage As The File Storage System Of Your MFT Server

