
Because Microsoft Windows doesn’t have a secure file transfer protocol server built in, we’ve put together a simple and easy-to-follow tutorial on how to install an SFTP server on Windows.
The SFTP server we’ll be using for this tutorial is JSCAPE MFT Server, a managed file transfer server that supports SFTP connections and several other file transfer protocols like FTP, FTPS, HTTP/S, WebDAV, AS2 and OFTP, as well as SSL and TLS. JSCAPE also offers a cloud solution called MFTaaS.
JSCAPE is designed to work with Windows (including Windows Server and Windows 10), Linux, Solaris and MacOS X. As opposed to open source secure FTP servers, JSCAPE provides proactive end-to-end support including Health Checks and a Self-Healing Platform for pre-emptive error detection, offering superior reliability for enterprise file transfers.
Installing The Server | Request Your Free Trial
To download the free SFTP server installer, request your free JSCAPE MFT Server trial.
One of our product experts will ensure you have everything you need to get started using JSCAPE.
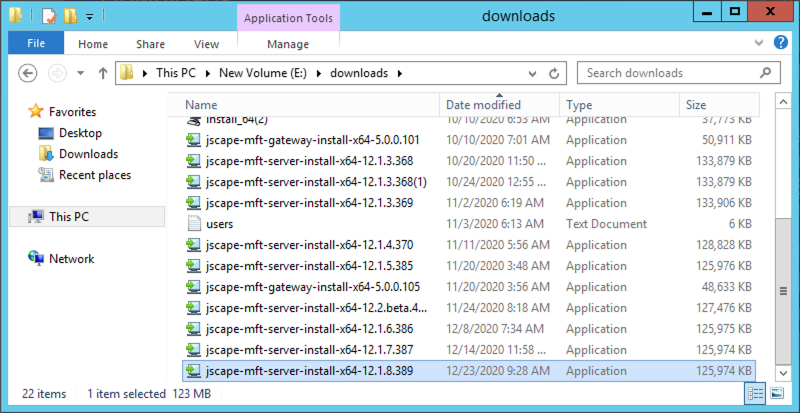
Reminder: make sure you download the installer that’s appropriate for your operating system version.
- If you have a 32-bit Windows system, then download install.exe.
- If you have a 64-bit Windows system, download install_64.exe.
As soon as you have the SFTP Server installer on your Windows machine, double-click it to launch.
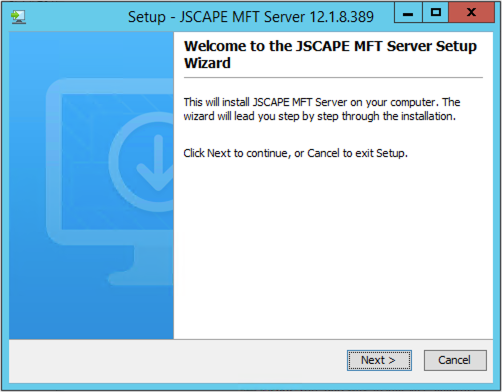
That should bring up the JSCAPE MFT Server software wizard’s welcome screen. Click Next to proceed.
Next up is the License Agreement. Go through the contents of that agreement. If everything looks good to you, select the option labeled “I accept the agreement” and then click the Next button.

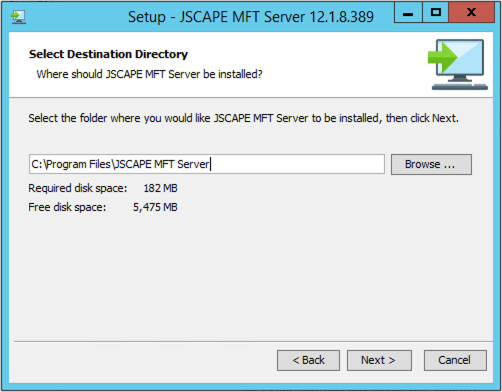
You’ll then be prompted to enter the installation’s destination directory. This is where all the server’s files will be stored. Normally, the installation will be placed under the C:\Program Files\JSCAPE MFT Server directory. If you want it to be stored in another directory, just click the Browse button and browse to your desired directory. Once you’re done, click the Next button.
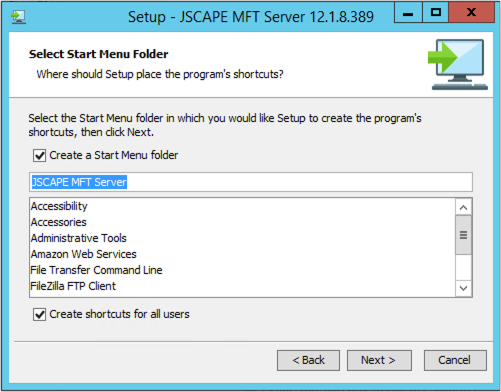
The wizard will then ask you whether you want to create a Start Menu folder for this program. If you want to access JSCAPE MFT Server from the Start Menu, just leave everything as is and then click Next.
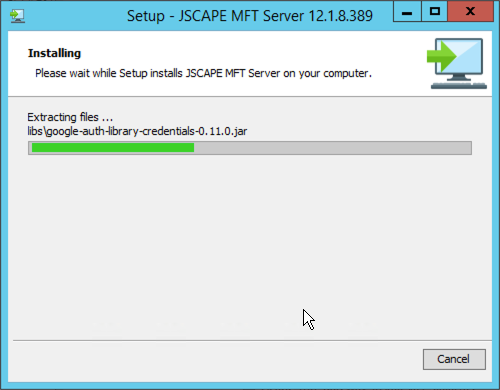
Wait for the progress bar to complete.
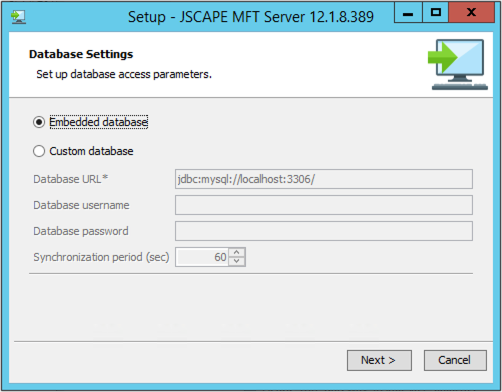
In the next screen, you’ll be asked to set up the database parameters. Basically, JSCAPE MFT Server stores server configuration data in a database. If you choose the Embedded database option, all server configuration data will be stored in the embedded H2 database found in the [mft server installdir]/data directory.
If you choose the Custom database option, that means you want to store the configuration data in an external RDBMS like MySQL, MS SQL Server, Oracle, or PostgreSQL. In this case, you need to specify the database URL of the database in your RDBMS.
Let’s just select the Embedded database for now. It’s the default option, so you don’t have to do anything. Just click Next.
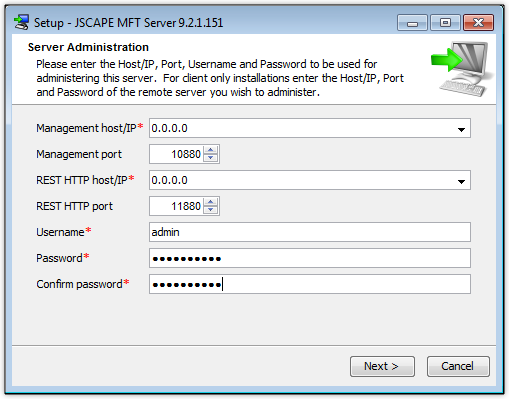
After that, you’ll then be presented with some administrative login settings. This would include the IP address of the management host, the management port, REST HTTP IP address, REST HTTP port, administrative username, and administrative password. Take note of the REST HTTP port, as we’ll be needing that later when we enable the SFTP service via a web browser.
Except for the username and password, you might want to leave those settings to their default values.
Click Next to proceed.
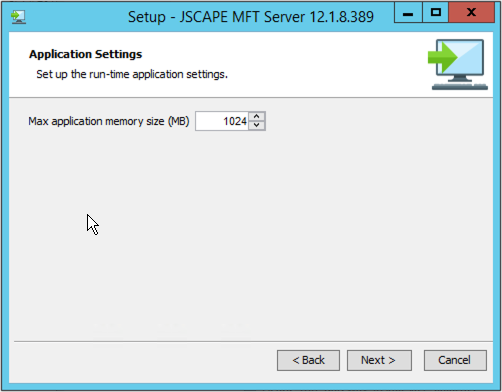
After that, the system will ask you to enter the maximum memory size it should reserve for this application. The default value is 1024 MB, which is all you’ll need for now.
Click Next to proceed.
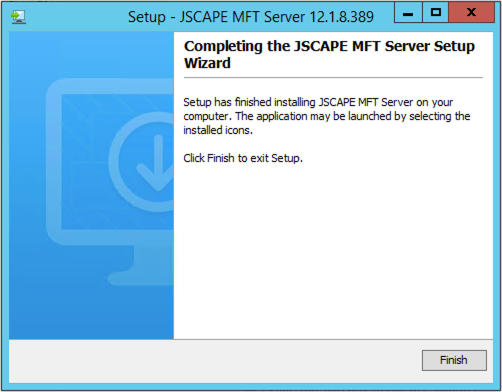
Finally, you’ll reach the screen indicating the end of the setup wizard. Click the Finish button to finalize the setup process.

Creating The SFTP Service
Now that you’ve installed JSCAPE MFT Server, the next step would be to enable the SFTP service. Let’s do that through the Web-based user interface. If you recall, we asked you to take note of the REST HTTP port. If you didn’t change the setting during installation, the default value would be 11880.
Enter https://[host or ip address]:11880 into a web browser and click Enter.
The host or IP address refers to the hostname or IP address of the machine that’s running your newly installed JSCAPE MFT Server. If you’re doing this locally, just enter:
On the other hand, if the server is running on another machine with IP address 192.168.100.102, for example, then enter:
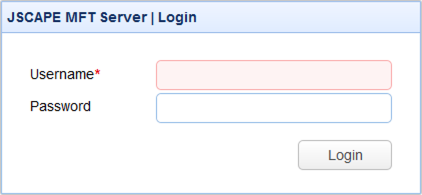
That should bring up the login screen. Enter the admin username. If you simply followed this example, that should be “admin”. Enter the admin account’s corresponding password. To finally gain access, click the Login button.
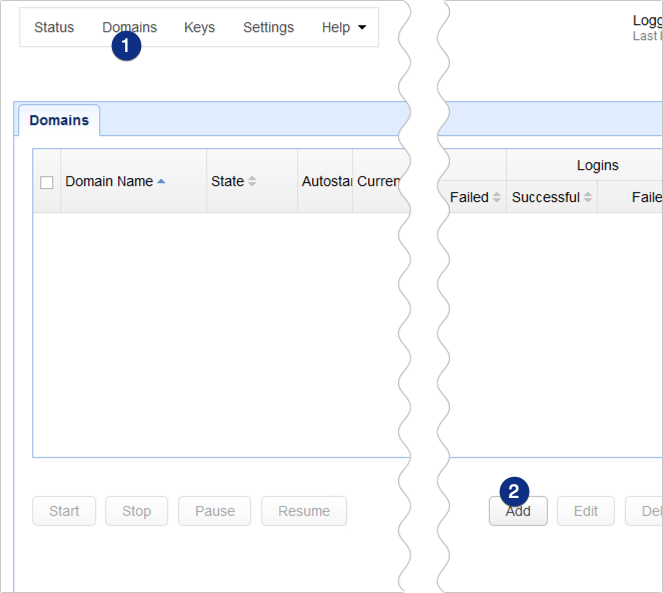
Once inside the administrative interface, the first thing to do would be to add a new domain. Navigate to the Domains tab and then click the Add button to add a new domain.
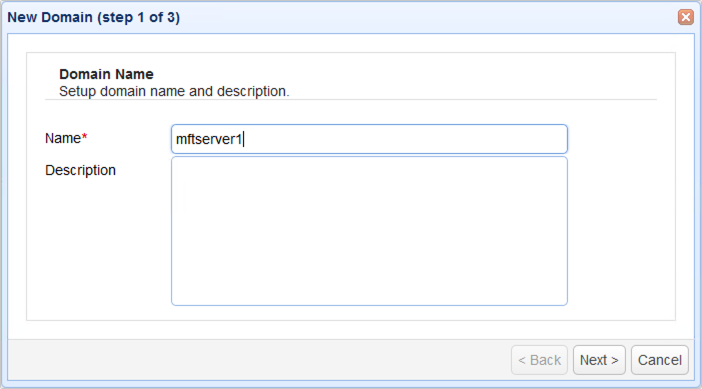
Give the domain a name (e.g. mftserver1) and then click the Next button again.
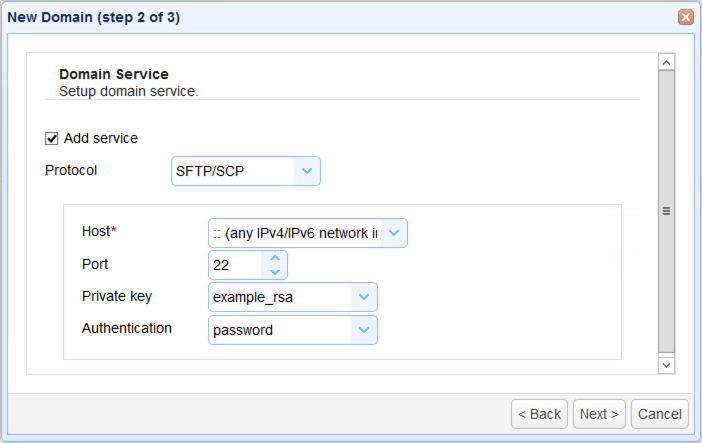
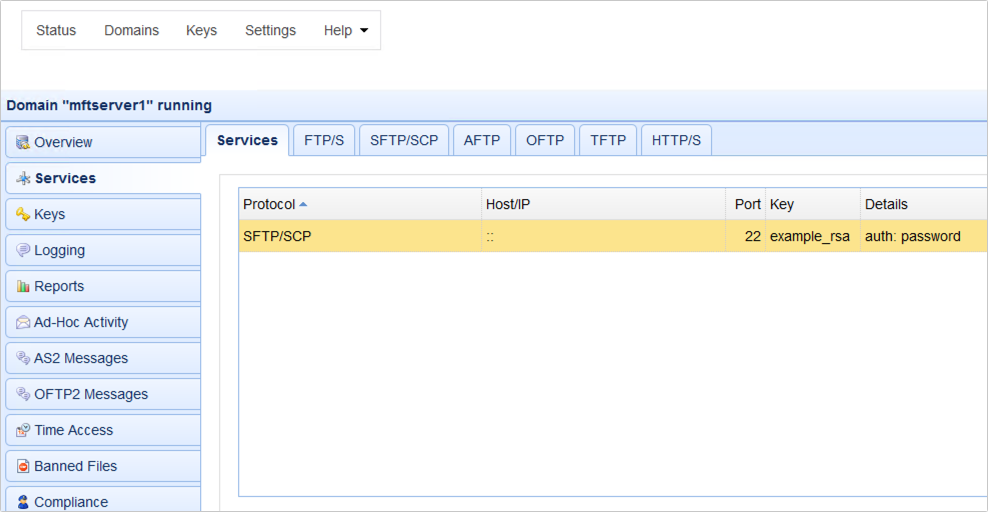
Here we are. This is the part you’ve been waiting for. This is where we enable the server’s SFTP service. Expand the Protocol drop-down list and select SFTP/SCP. Notice that, when you expand the list, you’ll also see several other file transfer protocols, including: AFTP, AS2, FTP, FTPS, HTTP, HTTPS, OFTP, TFTP, WebDAV, and WebDAVs.
For now, because we just want to set up a Windows SFTP server, let’s just select SFTP/SCP. But at least you know there are other file transfer protocols to choose from.
Just leave the host IP address as is. The default port number of SFTP is 22. Leave that as well.
The private key chosen there is just for testing purposes. It should never be used in a production environment. If you want to know where you can change that and what it’s for, I suggest you read the article: Setting Up An SFTP Server.
Notice too that Authentication is set to password by default. This is the authentication method that the server will use each time a user requests a data transfer to or from this Windows SFTP server. Password authentication is just like any regular login. The user is simply asked to enter a username and a corresponding password.
It’s worth noting, however, it’s also possible to select public key authentication (host key) or even password AND public key authentication, with support for SSH, OpenSSH, Putty and more. The method of authentication that combines password authentication and public key authentication, is a two factor authentication process and provides for really strong authentication. We won’t go into the details of that here. But if you’re looking for more secure ways of authenticating your users, just click those links!
Done here? Click Next to proceed.
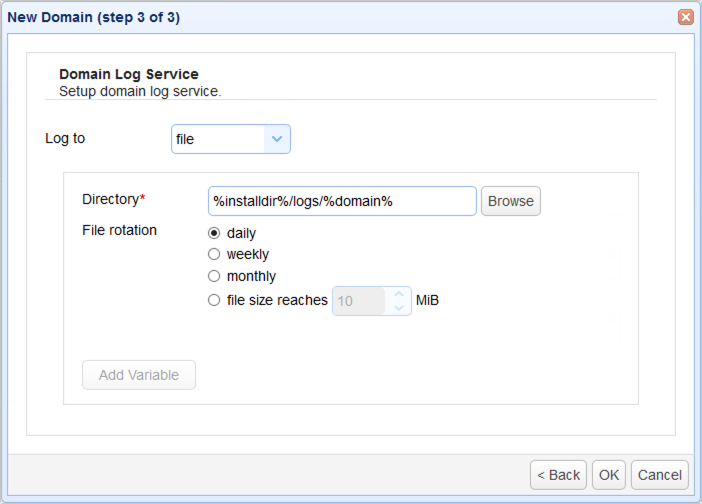
Just click the Next button on the succeeding screens to accept the default values.
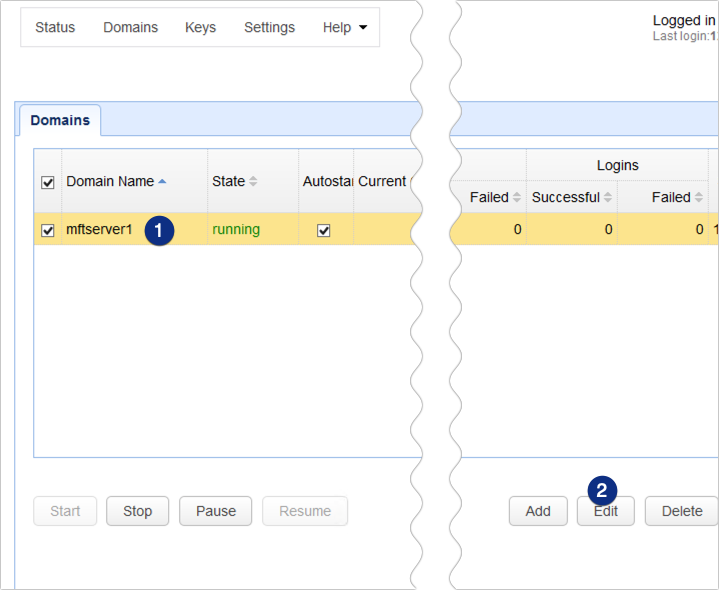
Once you’re back at the main screen, you should see your newly created domain under the Domains tab. However, don’t celebrate just yet.
Although you should already have an SFTP server up and running, you won’t be able to use it yet. You still need to create a user to login with.
Select the domain you recently created and click the Edit button. You may also double-click on the domain if you want.
While you’re inside, drop by the Services menu and say “hi!” to your newly created SFTP service sitting there by its lonesome. In case you failed to select SFTP during installation, you may also add an SFTP service here. Just click the Add button and select SFTP/SCP to add a new SFTP service.
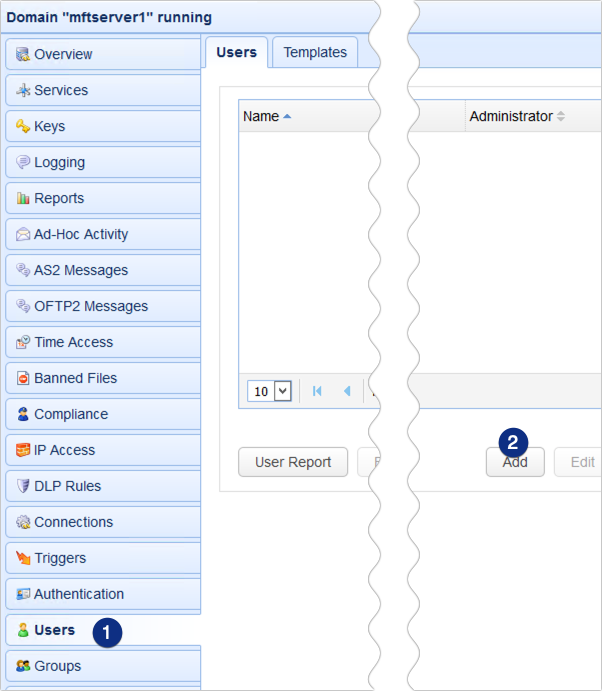
Scroll down that column of menus until you reach the one labeled Users. Click it and then click the Add button.
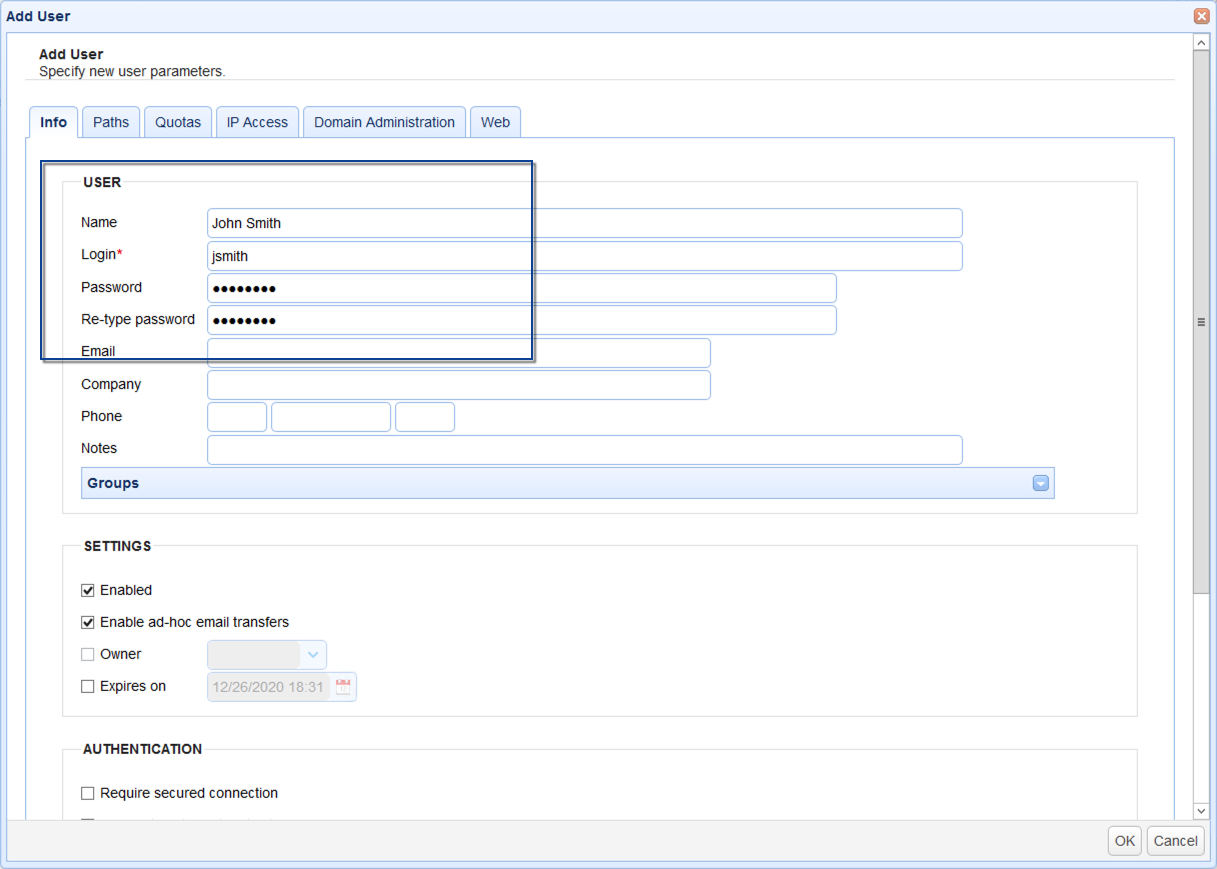
Select the Default template and then click OK.

Enter a Name, login name and password for this user.
After that, click OK.
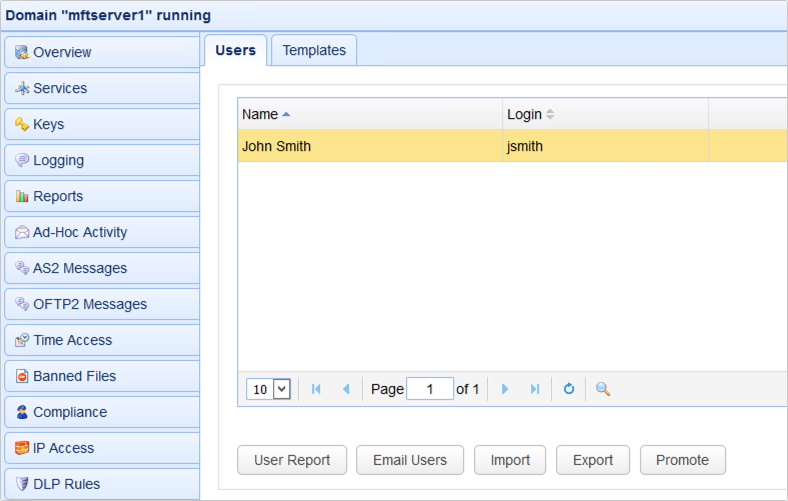
You should then see the newly created user under your Users tab.
That’s it. In our next post, we’ll show you how to connect to this Windows SFTP server using that user account through a Windows SFTP client. Stay tuned for that. In the meantime, have a nice day and thanks for reading.
Get Your Free Trial
Would you like to try this yourself? JSCAPE MFT Server is platform-agnostic and can be installed on Microsoft Windows, Linux, Mac OS X and Solaris, and can handle any file transfer protocol as well as multiple protocols from a single server. Additionally, JSCAPE enables you to handle any file type, including batch files and XML.
Get started when you request your free trial here.
Related Content
Guide On How To Set Up An SFTP Server
Install A Linux SFTP Server Via Command Line And Configure Via Web UI