

In this tutorial, we're going to show you how to automatically upload files to a remote server as soon as the files are added into one of your MFT Server's local directories.
Getting Started
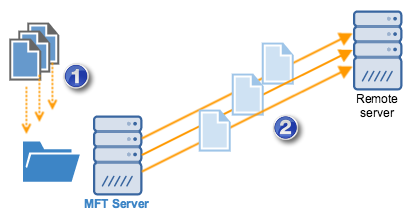
In this process, we want to automate a process wherein files are uploaded to a remote server as soon as they arrive at a designated folder/directory on your FTP server or FTP site. These files might be coming from different business processes or systems in your local IT environment and need to be forwarded to a trading partner or business unit. Or, they can be remote files that arrive as FTP uploads, perhaps making synchronization necessary.
Let's now go through the steps to apply JSCAPE's workflow automation functionality to this process, without scripting.
1. Create A Directory Monitor For Detecting Files That Are Added To A Designated Directory
First, we need a way to automatically detect that files/docs have arrived at the directory in question. To do that, we create what is known as a Directory Monitor. This directory monitor should be configured to monitor the directory in question for files added.
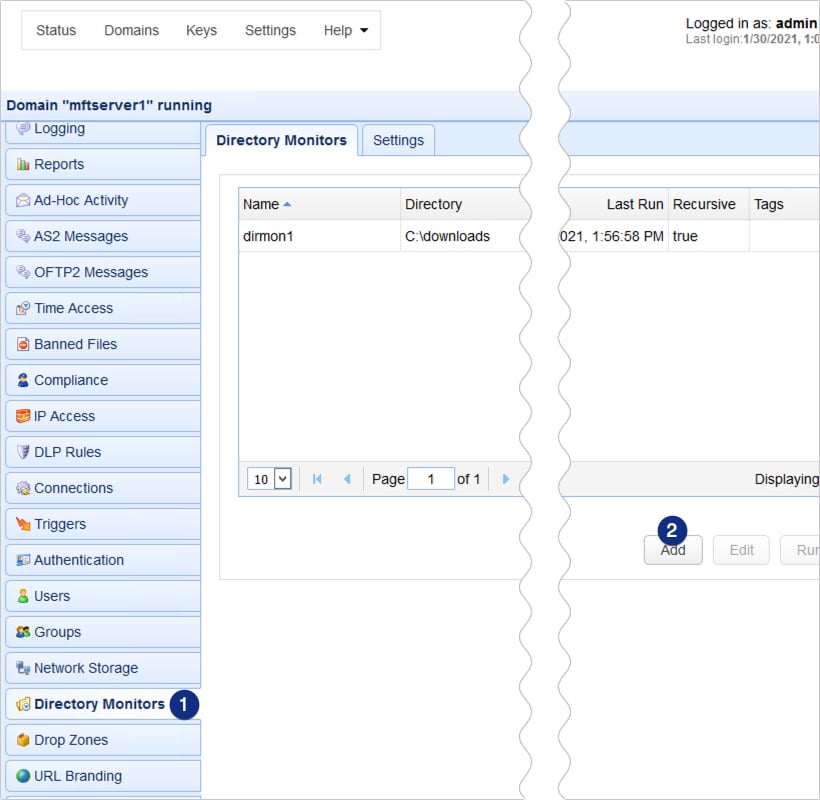
To create a Directory Monitor, go to the Directory Monitors module and click the Add button.
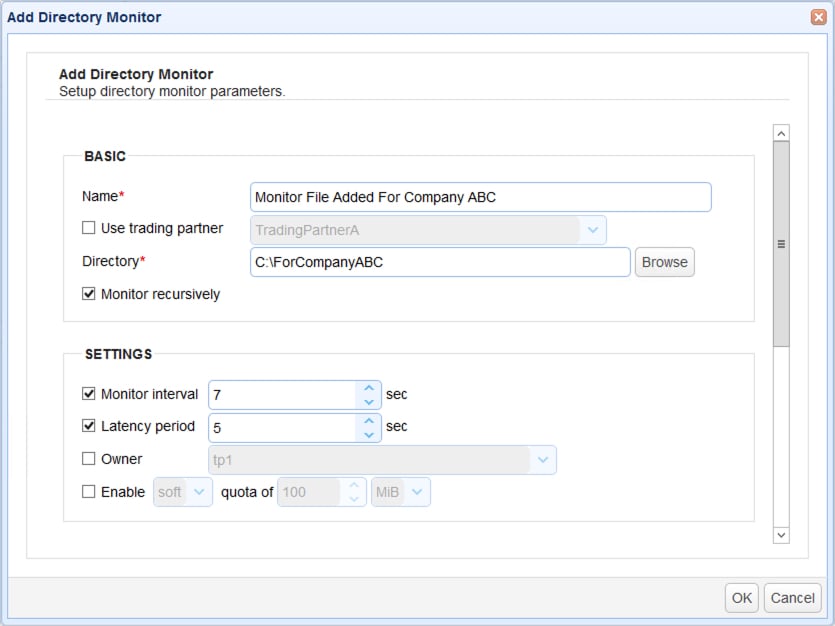
You should then be prompted to enter the Directory Monitor parameters. Give the Directory Monitor a Name (e.g. "Monitor File Added For Company ABC") and select the specific Directory you want to monitor.
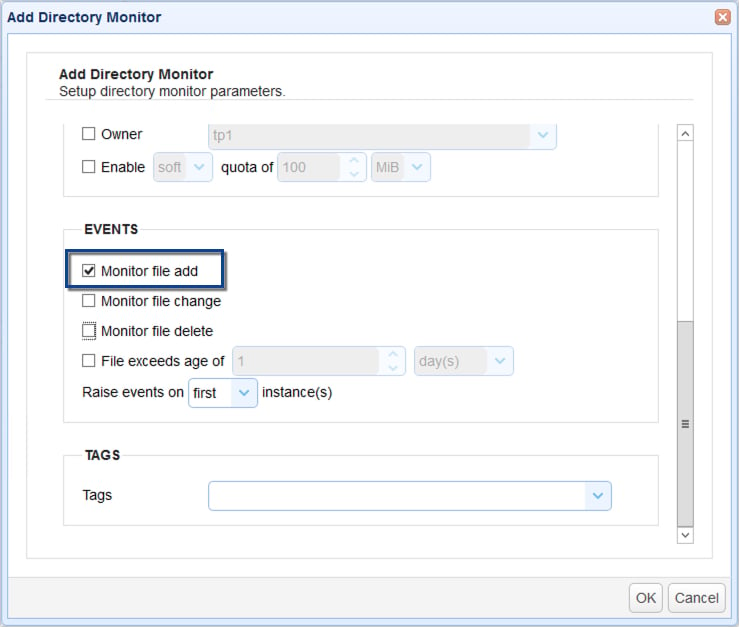
Make sure the "Monitor file add" checkbox is selected.
As soon as you're done, click the OK button to proceed.
Once you're back at the main screen, you should then see your newly created Directory Monitor in the Directory Monitors tab.
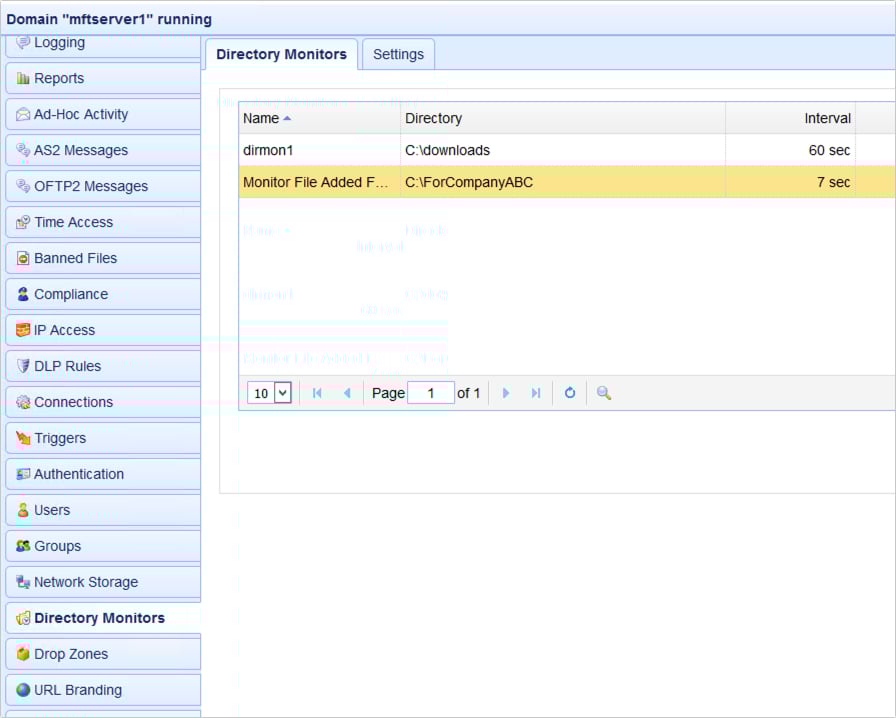
The Directory Monitor you just created will fire a "Directory Monitor File Added" event type as soon as a file is added to the directory. Note that each file added to the directory will fire one instance of the said event. So if five file names are added, then five such events will be subsequently fired. The next thing we need to do is create a trigger that would respond to these events.
2. Add A Trigger That Responds To The "Directory Monitor File Added" Event Type
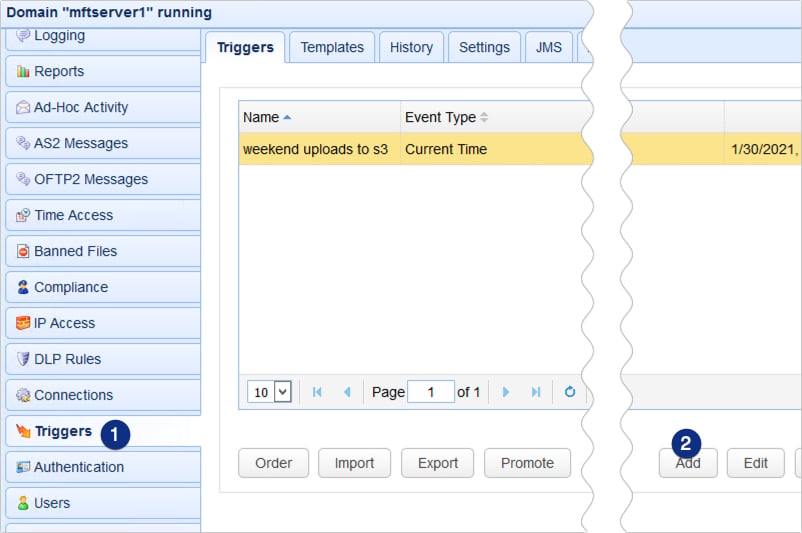
Go to the Triggers module and click the Add button.
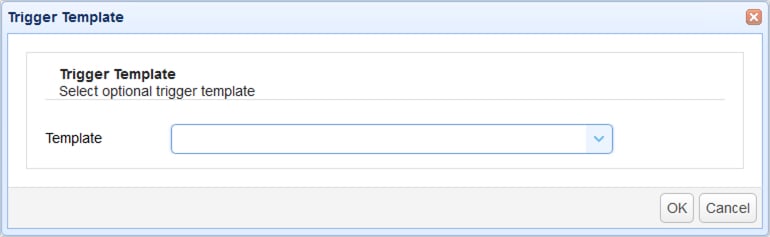
You'll then be given the option to choose a trigger template. Let's not select any for now and just click the OK button.
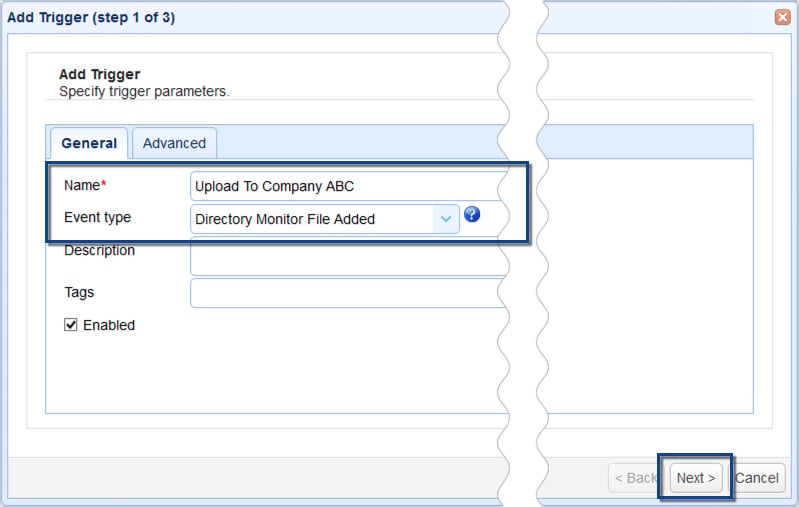
When you're asked to specify the trigger parameters, give the trigger a descriptive name (e.g. "Upload To Company ABC") and select the "Directory Monitor File Added" Event type. Click Next to proceed.
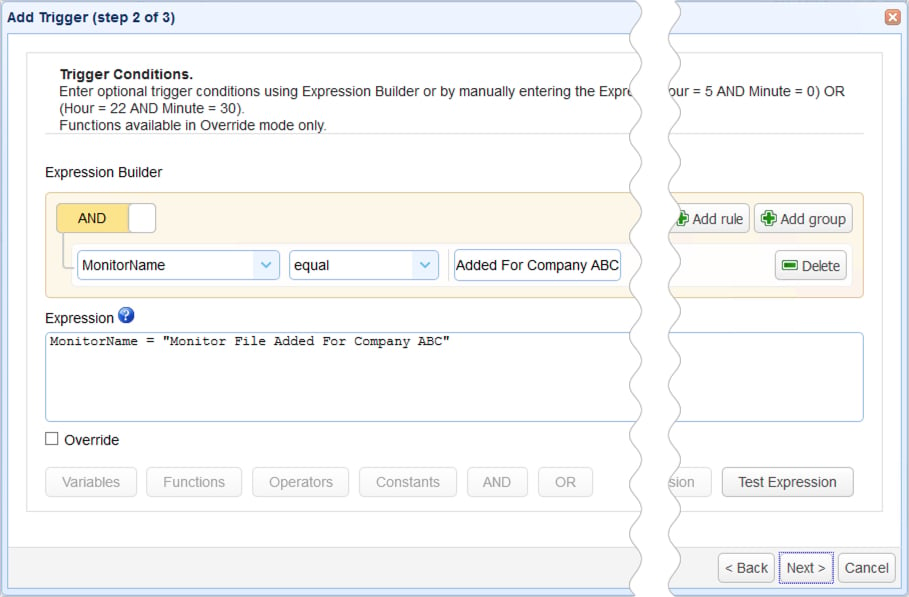
Because you might also be monitoring several other directories, you'll want to configure this trigger so that it only responds to a specific Directory Monitor. In our case, that would be the monitor named "Monitor File Added ForCompanyABC".
To do that, just build the following expression using the Expression Builder:
MonitorName = "name_of_directory_monitor"
Where name_of_directory_monitor should be replaced with the name of your directory monitor. In our case, that would be 'Monitor File Added For Company ABC'.
Recommended read: Introducing the New Trigger Conditions Expression Builder
Click Next to proceed.
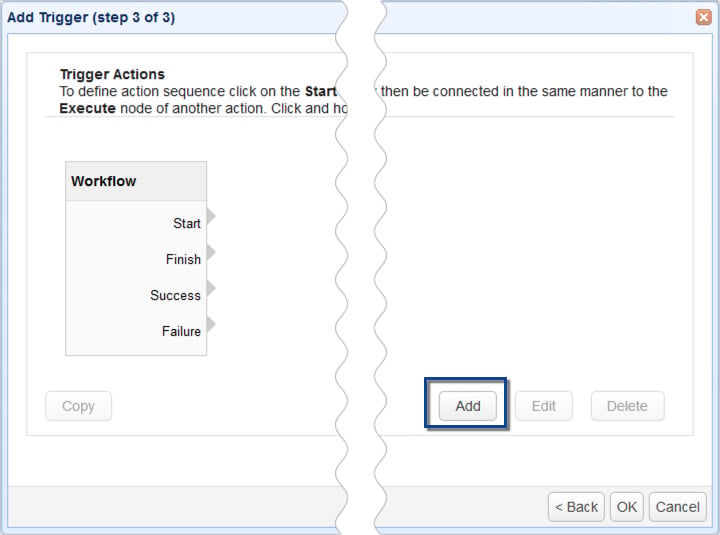
3. Add A Trigger Action For Uploading The Newly Added Files To The Remote Server
Let's now move on to the last part of this process. This is the part that uploads the files to the remote server via an SSH FTP connection or similar.
Click the Add button to add a trigger action.
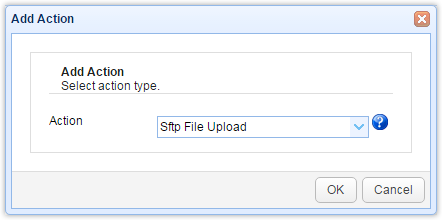
If you scroll down the list of trigger actions, you'll notice that you have several "file upload" trigger actions at your disposal. You can upload to different file transfer servers, including FTP, FTPS, SCP, WebDAV, etc, as well as to trading partner objects. For this example, we'll just choose the "SFTP File Upload" trigger action, which will upload our files to a remote SFTP server.
Click OK to proceed.
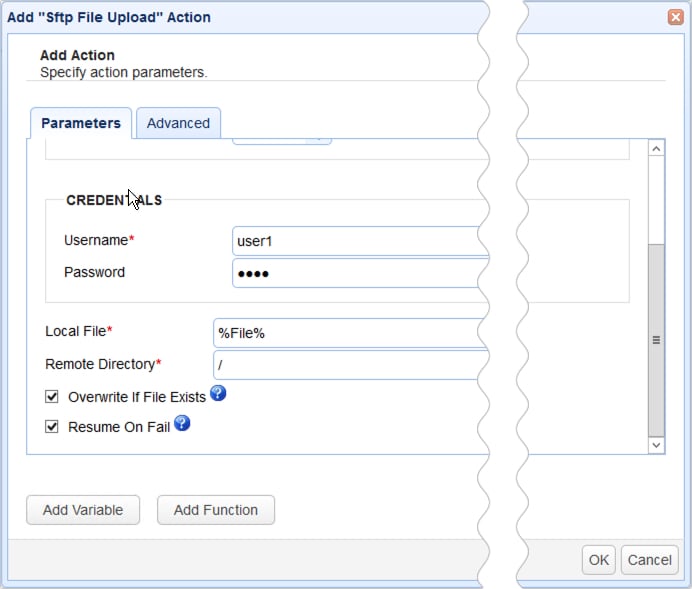
Enter pertinent details of the remote SFTP server. The most commonly used parameters include the Hostname/IP address, Port number (normally 22 for SFTP), Username, and Password.
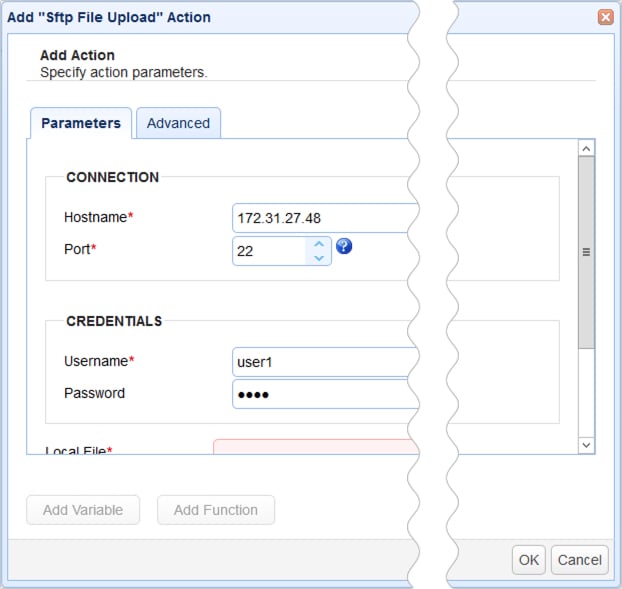
You also need to specify the Local File you want to upload. Because we want to upload each file that's added into the monitored directory or subfolder, the best way to go about this would be to use the %File% variable. The value of the %File% variable in this particular context is the local path of the file that was recently added to the directory.
If multiple files are added to the directory, then the value of the %File% variable will change. Each instance of the Directory Monitor File Added event will correspondingly have its own value for the %File% variable.
Lastly, you can specify the remote directory where the files will be uploaded. In our case, we just used the forward slash (/) to specify that we want the files to be uploaded to the remote user account's root directory.
Once you're done, click OK.
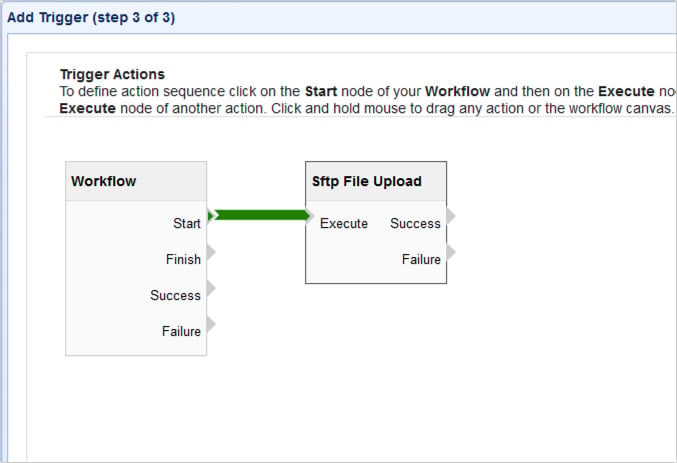
Complete the trigger action flowchart by dragging an arrow from the Start output of the Workflow node to the Execute input of the SFTP File Upload node.
Recommended read: Introducing the Redesigned Trigger Action Workflow
That's it. After you click the subsequent OK buttons and get back to the main screen, you are finished setting up JSCAPE MFT Server so it will automatically upload files to a remote server.
Get Your Free Trial
Would you like to try this yourself? JSCAPE MFT Server is platform-agnostic and can be installed on Microsoft Windows, Linux, Mac OS X and Solaris, and can handle any file transfer protocol as well as multiple protocols from a single server. Additionally, JSCAPE enables you to handle any file type, including batch files and XML. Download your free 7-day trial of JSCAPE MFT Server now.
JSCAPE MFT ServerRelated Content
Active vs. Passive FTP Simplified: Understanding FTP Ports
How To Protect FTP Passwords From Brute Force Attacks
Understanding Key Differences Between FTP, FTPS And SFTP
FTP Binary And ASCII Transfer Types And The Case Of Corrupt Files