
Time to continue our tutorial on using JSCAPE MFT Server Agents. If you’ve been following our recent blog posts, you know that agents offer an easy way of exchanging files with hosts that don’t have any file transfer service. We already taught you how to set up an Agent service and trading partner. So, this time, we’re going to teach you how to install an agent on a remote host and then have that agent connect to our Agent service.
Watch the video
Would you prefer to watch a video version of this tutorial instead? You can play the video below. Otherwise, just skip it if you wish to continue reading.
[This is on our JSCAPE MFT Server host]
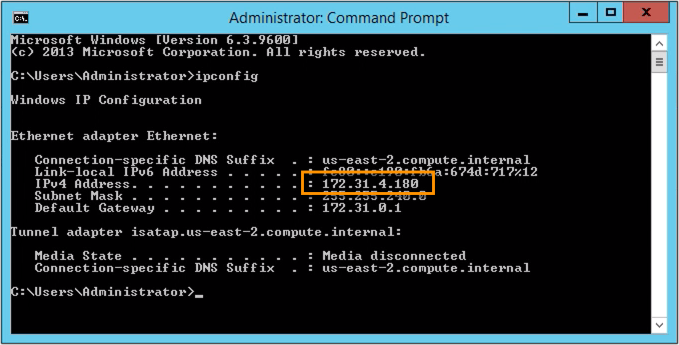
Let’s start by going to our JSCAPE MFT Server machine and retrieve its IP address. We’ll be needing that when we install our agent on the remote Windows host.
So, the IP address on my JSCAPE MFT Server is 172.31.4.180.
[This is on our remote Windows host]
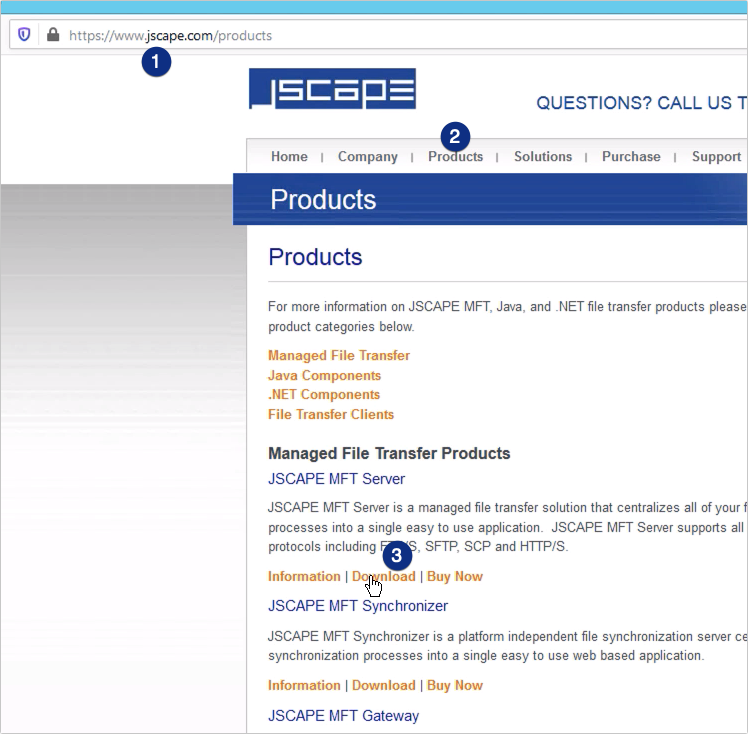
Now that we have that, let’s head over to our remote Windows host, which we presume has no file transfer service, and fire up our web browser. We go to www.jscape.com, and navigate to Products > JSCAPE MFT Server, and then Download.
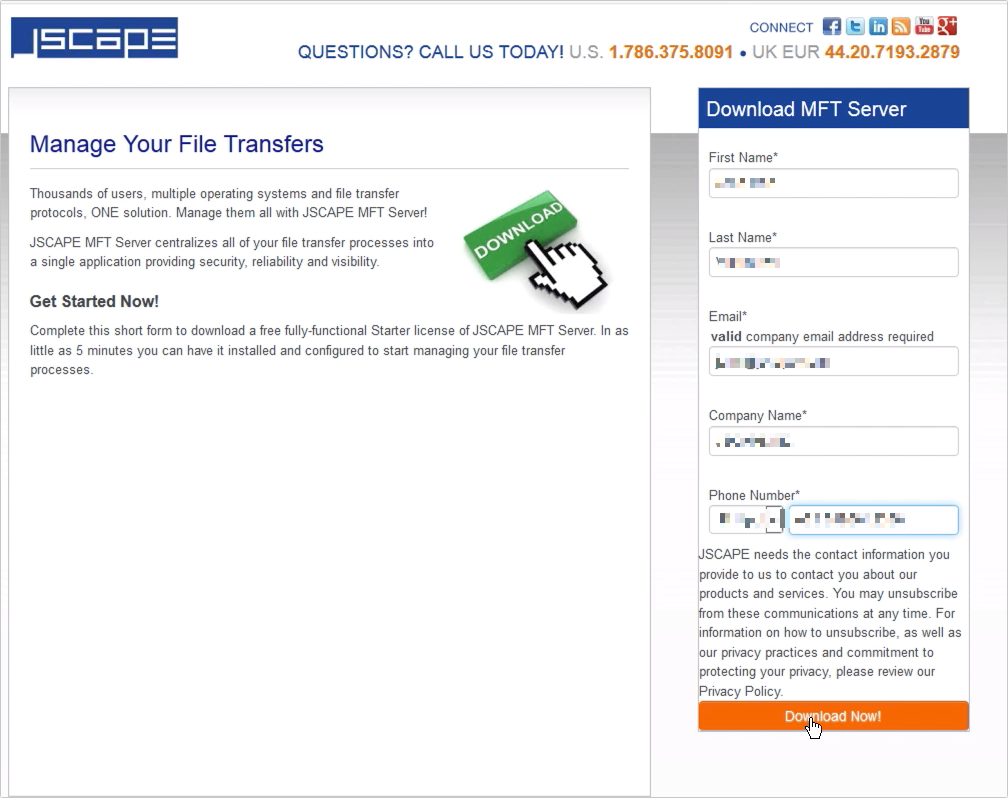
We then fill up the download form and then click the Download Now button.
When we get to the JSCAPE MFT Server download page, we then click the JSCAPE MFT Server Agent link.
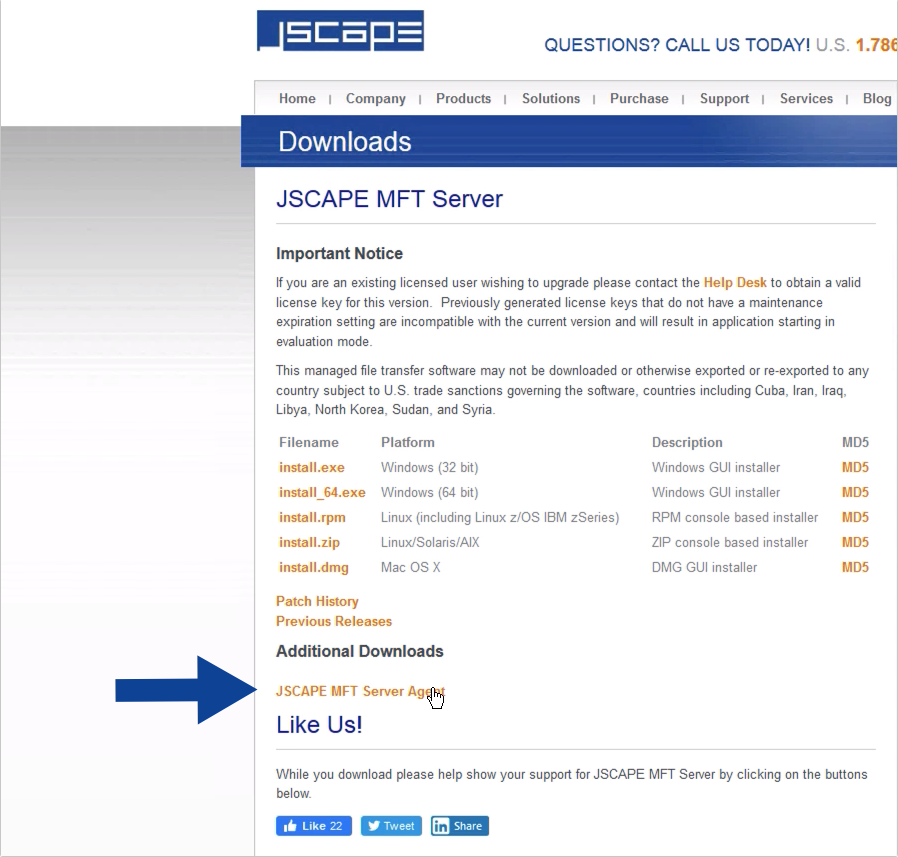
That should in turn bring up the JSCAPE MFT Server Agent download page, where you can just click the appropriate Windows installer. I’m on a Windows Server host, so I’ll download the install_64.exe installer.
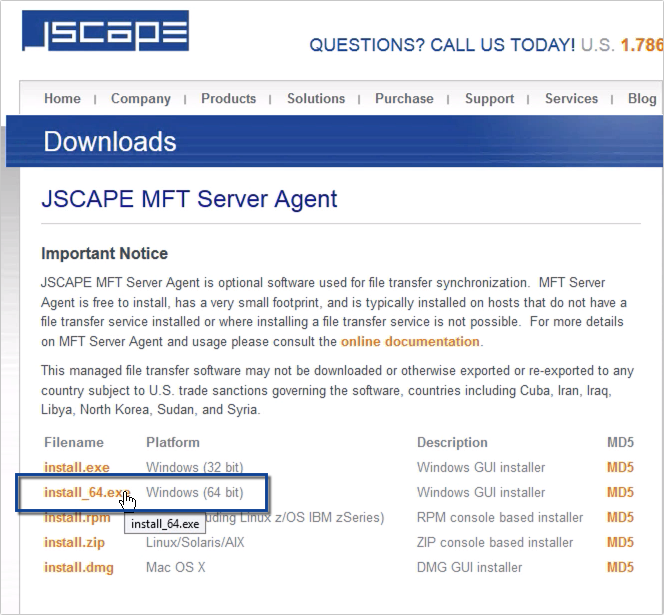
Download and save the installer…
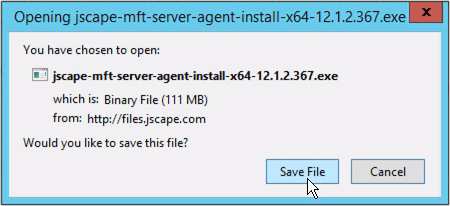
And then, once the download completes, double-click and run the installer.

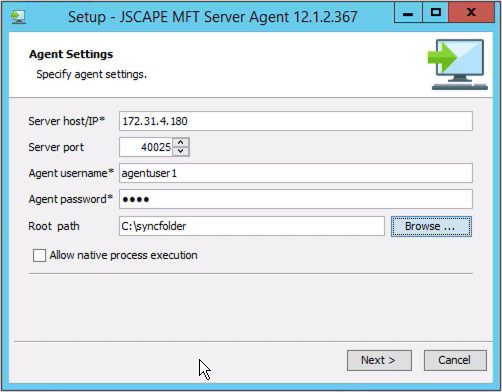
Just follow the instructions in the installation wizard until you get to the Agent Settings dialog.
Here, you’ll need to specify the following:
Server host/IP – this is the hostname or IP address of your JSCAPE MFT Server instance;
Server port – this is the port number used by your MFT Server Agent service. The default number is 40025.
Agent username – this is the username of your Agent user account, which in our case is ‘agentuser1’;
Agent password – this is the corresponding password of your Agent user account;
Root path – this is the root of the path where you would like synchronization processes with your JSCAPE MFT Server instance to take effect. Meaning, this is where files will be copied to or copied from.
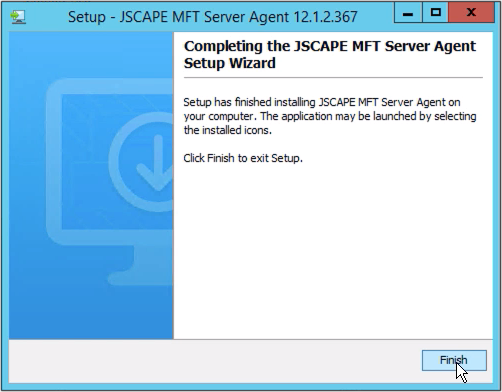
Click Finish to finalize the agent installation process.
[This is on our JSCAPE MFT Server host]
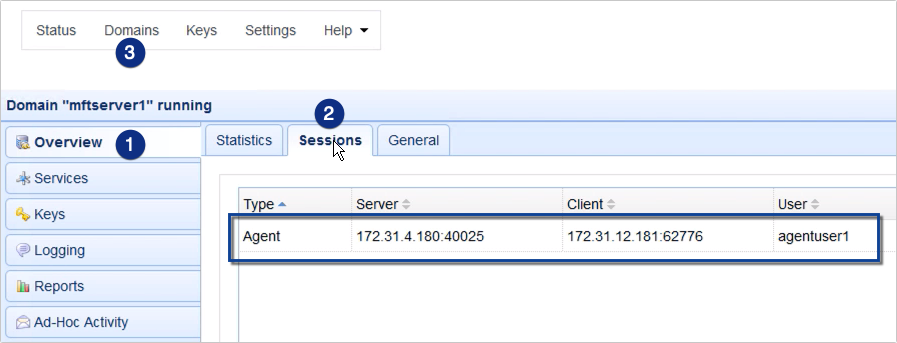
To verify if the agent has successfully connected to your JSCAPE MFT Server host, go back to your JSCAPE MFT Server host, navigate to the domain where you created the Agent service, and then go to Overview > Sessions.
If all went well, you should see an Agent session originating from the IP address of the remote Windows host where you recently installed your MFT Server agent.
That’s it. Now you know how to install a JSCAPE MFT Server Agent on a Windows host.
Give JSCAPE MFT Server Agents a test run
Interested in trying out JSCAPE MFT Agents? Download the FREE, fully-functional Starter Edition of JSCAPE MFT Server now.
Agents can be downloaded from here: