
Overview
A couple of years ago, we wrote a 3-part tutorial showing how you could automate FTP virus scans with Kaspersky Antivirus. That article, which was written based on a Linux environment, is in need of an update. But before we make changes there, here’s a similar article that Windows users should find suited for them.
Acknowledgement: Before I proceed, I’d like to thank Dan, one of the most brilliant minds in JSCAPE’s tech support team. His detailed instructions on this subject for one of our customers paved the way for this tutorial.
Background
Public-facing file transfer servers allow business data into your internal systems. Unfortunately, they can also be used as entry points for malware. Infected files that are uploaded unto your file transfer server can put your internal systems at risk.
You can mitigate this threat by deploying an utomated file upload virus scan. This will allow you to inspect each uploaded file for malware and then take whatever action is needed to eliminate the threat before it reaches the inner zones of your computing environment.
For this tutorial, we used the Windows version of Kaspersky Small Office Security 4 and JSCAPE MFT Server, our platform-independent managed file transfer server that supports various file transfer protocols, including FTP, FTPS, SFTP, AS2, OFTP, HTTPS and others.
I’ll assume you’ve already installed both software applications and have set up a file transfer service on JSCAPE MFT Server. This tutorial will only cover instructions for setting up an automated virus scan for each uploaded file. We’ll follow up this post with other related actions, such as sending out an email notification regarding the scan or moving an infected file into quarantine, so stay tuned for those.
In the meantime, let’s get on with this tutorial.
In case you wish to follow the steps in this tutorial, download and install the free, fully-functional evaluation edition of JSCAPE MFT Server.
Setting up the automated file upload virus scan
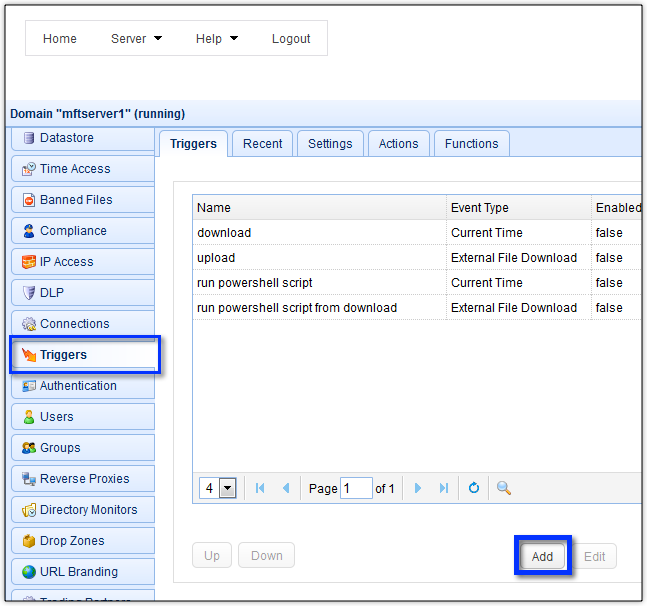
Launch your JSCAPE MFT Server manager (we’re using the admin Web interface here) and navigate to the Triggers module. Click the Add button to add a new trigger.
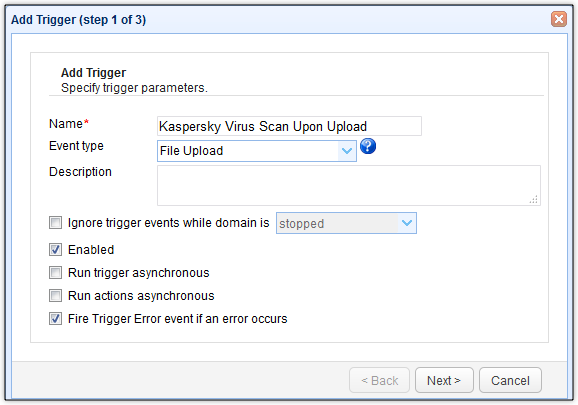
Give the trigger a descriptive name (e.g. “Kaspersky Virus Scan Upon Upload”) and then select the File Upload event type from the drop-down list. This will allow this trigger to respond to any file upload event, whether it’s an FTP upload, a SFTP upload, a HTTPS upload, and so on.
Click the Next button as soon as you’re done with that.
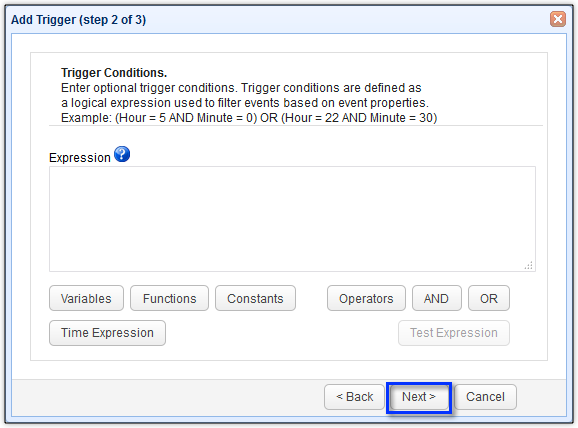
Here, you can specify certain conditions, e.g. the listening port used for this upload, the directory the file was uploaded to, the filename of the uploaded file, and so on. Basically, only if those conditions are satisfied will the trigger proceed with its trigger actions. Let’s just leave this blank for now. That means, the trigger actions will be carried without any preconditions.
Click Next to proceed.
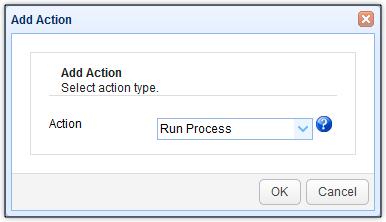
Now it’s time to set the trigger action. You can actually have more than one trigger action. But for now, we’ll just use one. All we’d like to do for now is to run a virus scan on each uploaded file. To do that, just add the Run Process trigger action.

The Run Process trigger action allows you to execute a command-line command. Thus, your antivirus software should have a command line interferface for this to work. Fortunately, Kaspersky offers command-line scans via its avp.exe program. Its most basic syntax is:
avp.exe SCAN [path/of/file/to/scan]
In our installation, avp.exe was stored in the directory:
C:\Program Files (x86)\Kaspersky Lab\Kaspersky Small Office Security 15.0.2\
So we enter
C:\Program Files (x86)\Kaspersky Lab\Kaspersky Small Office Security 15.0.2\.avp.exe
into the Program field.
Now, all we need is the path of the uploaded file. That’s not a problem. JSCAPE MFT Server stores the path of each uploaded file in the variable %LocalPath%.
We can therefore simply enter that path right after the SCAN command likeso:
SCAN /i2 "%LocalPath%"
You can view more supported variables by clicking the Add Variable button found in the lower-left corner of the screen.
Note:/i2 is one of the parameters used by the Kaspersky avp program’s SCAN command. When this parameter is specified, Kaspersky will “Treat infected objects, and if disinfection fails, delete, but do not delete infected objects from compound”. For more information about the parameters used by the command prompt commands, read this.
There are two more fields that require inputs. The first is the Output Stream field, while the second is the Error Stream field. You need to fill these up. You see, when the task is run, it will generate a couple of outputs.
The outputs may provide either a set of information regarding a successful run or a set of information regarding a failed run (i.e., one that has an error). Since Kaspersky commands are normally entered in a terminal screen, the outputs are likewise generated there.
However, in our case, the scan command will be run in the background. Hence, we won’t be able to view the outputs on a terminal screen. Instead, we can view them later on in pre-selected log files.
You can specify which log file will store the output of a successful run by specifying the file’s path in the Output Stream field. Similarly, you can specify which log file will store the output of a failed run by specifying that file’s path in the Error Stream field.
To specify those paths, you may click each field’s corresponding Browse button, navigate to the directory where you want to store the log file in question, give the file a name and click Select.
In our case, we’d like to do things slightly differently.
We want each file’s filename take the name of the scanned file plus a timestamp.
Related article:
How To Append a TimeStamp To Each File Downloaded From Another Server
In addition, we want our files to be stored in the directory C:\KasperskyLogs\. Thus, we enter this into our Output Stream field:
C:\KasperskeyLogs\%Name%_%Format("{0,number,0000}{1,number,00}{2,number,00}{3,number,00}{4,number,00}{5,number,00}",Year,Month,DayOfMonth,Hour,Minute,Second)%.out
(That’s one line)
and this into our Error Stream field:
C:\KasperskeyLogs\%Name%_%Format("{0,number,0000}{1,number,00}{2,number,00}{3,number,00}{4,number,00}{5,number,00}",Year,Month,DayOfMonth,Hour,Minute,Second)%.out
(Again, that’s one line)
That way, the result of each file upload scan will be stored in its own file.
Click OK to proceed.

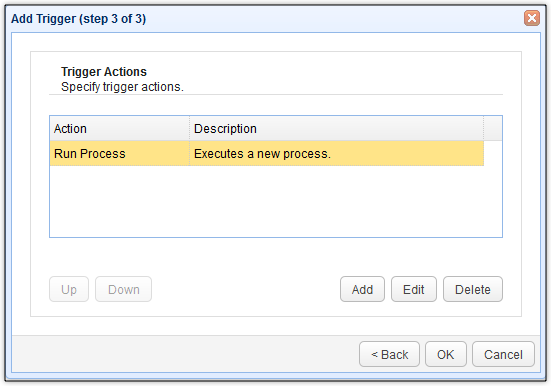
You should then see your newly created Run Process trigger action in the list of trigger actions for this particular trigger. Click OK until you’re back at the main screen.
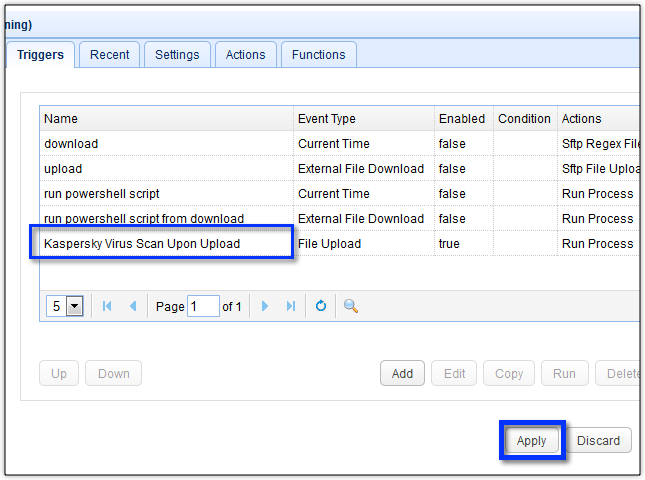
As soon as you’re back at the Trigger module’s main screen, click the Apply button. This will finalize your trigger-creation
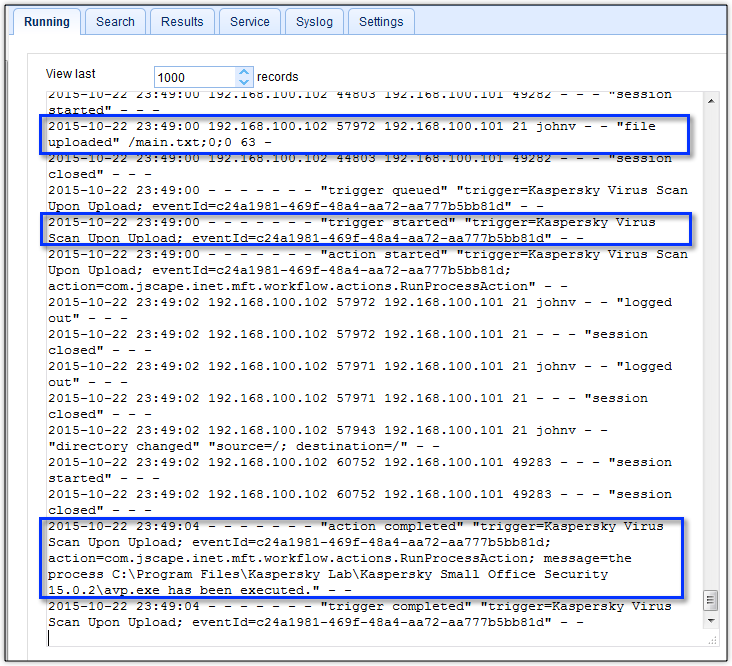
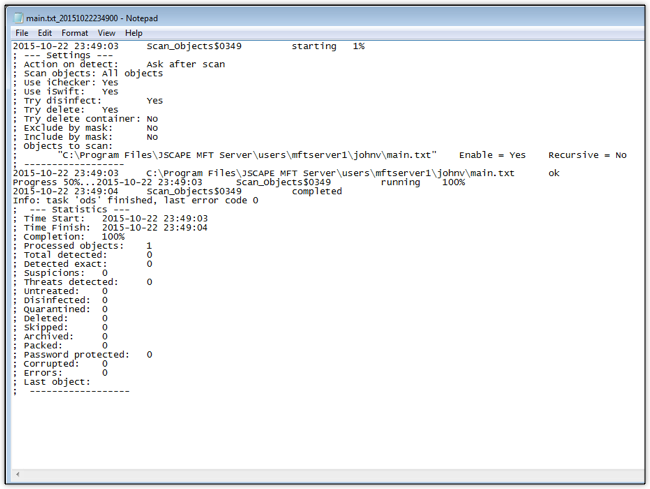
That’s it! You now have a trigger that would automatically scan each uploaded file. Here’s a sample log showing a file named “main.txt” being scanned the moment it was uploaded into our server.
And here’s the corresponding output file that was generated after the scan.
As we mentioned earlier, we’ll be coming up with a couple of follow-up articles that would reinforce this auto-virus scan. We hope to see you again when those articles are published.

