
Overview
When your server antivirus detects malware infection on a recent file upload, what would you like it to do? In our case, we prefer it to email us an alert notification. That way, we wouldn’t have to check the logs periodically to see if a virus was found. This post details how we’d achieve that.
Background
Last time, we already taught you how to automate a file upload virus scan using a Windows file transfer server and Kaspersky antivirus. This tutorial is going to be built off of that.
What we’re going to do here is to set up JSCAPE MFT Server so that, right after the server antivirus scans a file, the MFT server would automatically send an email report regarding the scan. Now, a typical virus scan can have two possible outcomes: a virus detection or none.
Keeping that in mind, we can set up our managed file transfer server so that it would send us two types of emails – one that reports a virus detection and one that reports of a clean upload.
Because it’s easier to set up the trigger action that would send out the “clean upload” email notification, we’ll start with that.
Setting up the email notification reporting a clean upload
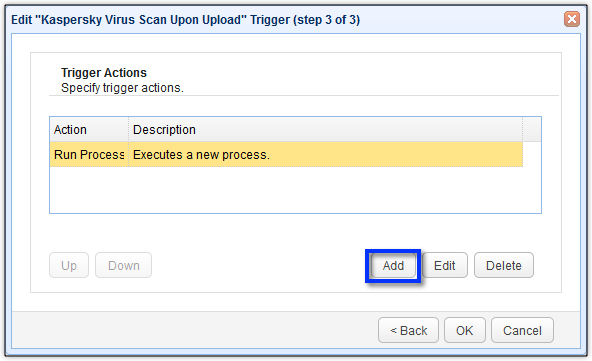
Edit the trigger you created in “Automating An Upload Virus Scan Using A Windows File Transfer Server And Kaspersky“. When you get to the list of Trigger Actions, you should see the Run Process trigger action all by its lonesome. Let’s give it a companion. To do that, just click the Add button.
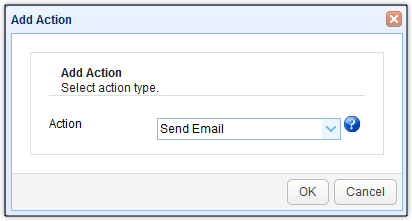
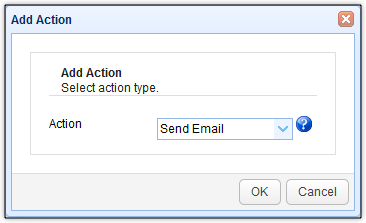
Next, select the Send Email action.
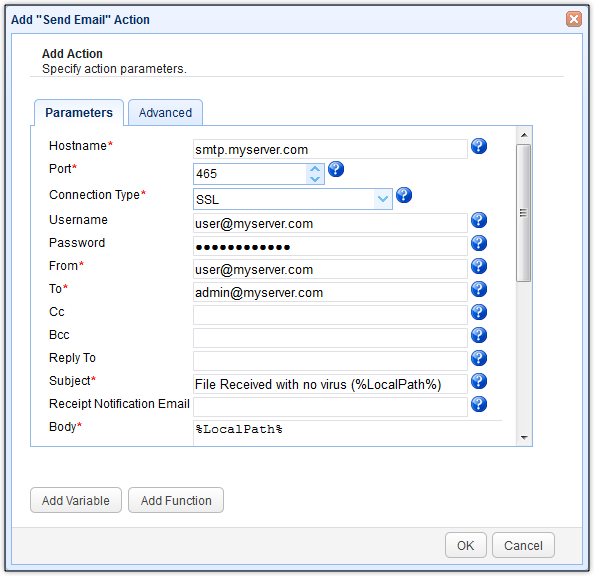
As soon as the action parameters window pops up, enter all pertinent details, including:
- the hostname of your email server (e.g. smtp.myserver.com),
- the port number of that email service (e.g. 465),
- the connection type (e.g. SSL),
- the username (e.g. [email protected]),
- that username’s corresponding password,
- the FROM email address,
- the email address of the recipient you’ll be sending this email to, and
- the subject of the email. Notice that our subject not only contains a message indicating that no virus was found, it also includes the %LocalPath% variable. That variable contains the path of the file that was uploaded and (subsequently) scanned.
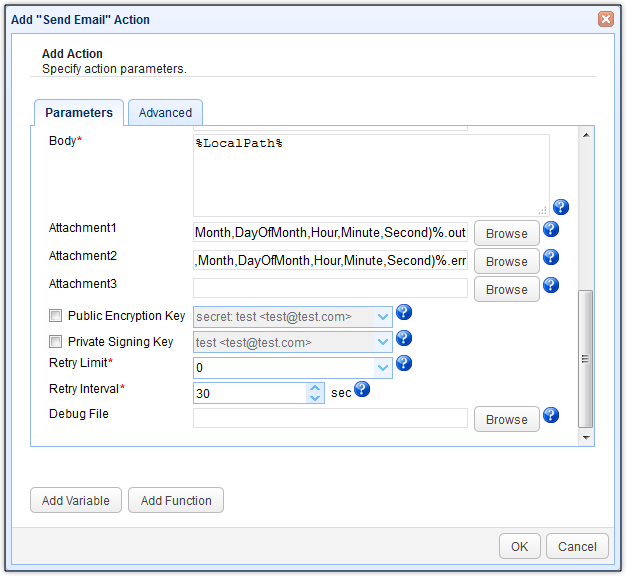
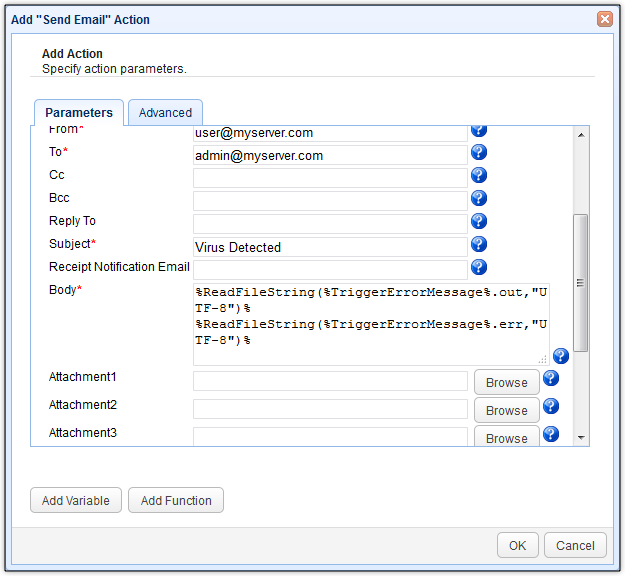
Scroll down that screen to input more information. If you want, you can omit the %LocalPath% variable from the Subject and place it in the Body instead. We just wanted to show you that it’s possible to insert variables into the Subject field.
Sometimes, you’ll want to do that because the contents of the Subject field is usually visible from your email client’s inbox. Placing vital information in the subject will therefore allow you to see that information at a glance.
Notice that we’ve also added a couple of file attachments to this email. We think it might be useful to include the contents of the output and error streams. That way, if the recipient of this email (presumably your network admin a.k.a. yourself) wants additional information regarding that particular server antivirus scan, he/she would be able to obtain that information by downloading the attachments and reading the contents..
To include the contents of our output and error streams as attachments, we simply entered the following into the attachment fields.
C:\KasperskeyLogs\%Name%_%Format("{0,number,0000}{1,number,00}{2,number,00}{3,number,00}{4,number,00}{5,number,00}",Year,Month,DayOfMonth,Hour,Minute,Second)%.out
and
C:\KasperskeyLogs\%Name%_%Format("{0,number,0000}{1,number,00}{2,number,00}{3,number,00}{4,number,00}{5,number,00}",Year,Month,DayOfMonth,Hour,Minute,Second)%.out
The output stream contents serves as one attachment and the error stream contents servers as a second attachment.
As soon as you’re done, click the OK button.
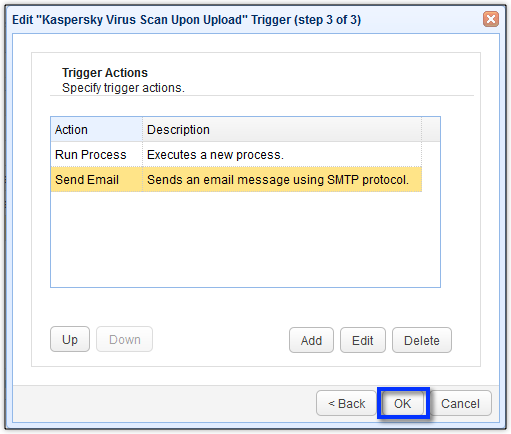
You should now see your newly created “Send Email” trigger action sitting right below the “Run Process” trigger action. Since it’s situated below the Run Process, the Send Email action will be performed only after the process is run successfully.
Click the OK buttons until you’re back at the main Triggers screen. As soon as you get there, click the Apply button to finalize your trigger creation process.
So now we’ve finished setting up the trigger action for the email notification signifying a virus free upload. Now it’s time to set up the alternate email notification – the one that would signal a positive virus detection.
Setting up the email notification alerting of a virus detection
Here’s how it works. In the event that the Run Process action fails, the Send Email action we set up earlier won’t be executed. But that’s not all. A trigger failure will also raise a Trigger Error event. We can use that event to activate a second trigger that would eventually lead to the alternate Send Email action.
The big question is, what’s the criteria for the action to be considered a “failure”? If we recall the Run Process action parameters, there’s a field there that’s labeled “Success Return Value”. We set that value to zero (0), which is normally the return value that indicates that a command line execution was a success.
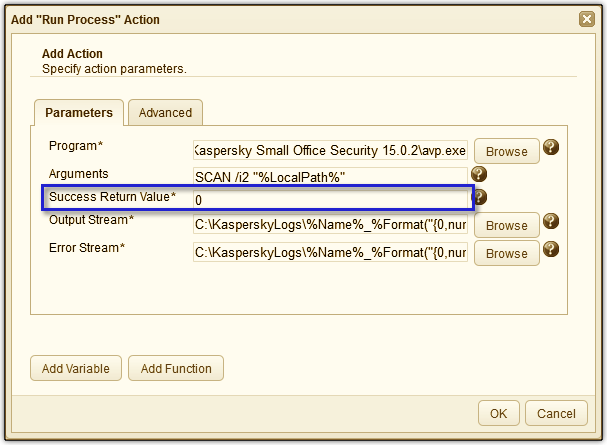
Kaspersky’s SCAN command is no different. According to the section on this page that enumerates the return codes of Kaspersky’s command line interface, a return value of 0 indicates that the task was successfull, i.e., no virus was found. On the other hand, if a virus is detected or processed, the return value is non-zero.
In our case, because a zero return value is counted as a success, a non-zero return value (which could mean a virus was found) is therefore considered a trigger action “failure”. As a consequence, if the return value is non-zero, the Run Process action raises the Trigger Error event and the second trigger is fired.
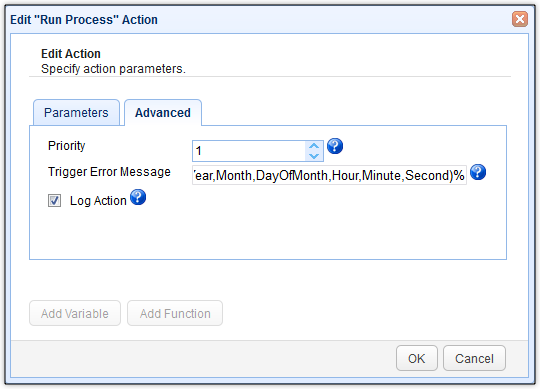
Before we create that second trigger, let’s go back to the previous trigger one more time and edit the Run Process trigger action. Go to the Advanced tab and, in the Trigger Error Message field, enter the following:
C:\KasperskeyLogs\%Name%_%Format("{0,number,0000}{1,number,00}{2,number,00}{3,number,00}{4,number,00}{5,number,00}",Year,Month,DayOfMonth,Hour,Minute,Second)%
This represents the common path of the output and error stream files. The only difference between the two files is really just their extensions. The output stream file has the extension ‘out’, while the error stream file has the extension ‘err’. We’ve excluded both.
This trigger error message will be passed on to the second trigger if the first trigger fails. The purpose of what we’re doing here should be evident in a short while, so just trust us for now.
Click OK until you’re back at the main Triggers screen. Again, click Apply to finalize this process.
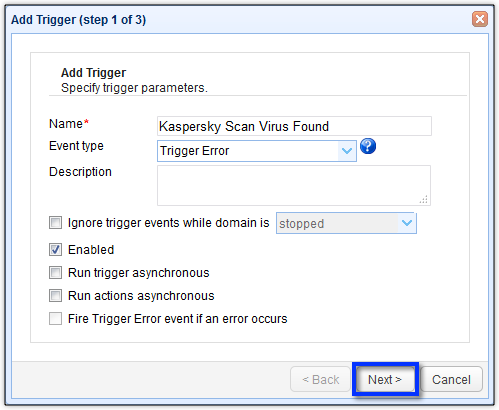
Now it’s time to create that second trigger. Create a new trigger and give it a descriptive name. For example, “Kaspersky Scan Virus Found”. Because this trigger should be fired only if the first trigger raises a trigger error event, we select the Trigger Error event type.
Click Next to proceed.
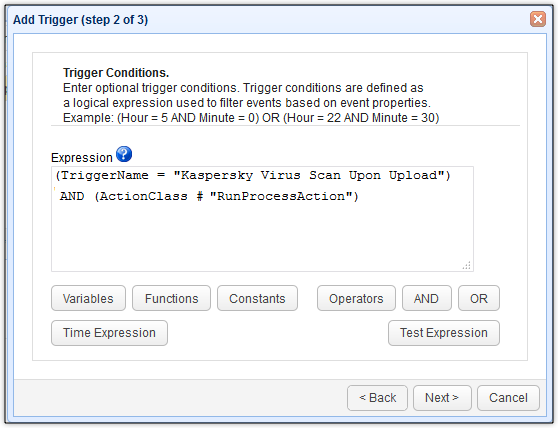
In a production environment, it’s possible for you to have several triggers. Some of those triggers might also be raising Trigger Error events. To restrict this trigger’s response to our first trigger, we need to specify the first trigger’s name in the Trigger Conditions box.
That’s what this expression is for:
TriggerName = "Kaspersky Virus Scan Upon Upload"
To further restrict this trigger’s response to that first trigger’s Run Process action (because the Send Email action could also raise a Trigger Error event), we’ve also added the following expression:
AND (ActionClass # "RunProcessAction")
That should eliminate unwanted Trigger Error events.
Click Next to proceed.
Add a new Send Email trigger action.
And, just like the previous one, enter all pertinent details.
Of course, you’ll want to give this email a more appropriate Subject line, like “Virus Detected”.
Because a virus detection isn’t some trivial event, it’s expected that the recipient will want to look into the details of the scan. That’s the reason why we didn’t include any other information or variable on the Subject field.
Instead, we’re going to put all those details, which is going to be relatively long, into the body of the email.
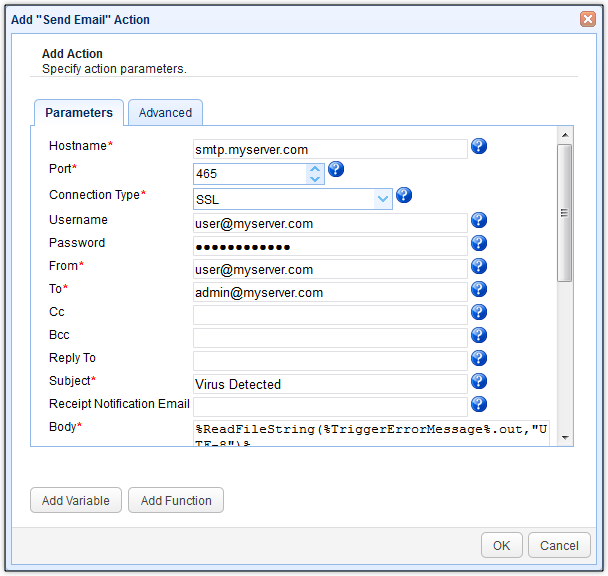
Enter the following into theBody box:
%ReadFileString(%TriggerErrorMessage%.out,"UTF-8")%
%ReadFileString(%TriggerErrorMessage%.err,"UTF-8")%
Let me explain what you’re seeing here.
First, %ReadFileString()% is a function that reads a file, specified in its first argument, and returns that file’s contents as a string. The second argument, on the other hand, signifies the characterset to be used.
The %TriggerErrorMessage% variable, on the other hand, holds (as you might have probably guessed correctly) the trigger error message passed by the Run Process trigger action to this trigger. If you recall, we specified this message earlier when we edited the contents of the Run Process action’s Advanced tab.
That’s it. After you finalize this trigger, your server should then be capable of sending email notifications after an upload file virus scan.
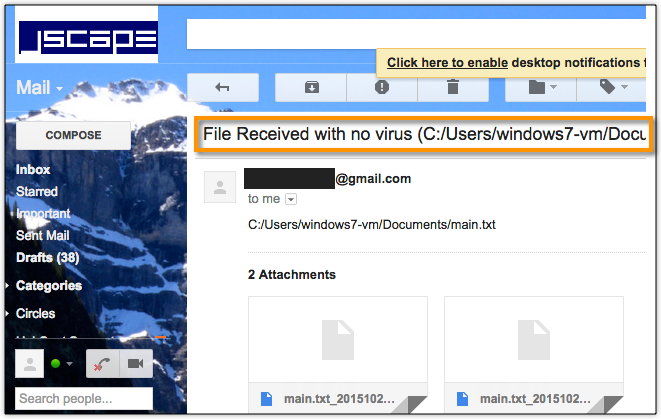
Here’s a sample email of a clean upload.
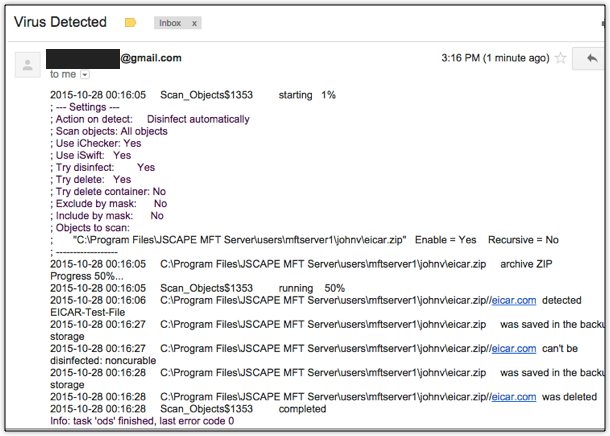
And here’s a sample of an email sent after a virus detection. Notice that this email’s body is populated with the contents of the error stream file.
Get Started
Would you like to try this out yourself? Download a free, fully-functional evaluation edition of JSCAPE MFT Server now.

