Overview
We’re now in the last leg of our 4-part series on how to send large files through email. We wrap up this series by showing you how to configure your MFT server so that users can send large files via email without having to install an Outlook plugin (see Part 3), let alone use MS Outlook at all. Instead, your users will be able to login to your server through their favorite Web browser and email large files from there.
1. Set up the web file transfer service
To allow users to email large files from your MFT server via a Web browser, you’ll only need to perform two things:
- Set up your managed file transfer server’s email service and ad hoc file transfer service, and
- Set up your managed file transfer server’s web (HTTP/S) file transfer service.
We’ve already taught you how to perform the first one in Part 2 of this series. For the second one, just follow the instructions in the article How To Set Up A Web File Transfer and you should be all set.
The succeeding steps are the steps an end user would typically take to perform an ad hoc file transfer using the JSCAPE MFT Server Web Gateway.
2. Upload file(s) you want to email
To email large files using this method, you will need to be inside the JSCAPE MFT Server Web Gateway environment. In addition, those files you want to email must be uploaded to JSCAPE MFT Server first. Of course, if the files you want to email already exist on the server (i.e., as a result of a previous upload), there’s no need to upload again.
Let’s proceed.
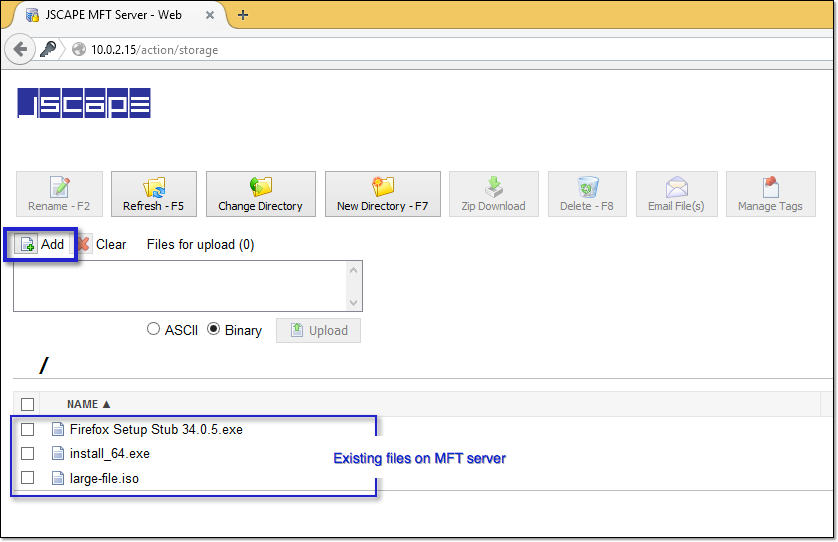
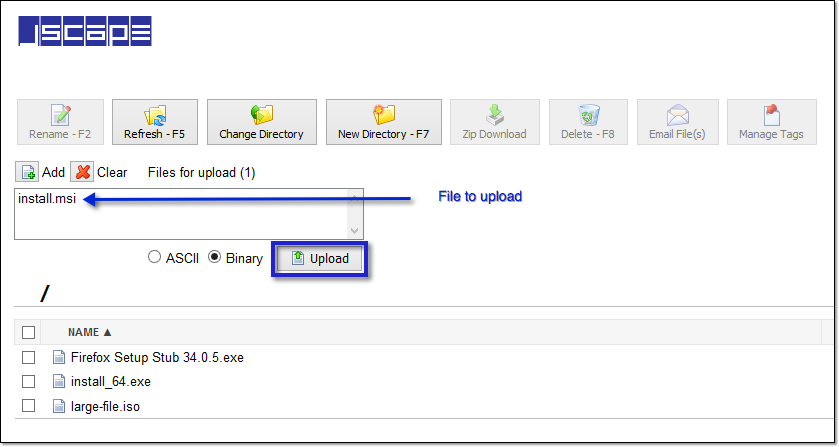
Login to the JSCAPE MFT Server Web Gateway and click the Add button.
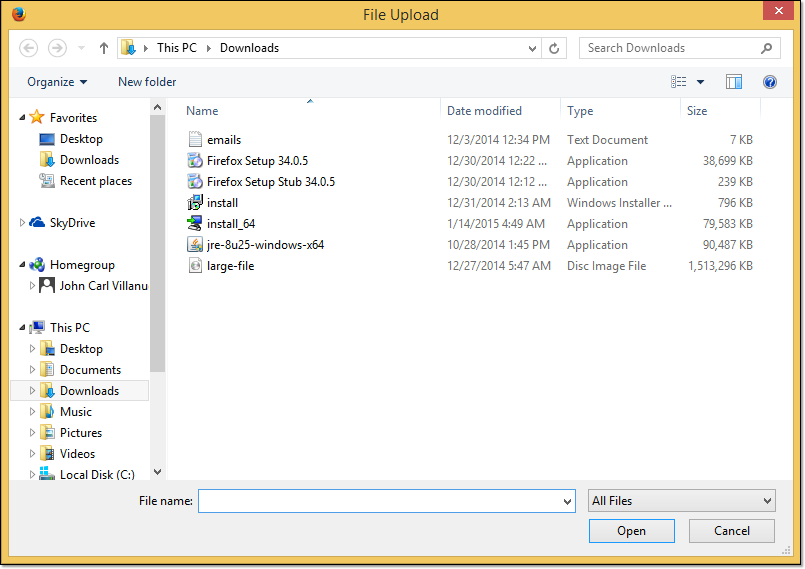
Browse to the local folder that contains the file(s) you want to email. Select the file(s) and then click Open.
Once you see those files in the JSCAPE MFT Server Web Gateway interface, click the Upload button. This will upload the files to your managed file transfer server.
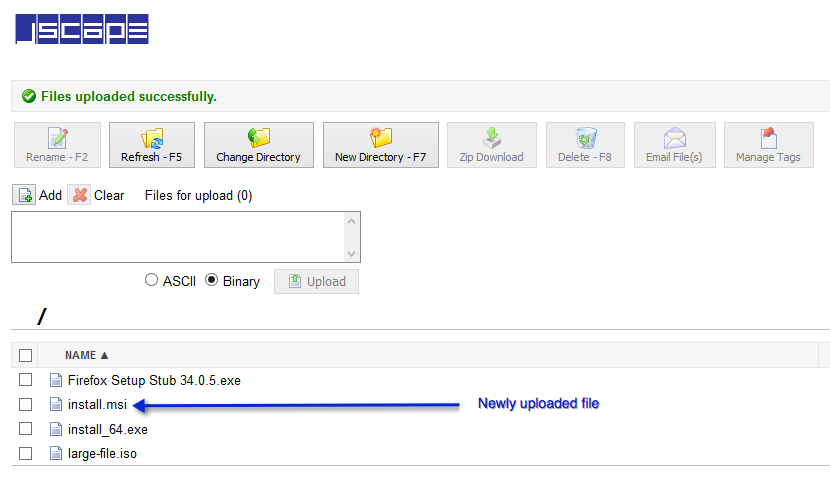
Here is our newly uploaded file, alongside the other files that already existed prior to the upload. If your user account contains several subdirectories, you can navigate to a specific subdirectory and upload the file(s) there.
3. Prepare the file(s) for email
Select the file(s) you want to email and then click the Email File(s) button.

4. Enter the required email parameters
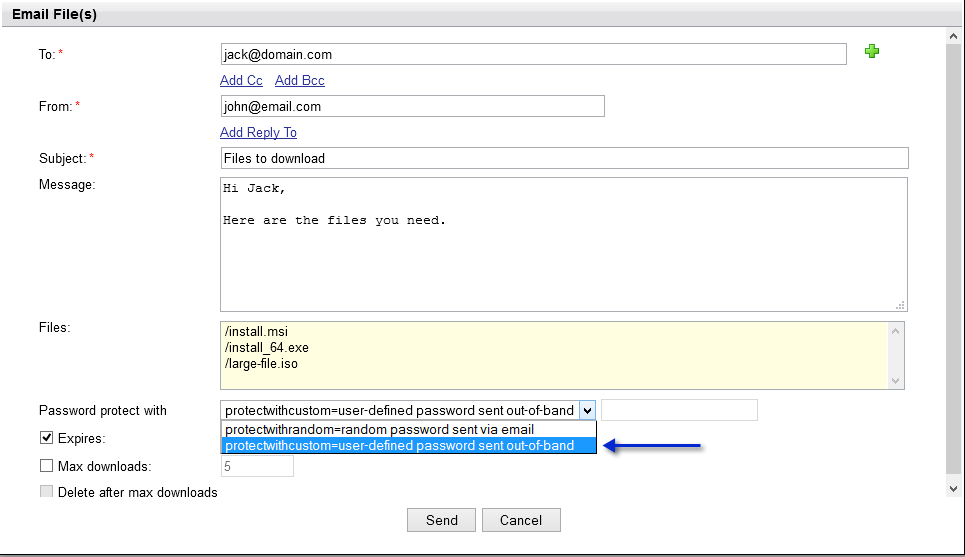
Enter typical email parameters such as the To: email address; the From: email address; the Subject; and so on.
You may also optionally protect the download hyperlink with a password. The password can be system-generated or user-defined. If it is user-defined (the user will specify the password), the password will be sent out-of-band. In other words, if you’re the user, you will have to remember the password and share it with the email recipient through a separate medium, e.g. via SMS, phone call, Instant Messaging, mental telepathy, etc.
As soon as all parameters are set, click the Send button.
That’s it! If you’ve been following this series, you should already know what will happen next at the receiving end.
Read How to Send Large Files Through Email – Part 1, 2, 3, 4
This concludes our 4-part series on how to send large files through email.
Get Started
Download the free, fully-functional evaluation edition of JSCAPE MFT Server and try sending large files via email yourself.
Download JSCAPE MFT Server Trial