
Ever since we introduced Web SSO support in JSCAPE MFT Server (way back in version 8.8), the number of adopters for this method of authentication has been steadily growing. We’re not surprised, considering how SSO greatly simplifies end user authentication in organizations that use several web-based applications.

But while Web SSO simplifies user authentication, it’s not always easy to set up. And so, to help customers overcome that hump, we’ve decided to compose a series of how-tos outlining the steps for setting up certain Web SSO authentication configurations. In this post, we’ll be showing you how to use ADFS 3.0 as an IdP (Identity Provider) for SAML -based Web SSO on JSCAPE MFT Server.
Let’s begin.
Note: For this tutorial, we’re using Windows Server 2012 R2.
Add Relying Party Trust
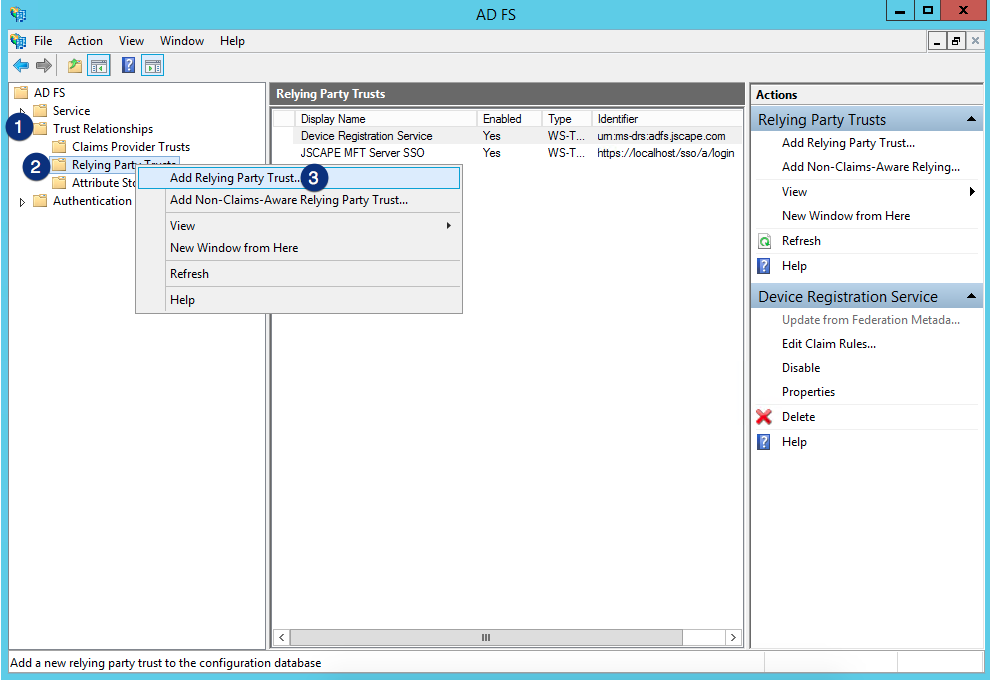
In Windows Server, open the AD FS Management utility under Server Manager > Tools. When the AD FS window appears, Expand the Trust Relationships folder, right-click the Relying Party Trusts folder, and click on ‘Add Relying Party Trust…‘ from the context menu.
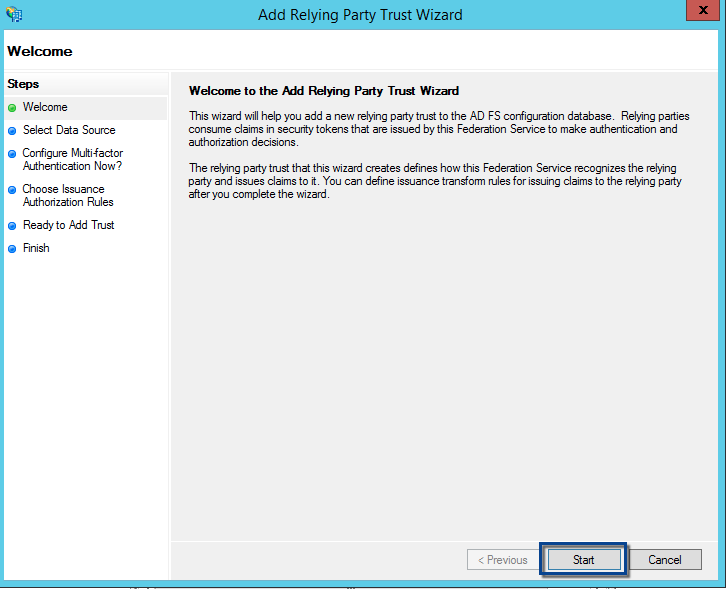
That should launch the Add Replying Party Trust Wizard. Click the Start button to proceed.
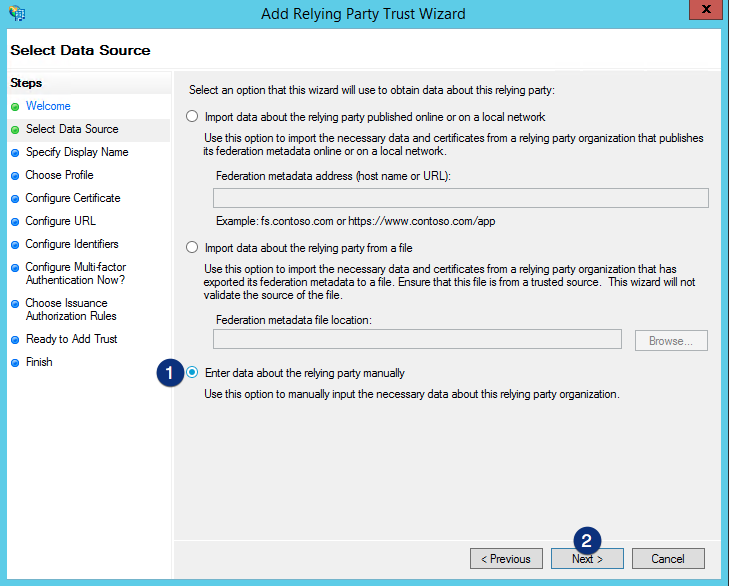
The first step in the wizard is to select a data source. Choose Add data about relying party manually and then click the Next button.
Next, you need to specify a display name. Fill-up the Display name field, and then click the Next button.

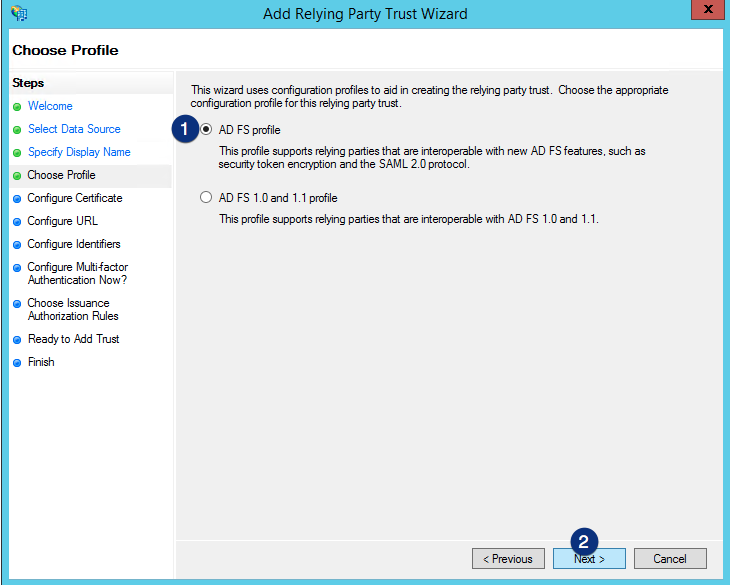
Choose the AD FS Profile option and then click the “Next” button.
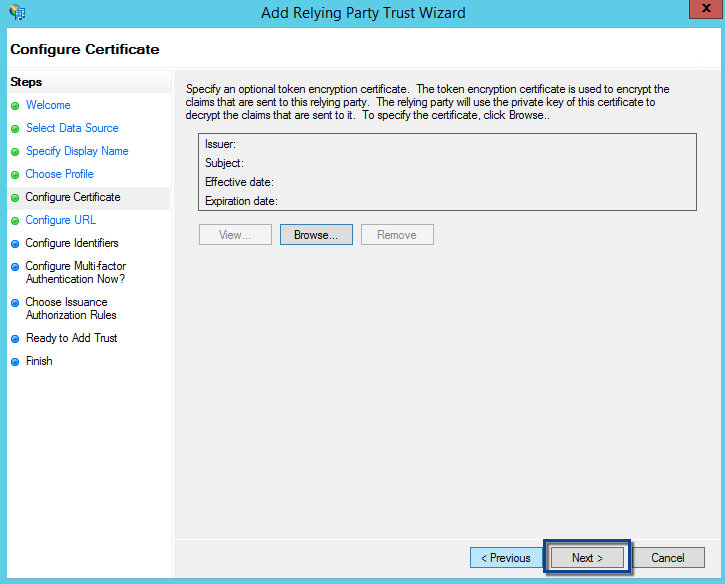
Just click the Next button for the Configure Certificate step.
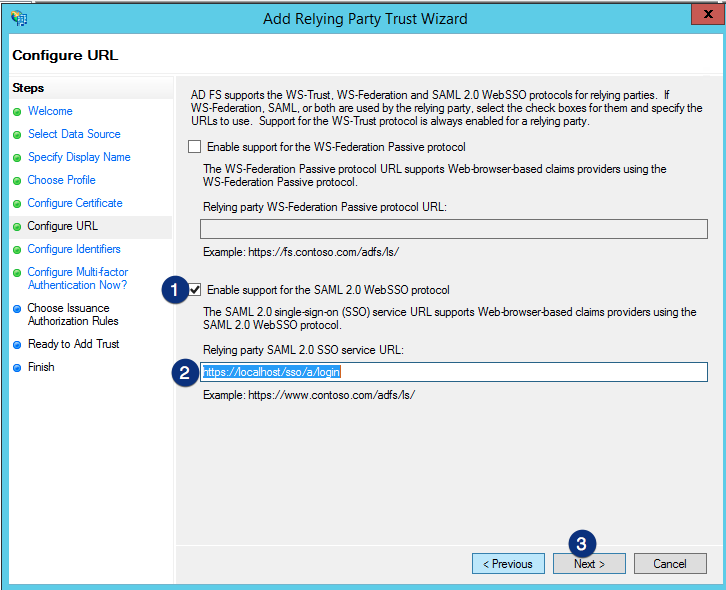
In the Configure URL section, choose Enable support for the SAML 2.0 WebSSO protocol. After that, enter the Web SSO login URL of your JSCAPE server as https://<jscapehost>/sso/<domain>/login, and then click the Next button
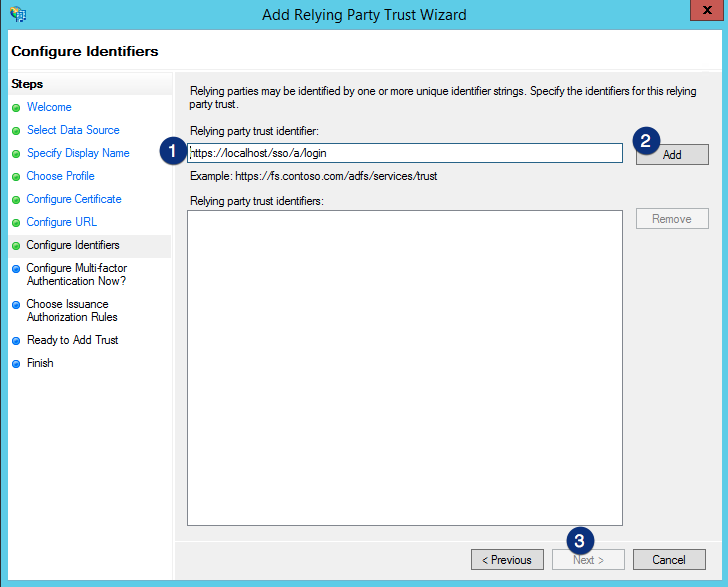
In the Configure Identifiers section, enter the same Web SSO login URL of your JSCAPE server (https://<jscapehost>/sso/<domain>/login) in the Relying party trust identifier field. Click the Add button to add that and then click the Next button to proceed.
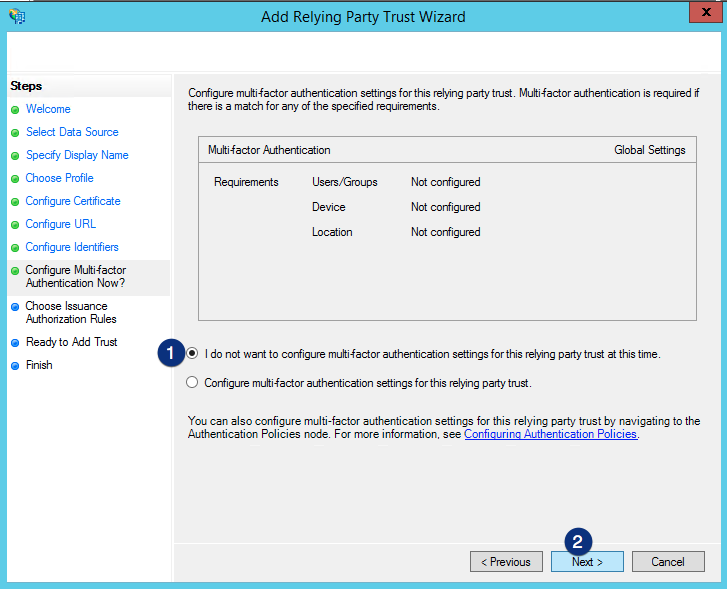
Choose I do not want to configure multi-factor authentication settings for this relying party trust at this time, and then click the Next button
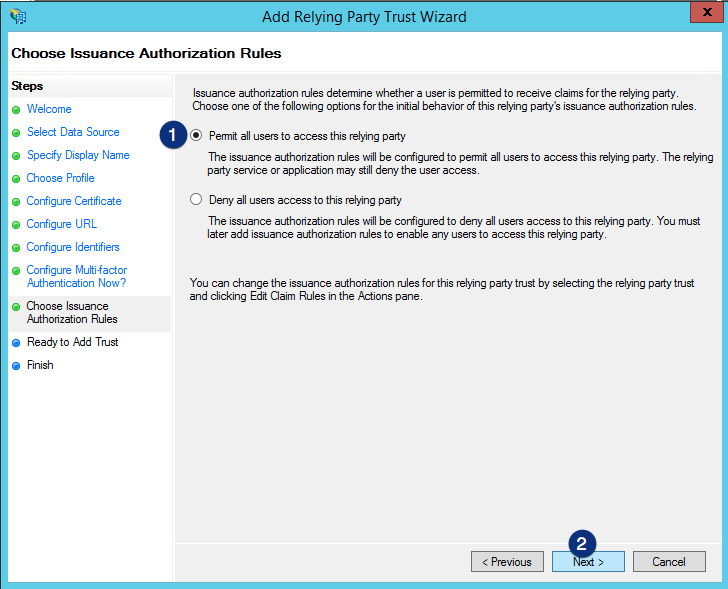
Choose Permit all users to access this relying party and then click the Next button.
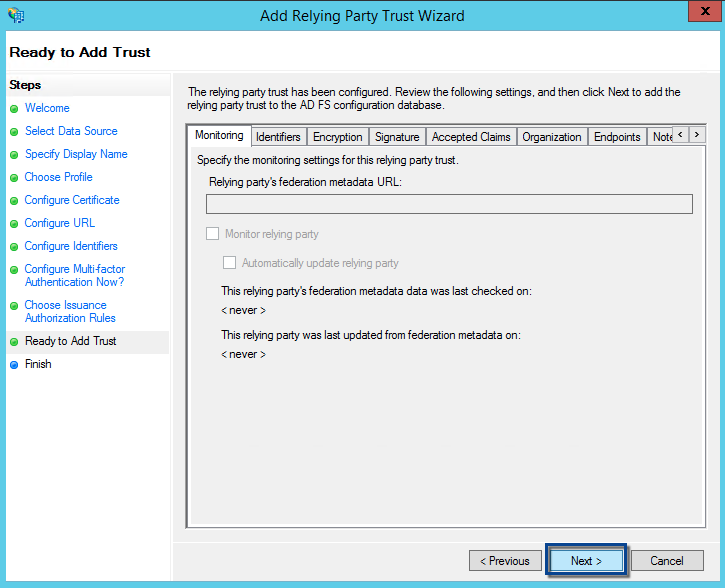
Just click Next here.
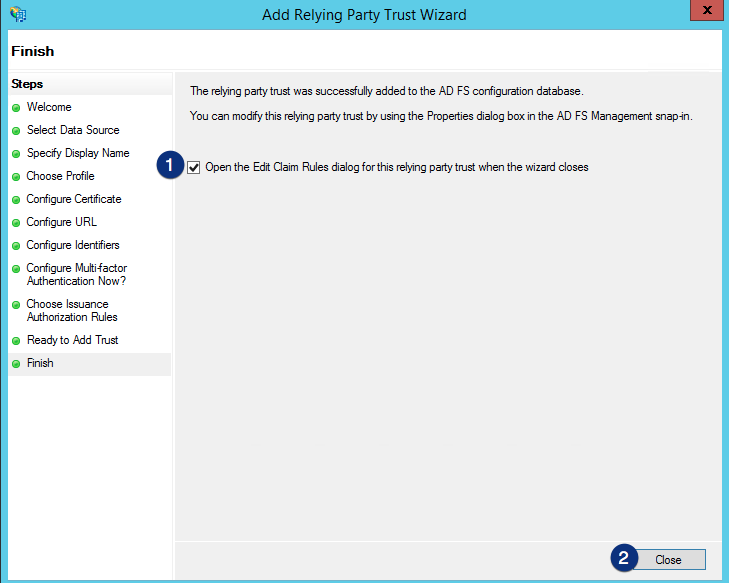
Tick the Open the Edit Claim Rules dialog for this replying party trust when the wizard closes check box, and then click the Close button.
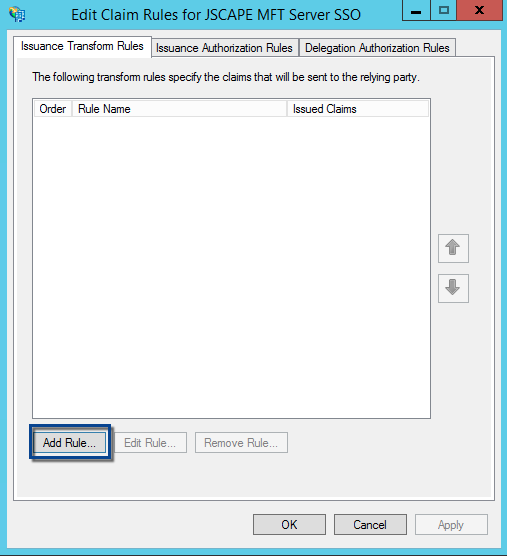
The Edit Claim Rules dialog should automatically launch. Click the Add Rule… button on the Edit Claim Rules for <Display name> panel
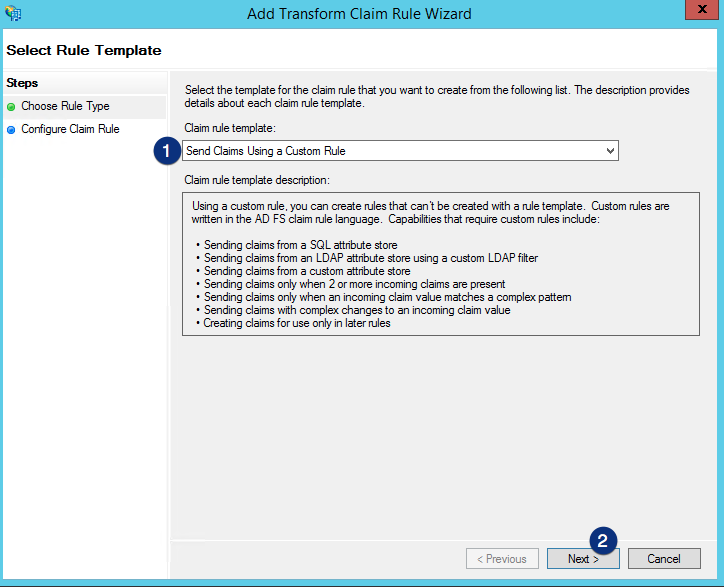
Select Send Claim Using a Custom Rule from the Claim rule template dropdown list and then click the Next button.
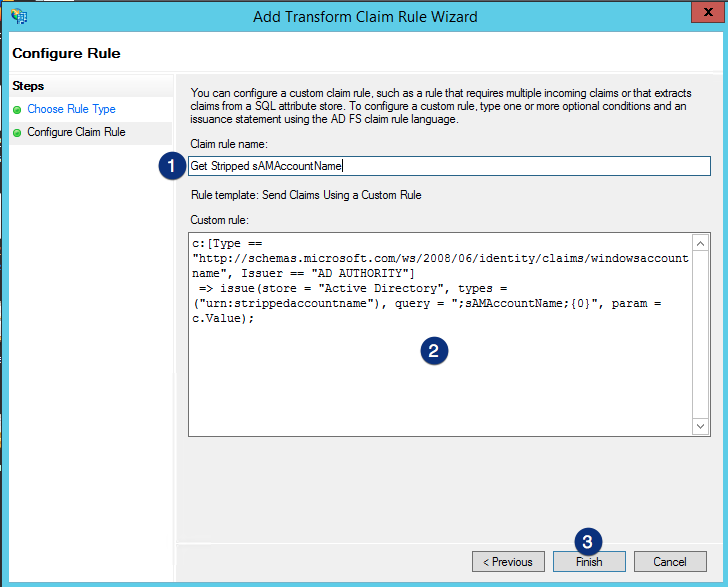
Enter Get Stripped sAMAccountName as Claim rule name, enter the following code as the Claim rule, and then click the Finish button: c:[Type == "https://schemas.microsoft.com/ws/2008/06/identity/claims/windowsaccountname", Issuer == "AD AUTHORITY"] => issue(store = "Active Directory", types = ("urn:strippedaccountname"), query = ";sAMAccountName;{0}", param = c.Value);
Click the Add Rule… button again. Similarly, select Send Claim Using a Custom Rule again from the Claim rule template dropdown list and then click the Next button.
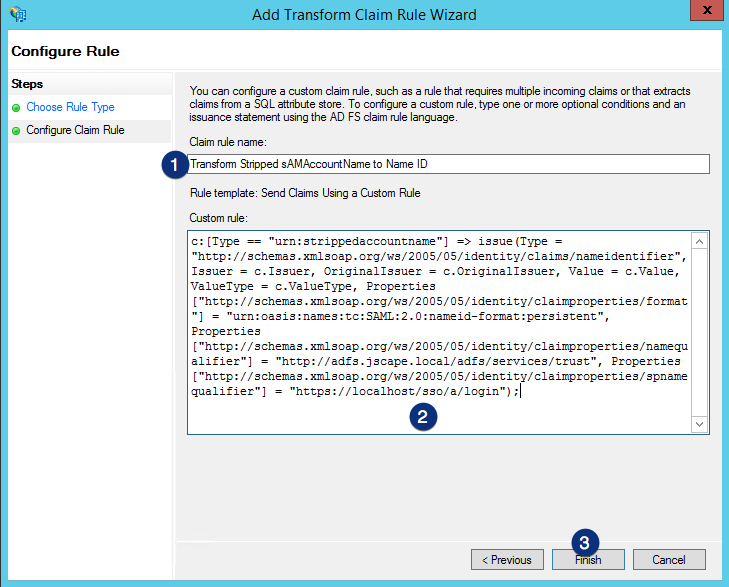
Enter Transform Stripped sAMAccountName to Name ID as the Claim rule name, enter the following code as the Claim rule replacing <ADFShost>, <jscapehost> and <domain> accordingly, and then click the Finish button.
c:[Type == "urn:strippedaccountname"] => issue(Type = "https://schemas.xmlsoap.org/ws/2005/05/identity/claims/nameidentifier", Issuer = c.Issuer, OriginalIssuer = c.OriginalIssuer, Value = c.Value, ValueType = c.ValueType, Properties["https://schemas.xmlsoap.org/ws/2005/05/identity/claimproperties/format"] = "urn:oasis:names:tc:SAML:2.0:nameid-format:persistent", Properties["https://schemas.xmlsoap.org/ws/2005/05/identity/claimproperties/namequalifier"] = "https://<ADFShost>/adfs/services/trust", Properties["https://schemas.xmlsoap.org/ws/2005/05/identity/claimproperties/spnamequalifier"] = "https://<jscapehost>/sso/<domain>/login");
Click on the Apply button You’re almost done on the ADFS side. You just need to export your ADFS signing certificate. Once you’re done with that, you can then import that certificate into JSCAPE MFT Server.
Exporting ADFS Signing Certificate and Import Into JSCAPE MFT Server
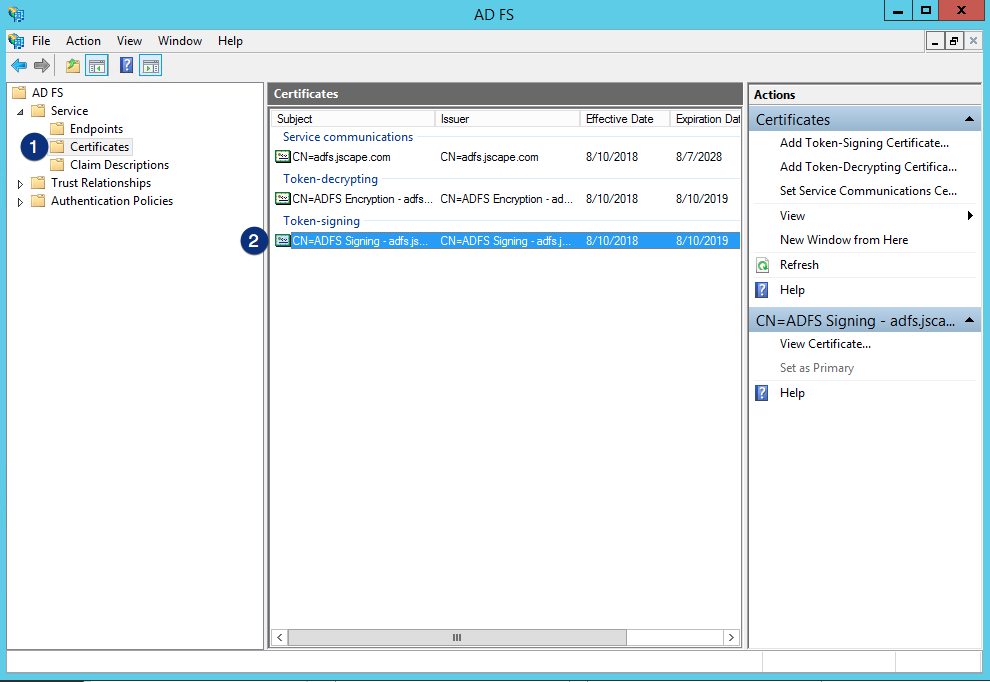
Open AD FS Management utility under Server Manager > Tools. Expand Certificates and then double-click the Token-signing certificate.
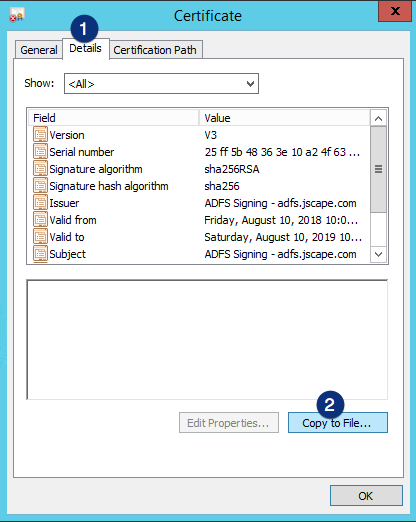
When the Certificate dialog appears, click the Details tab and then click the Copy to File… button.
Just click the Next button on the Welcome to the Certificate Export Wizard screen

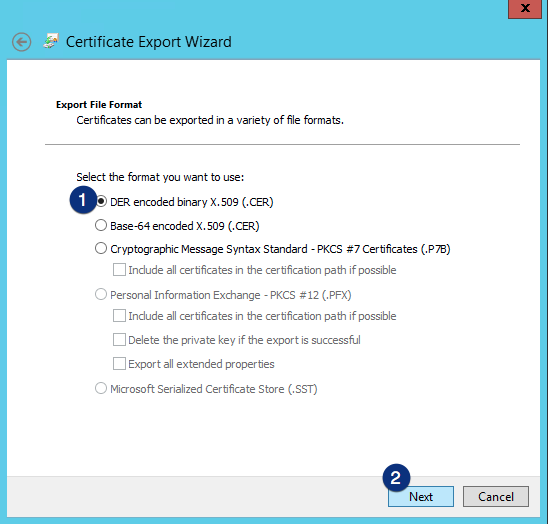
Choose DER encoded binary X.509 (.CER) option and then click the Next button.
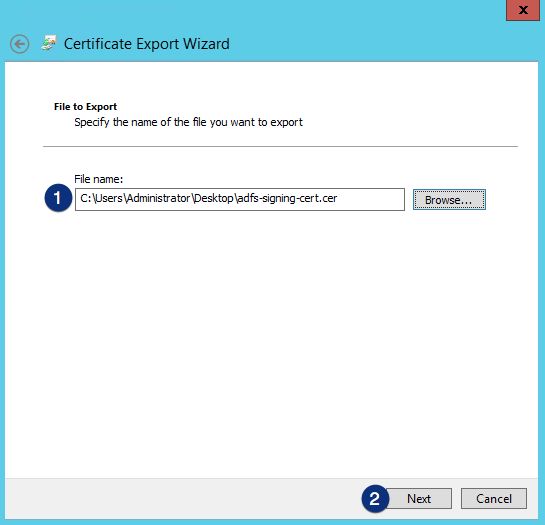
Fill-up the File name field accordingly. This file will be generated and will contain the ADFS signing certificate. Click the Next button.
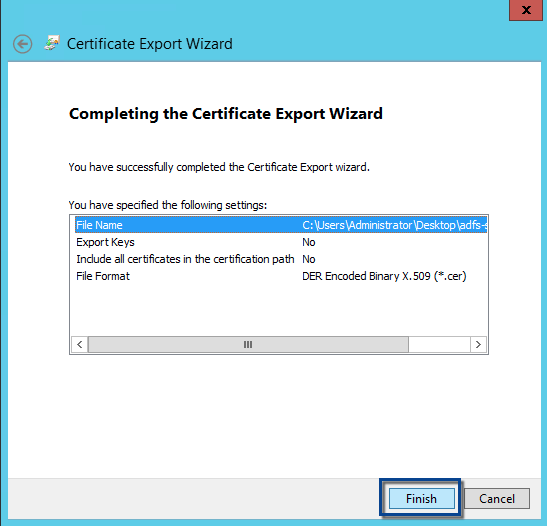
Click the Finish button on the Completing the Certificate Export Wizard screen.
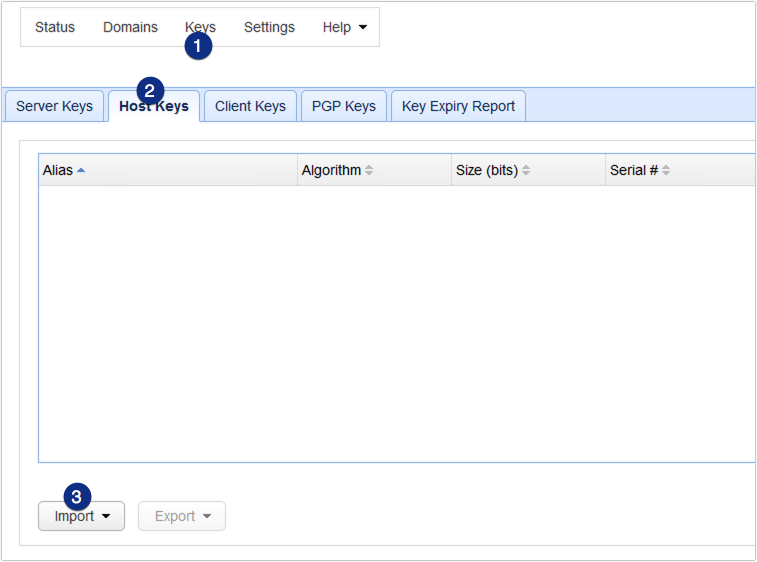
Once you have your ADFS signing certificate file ready, you can import that exported cert file into JSCAPE MFT Server. Launch you JSCAPE MFT Server Manager and then navigate to Keys > Host Keys. Click Import > Import File to import the cert.
Configure JSCAPE MFT Server Web SSO for ADFS 3.0 IdP
We’re now on our last leg of this tutorial. In these last few steps, we’ll show you how to configure JSCAPE MFT Server SAML-based Web SSO to use ADFS 3.0 IdP.
Note that Web SSO can only be used for web-based logins, so make sure you’ve enabled web-based file transfers on MFT Server. Refer to these articles for guidance.
How to Set Up a Web File Transfer
How To Set Up A HTTPS File Transfer
If your web file transfer service is already set up, you may proceed.
To configure JSCAPE MFT Server SAML-based Web SSO settings, edit the domain in which Web SSO will be enabled and then go to Authentication > Web SSO. Choose SAML from the Service type drop down list.
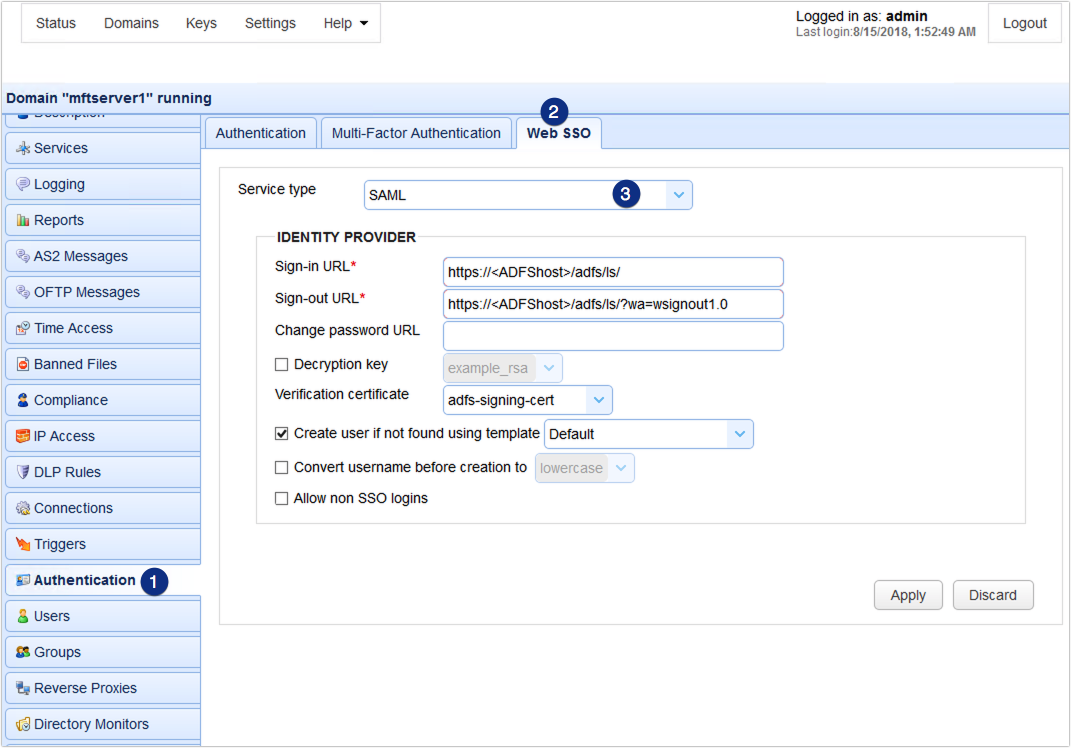
Configure the following settings: Sign-in URL – Enter the sign-in URL using the following format: https://<ADFShost>/adfs/ls/ , wherein you should replace <ADFShost> with the hostname or IP address of your ADFS service.
Sign-out URL – Enter the sign-out URL using the following format https://<ADFShost>/adfs/ls/?wa=wsignout1.0, wherein you should replace <ADFShost> with the hostname or IP address of your ADFS service.
Verification certificate – This is the cert imported earlier into Keys > Host Keys of your JSCAPE MFT Server.
Create user if not found using template – Make sure this is checked
Once you’re done, don’t forget to click Apply.
That’s it. Now you know how to configure JSCAPE MFT Server SAML-based Web SSO to use ADFS 3.0 as an IdP.
Try this out
Care to try this out yourself but don’t have JSCAPE MFT Server? Request a free trial of JSCAPE MFT Server now.