Overview
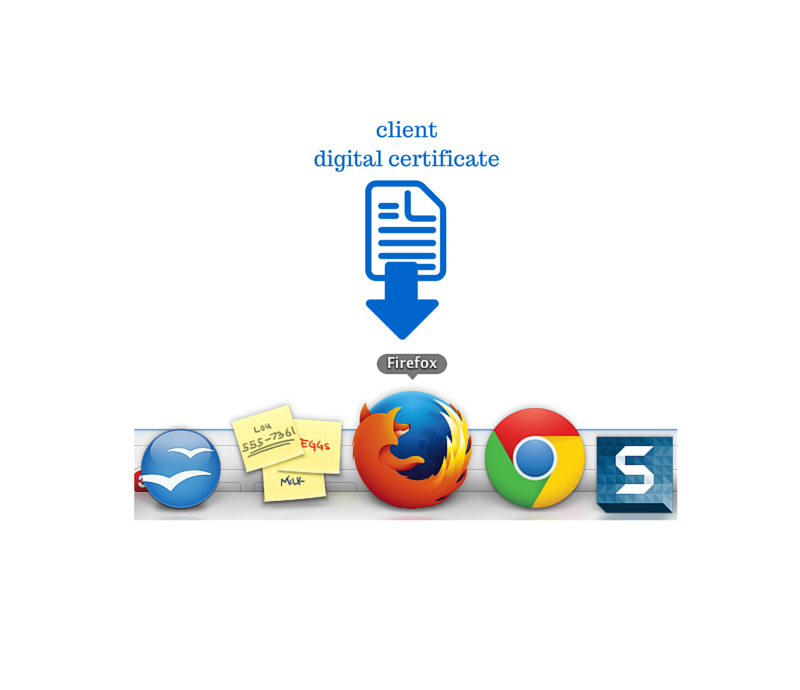
Client certificate authentication is very suitable for highly secure HTTPS connections. But for this type of authentication to work, the server must be configured for it, and a client certificate must be loaded onto a client application. In this post, we’ll focus on the client side. More specifically, we’ll talk about how you can import a client certificate to Firefox.
Step 1
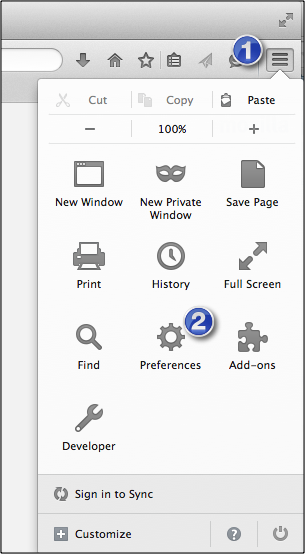
Launch Firefox and click the menu icon (3 horizontal lines) in the browser’s upper-right corner. After that, click the Preferences icon.
Step 2
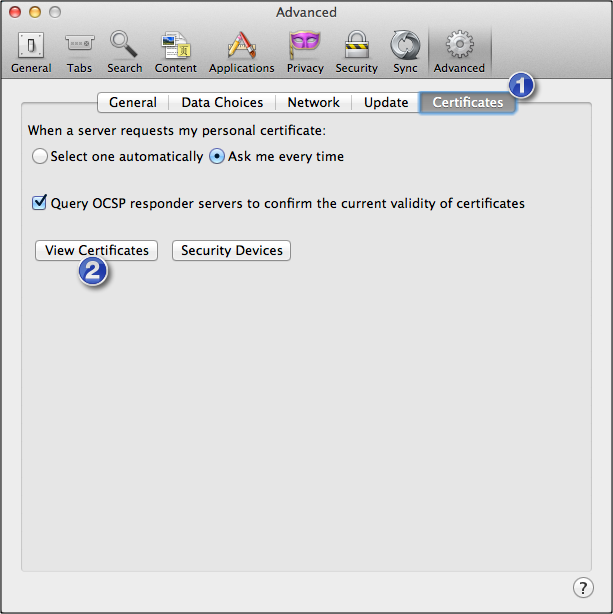
Go to the Certificates tab and then click the View Certificates button.
Step 3
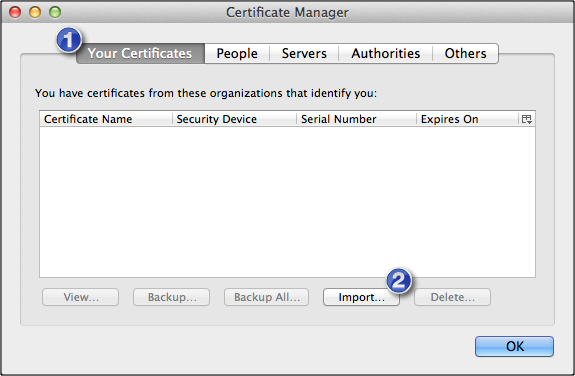
The previous step should have launched the Firefox Certificate Manager. Click the Your Certificates tab and then click the Import button.
Step 4
The previous step should launch a browser that you can use to navigate to the directory where your client certificate file (usually a PKCS12 file with the .p12 or .pfx extension) is stored. Select the file and enter the required password. If you succeed, you should see a notification that says, “Successfully restored your security certificate(s) and private key(s).” (or something to that effect. Click OK to proceed.

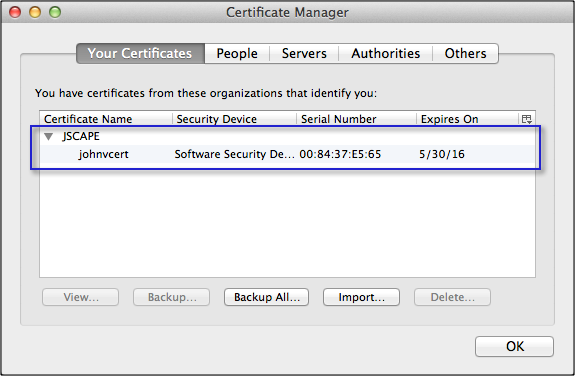
You should then see your newly imported certificate under the Your Certificates collection of your Firefox Certificate Manager.
That’s it! In our next post, I’ll show you how to create and export a client certificate on JSCAPE MFT Server and enable client certificate authentication for its HTTPS service. Come back for that!
Get Started
Do you want to see how client certificate authentication can enhance your security firsthand?
Request a free trial of JSCAPE MFT Server to evaluate the key features designed to secure your digital communications.
In the meantime, you might also want to read:


