AS2 Message Tutorial on Applying Digital Signatures

Overview
As promised in our last post, we'll be teaching you how to set up your AS2 Server to use digital signatures when sending AS2 messages. Let's dive into the digital signature tutorial now.
For those of you who just got here and don't have any idea what an AS2 digital signature is, I suggest you read the post "You Don't Need HTTPS To Apply Digital Signatures On Your AS2 Messages" first. There you'll understand the motivations of employing digital signatures on AS2 and why you don't need HTTPS to use them.

Just to give you the right context, this short tutorial is divided into two main sections. The first section talks about what you need to do on the "sending" AS2 server side, while the second section deals with steps that need to be carried out on the "receiving" AS2 server side. In most cases, it will be your trading partner who'll be doing the steps outlined in the second section.
What to set up on the AS2 sender
I will assume you already have your AS2 service up and running on JSCAPE MFT Server. If that's not the case yet, then I suggest you read this tutorial first:
The Quickstart Guide To Setting Up An AS2 Server
Ready with your AS2 server? Let's proceed then.
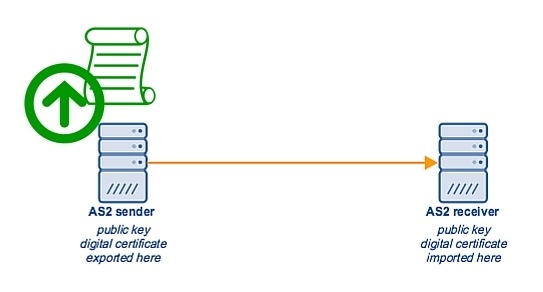
The main objective on the sending server side is to export a digital certificate containing the sending server's public key. This certificate will then be imported on the "receiving" AS2 server.
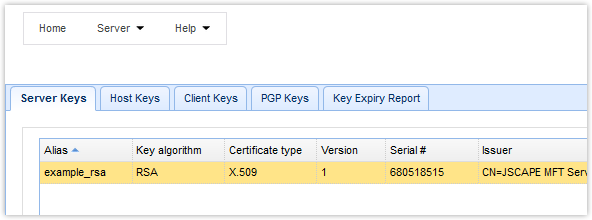
But before we go about exporting that digital certificate, there are a couple of things we need to configure. First, we need to check whether we already have an existing Server Key. In the context of JSCAPE MFT Server, the Server Key is an element that consists of a private key and its associated digital certificate and public key.
Go to Server > Key Manager > Server Keys tab. See if you have an existing server key there. In this example, we'll be using the server key with the alias "example_rsa". In a real-world scenario, you'll have to create your own server key if you don't have one yet. Note that, if you have an 'example_rsa' server key in your installation, you're not supposed to use that. As its name implies, it's just for examples like this one.
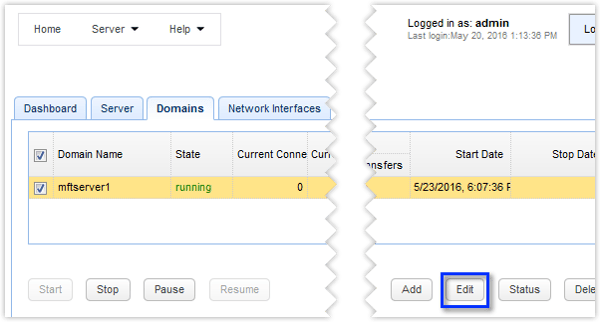
Once you've confirmed that you already have a server key, go back to the main screen. Click the Domains tab, select the domain that contains your AS2 service, and click Edit.
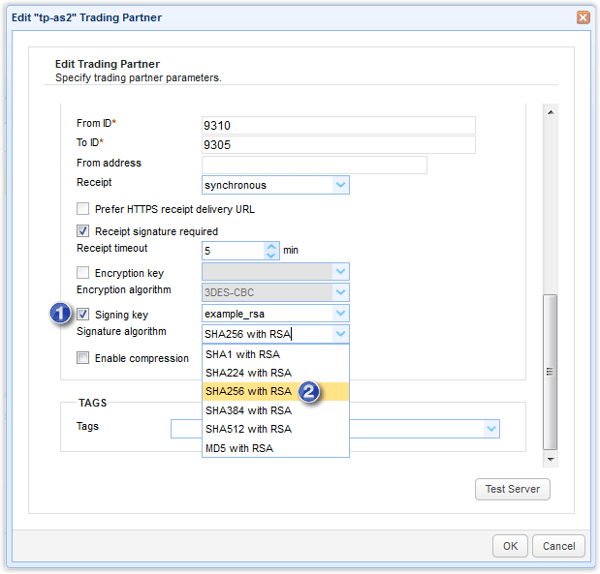
Once inside, navigate to the Trading Partners module and edit your AS2 trading partner. Scroll down to the Message panel, tick the Signing key check box, and select your server key. In this example, that would be 'example_rsa'.
At this point, you're actually telling JSCAPE MFT Server, "Hey, I want you to digitally sign all outgoing AS2 messages using the private key in server key 'example_rsa'".
After you've selected the signing key, you need to tell the server what digital signature algorithm it should use for signing. For this example, let's just use what is arguably the most popular digital signature algorithm: SHA256 with RSA. Although they're also available in the list of signature algorithms, avoid SHA1 and MD5, as they already have serious vulnerabilities.
Expand the Signature algorithm drop-down list box and select your desired algorithm. Once, you're done, click OK.
Now we're ready to export that digital certificate.
Go back to Server > Key Manager > Server Keys.
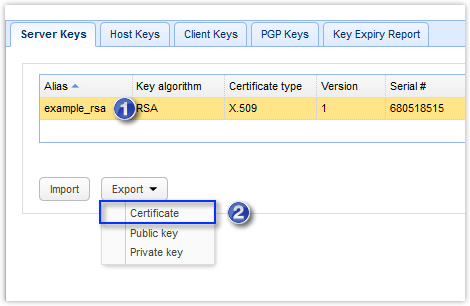
Select your server key. Again, in this example, that would be example_rsa. Click the Export drop-down list and select Certificate.
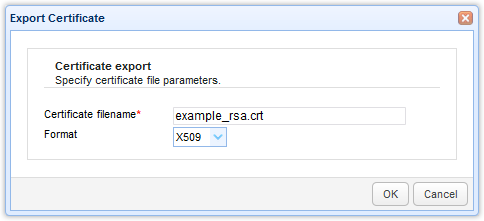
You'll then be asked to give the certificate file a name. This is just a filename, so you may leave the default name unchanged. Select the X509 format. Click OK.
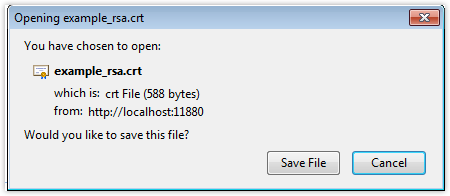
As soon as the certificate is ready to be exported, click Save File. Usually, the file will be saved in your system's Download folder./p>
Retrieve that file and hand it over to your trading partner out-of-band.
We're now done with the first section and can now proceed to the steps that need to be carried out on the receiving end.
What to set up on the AS2 receiver
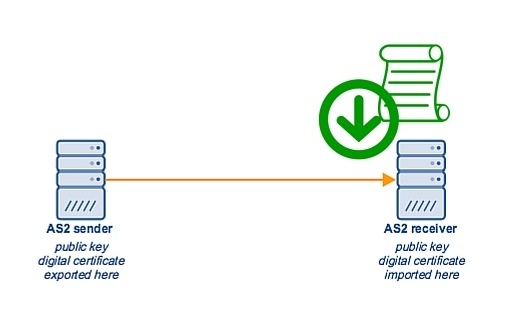
Actually, there's only one thing that needs to be done on the receiving end. Your trading partner only needs to import the digital certificate you exported on that last step. Why is this step necessary?
That digital certificate contains the public key that corresponds to the private key your server will be using to sign each AS2 message. In order for the AS2 receiver to verify the digital signature on those AS2 messages, the receiver will need to have that private key's corresponding public key.
The exact importation procedure will vary from one AS2 server to another but if your trading partner also happens to be using a JSCAPE MFT Server installation, this is how they would do it.
Note: You'll also need to pay attention to these steps because, if your trading partner will also be digitally signing the AS2 messages THEY send you, then you'll need to import THEIR digital certificate as well.
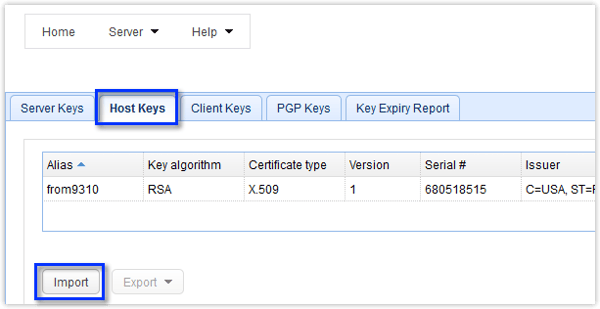
Go to Server > Key Manager > Host Keys
Notice that you're going to the Host Keys tab and not the Server Keys tab.
Click the Import button.
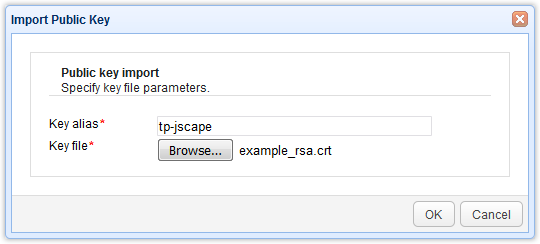
Assign a key alias to the digital certificate. This is just an arbitrary name that you'll use in referring to this particular certificate on JSCAPE MFT Server. Click the Browse button and select the digital certificate file you want to import. Again, just to remind you, these steps should be carried out on the receiving server's side.
Click OK to finalize the import.
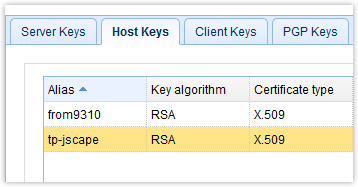
You should now see the newly imported digital certificate in your list of Host Keys.
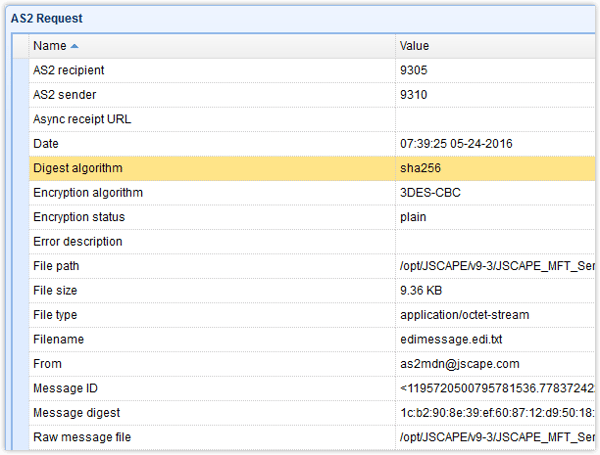
That's all there is to it. If you now send an AS2 message to your trading partner, your partner should be able to receive a message with this bit of information.
Get started
Would you like to follow the instructions on this tutorial? Download a free, fully-functional evaluation edition of JSCAPE MFT Server now.